
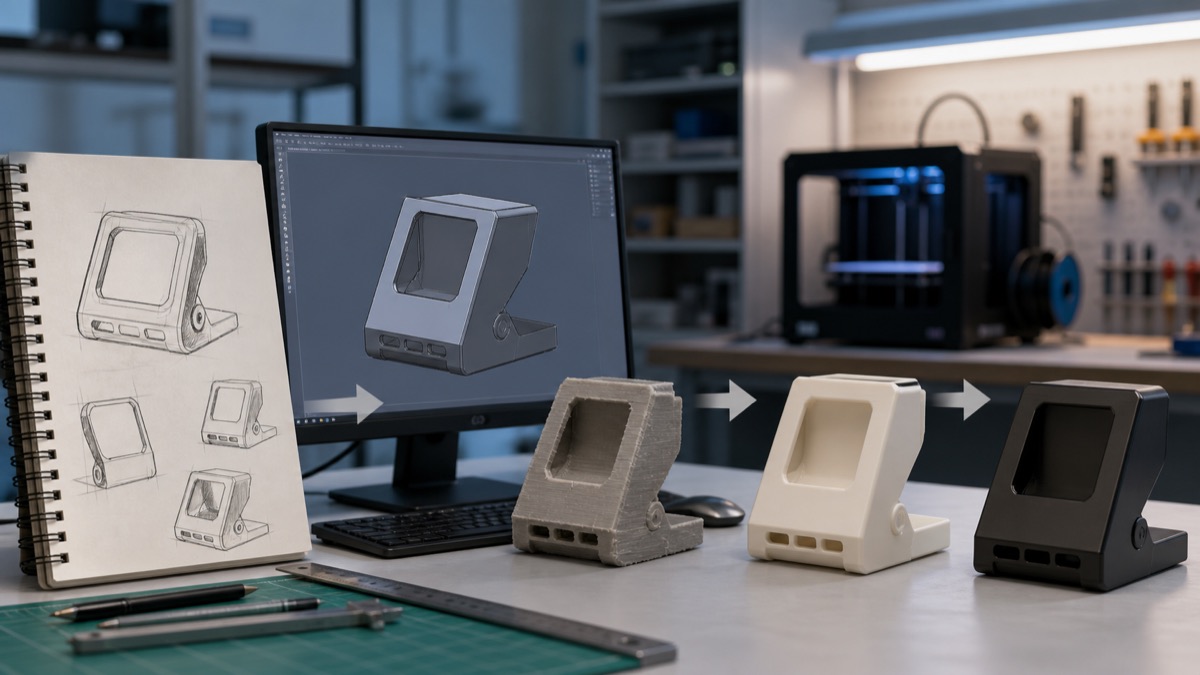
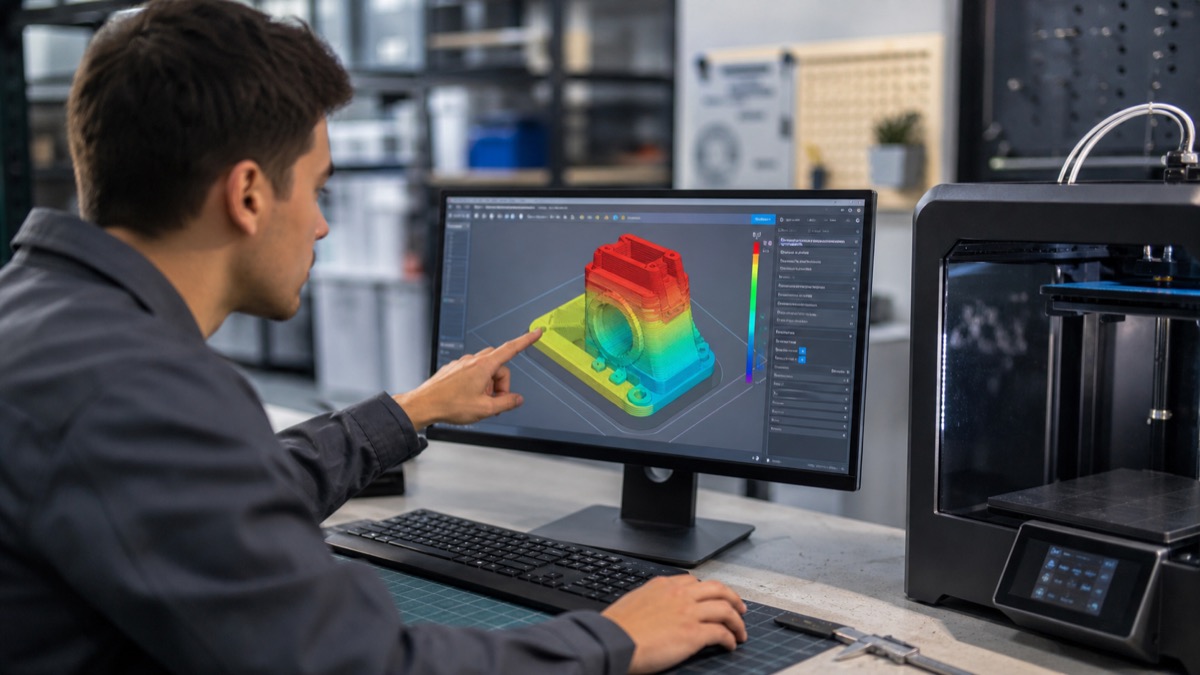
Rapid prototyping service মানে শুধু একটি সুন্দর sample print করা নয়। এটি এমন একটি পুনরাবৃত্ত workflow যেখানে idea দ্রুত physical object-এ রূপ নেয়, ব্যবহারকারী সেটি হাতে নিয়ে পরীক্ষা করে, তারপর প্রমাণের ভিত্তিতে design বদলানো হয়। Formlabs-এর মতে, CAD ও additive manufacturing-এর সমন্বয় product team-কে দ্রুত physical prototype তৈরি ও iterate করার সুযোগ দেয়। সঠিকভাবে ব্যবহার করলে final tooling-এর আগে ভুল ধরা পড়ে এবং সিদ্ধান্ত স্পষ্ট হয়।
Prototype-এর উদ্দেশ্য আগে নির্ধারণ করুন
একটি prototype সব প্রশ্নের উত্তর দেবে—এমন আশা বাস্তবসম্মত নয়। Form prototype দিয়ে shape ও appearance দেখা হয়; fit prototype mating part, screw hole বা enclosure clearance যাচাই করে; functional prototype load, movement, heat বা user interaction পরীক্ষা করে। প্রথম briefing-এ লিখুন কোন তিনটি প্রশ্নের উত্তর দরকার। এতে material, process ও finishing অপ্রয়োজনীয়ভাবে ব্যয়বহুল হয় না।
ধাপ ১: Requirement ও success criteria
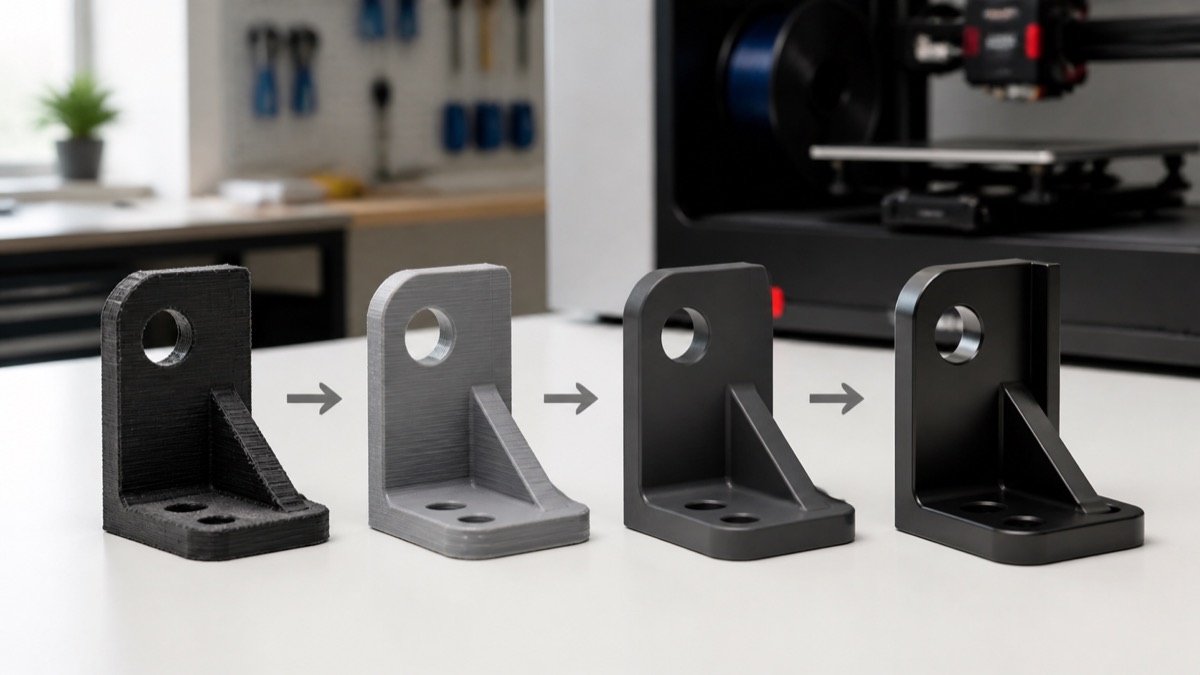
Size, mating component, expected load, operating temperature, appearance, deadline এবং budget লিখিতভাবে দিন। “Strong হতে হবে”র বদলে expected load ও direction উল্লেখ করুন। “Perfect fit”র বদলে কোন part-এর সঙ্গে কত clearance দরকার তা বলুন। Success criterion measurable হলে prototype pass বা fail করা সহজ হয়। Confidential design হলে file sharing ও retention policy আগেই ঠিক করুন।
ধাপ ২: CAD প্রস্তুতি
Model watertight কি না, wall যথেষ্ট কি না, tiny feature printer ধরতে পারবে কি না এবং support কোথায় পড়বে—এসব design review-তে দেখা উচিত। Assembly হলে প্রতিটি part-এর datum ও interface mark করুন। STL/3MF export resolution খুব coarse হলে curve polygonal হয়; অকারণে অতিরিক্ত fine mesh file বড় করে কিন্তু printer-এর বাস্তব resolution বাড়ায় না। Native CAD বা STEP file রাখলে revision সহজ হয়।
ধাপ ৩: Technology ও material নির্বাচন
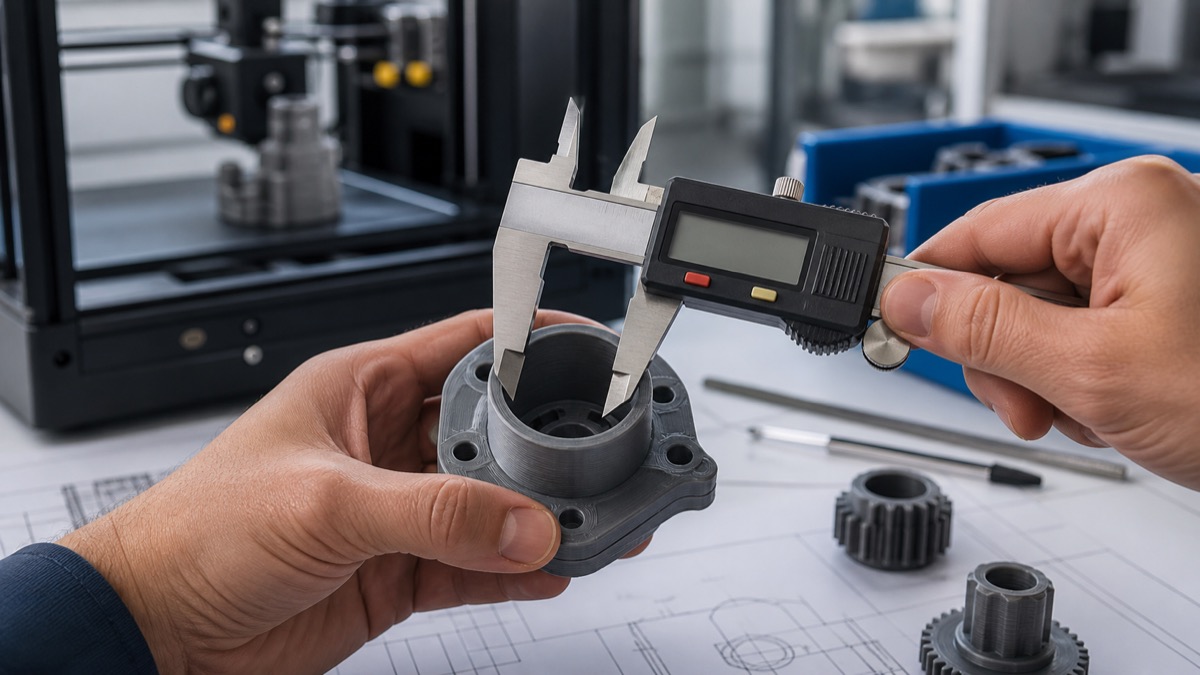
FDM দ্রুত ও সাশ্রয়ী form/fit part এবং বড় model-এ জনপ্রিয়। Resin process সূক্ষ্ম detail ও মসৃণ surface দিতে পারে, তবে washing, curing এবং resin-specific safety দরকার। শক্তি, heat resistance বা flexible behavior চাইলে শুধু “PLA না PETG” প্রশ্ন যথেষ্ট নয়; test environment ও failure risk বোঝাতে হবে। Prototype material final production material-এর মতো না হলে result-এর সীমা report-এ লিখুন।
ধাপ ৪: Slice, print ও post-process
Orientation surface quality, support mark এবং anisotropic strength বদলায়। Layer height, wall, infill ও support model-এর উদ্দেশ্য দেখে বাছতে হয়। Print শেষে support removal, sanding, insert installation বা painting প্রয়োজন হতে পারে। Cosmetic finishing dimensional fit বদলাতে পারে; mating face-এ কত material remove হলো তা নজরে রাখুন।
ধাপ ৫: Test plan ও evidence
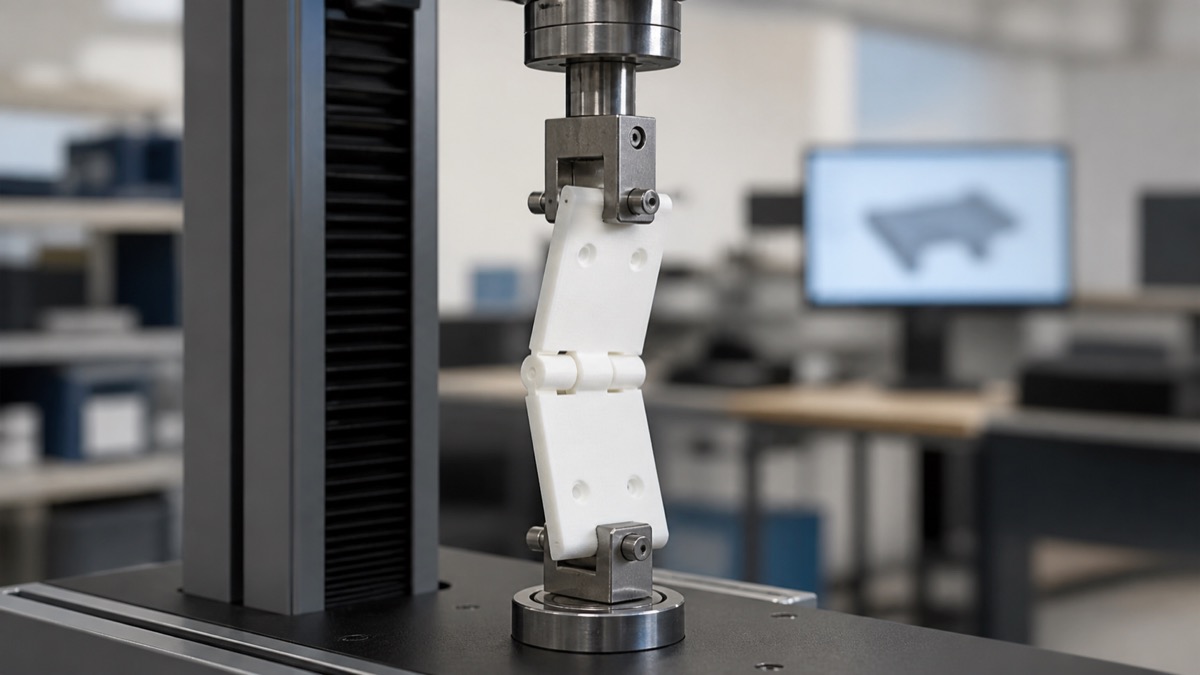
Prototype হাতে পাওয়ার পর শুধু “ভালো লাগছে” লিখলে পরের revision দুর্বল হয়। Caliper measurement, assembly time, observed flex, drop height, user feedback এবং failure photo সংগ্রহ করুন। একসঙ্গে বহু variable বদলালে কোন পরিবর্তন কাজ করেছে বোঝা যায় না। Version number, print orientation, material batch এবং key settings log রাখুন।
Revision loop কীভাবে ছোট রাখবেন?
Feedback-কে critical, important ও optional ভাগ করুন। Safety ও function আগে; cosmetic refinement পরে। প্রতিটি revision-এর change list রাখুন এবং পুরোনো version archive করুন। Supplier-কে annotated screenshot বা marked photo দিলে কথার ভুল ব্যাখ্যা কমে। সবচেয়ে ছোট testable change বেছে নিয়ে আবার print করুন।
Quote চাইলে কী তথ্য দেবেন?
- 3D file এবং overall dimension;
- Prototype-এর উদ্দেশ্য ও quantity;
- Material preference এবং color;
- Critical tolerance ও mating part;
- Surface finish ও deadline;
- Expected load, heat বা outdoor exposure।
শেষ কথা
Rapid prototype দ্রুত হয় যখন প্রশ্ন ছোট, data পরিষ্কার এবং revision disciplined। Final product-এর performance claim করার আগে relevant standard ও production-equivalent test প্রয়োজন। Design প্রস্তুতির জন্য আমাদের STL থেকে finished print guide পড়ুন। ধারণাটির industry context জানতে Formlabs rapid prototyping overview দেখা যায়।
FAQ
একটি prototype-এই কি production শুরু করা যায়?
সাধারণত না। Form, fit, function ও production risk আলাদা test চাইতে পারে।
সবচেয়ে দামি material কি সেরা?
না। যে material test question-এর উত্তর দেয়, সেটিই prototype-এর জন্য সঠিক।
Comment (1)