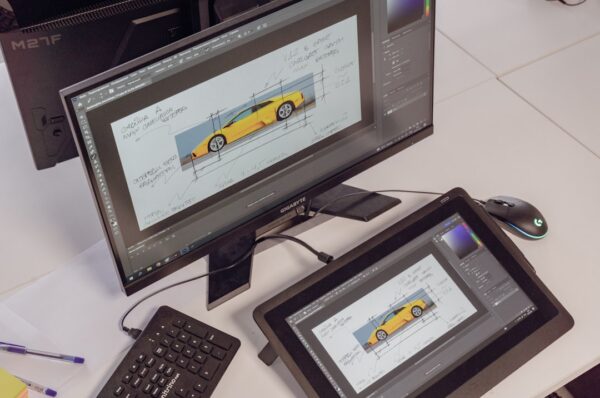
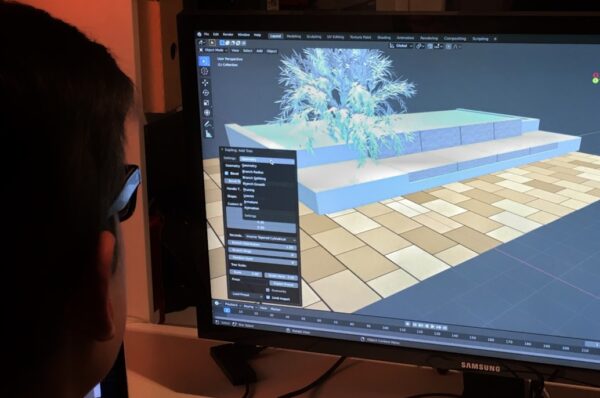
A product idea often begins as a rough sketch, a problem noticed during work or a collection of components that need a better body. The difficult part is moving from that idea to a physical prototype that can be tested. 3D printing makes this transition more accessible because digital designs can be manufactured without building dedicated tooling for every revision.
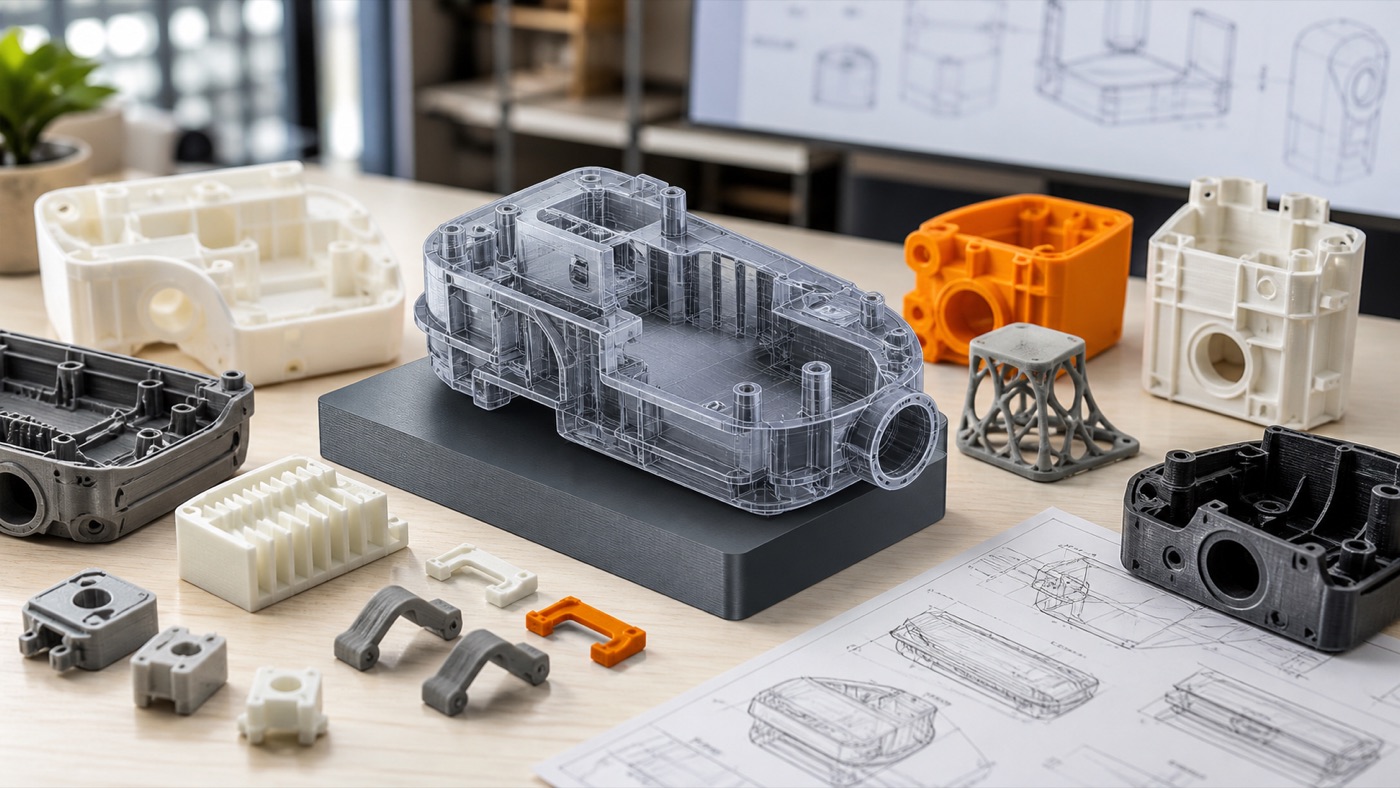
Stage 1: define the problem
Before CAD, write down what the product must do. Who uses it? What components must fit inside? Where will it operate? What dimensions are fixed? What would make the prototype successful? Clear requirements prevent the team from polishing a design that solves the wrong problem.
Stage 2: sketch concepts
Sketch several approaches quickly. At this stage, explore layout rather than detail. For an electronics product, position the PCB, battery, camera, buttons and connectors. For a mechanical tool, map the forces and interfaces.
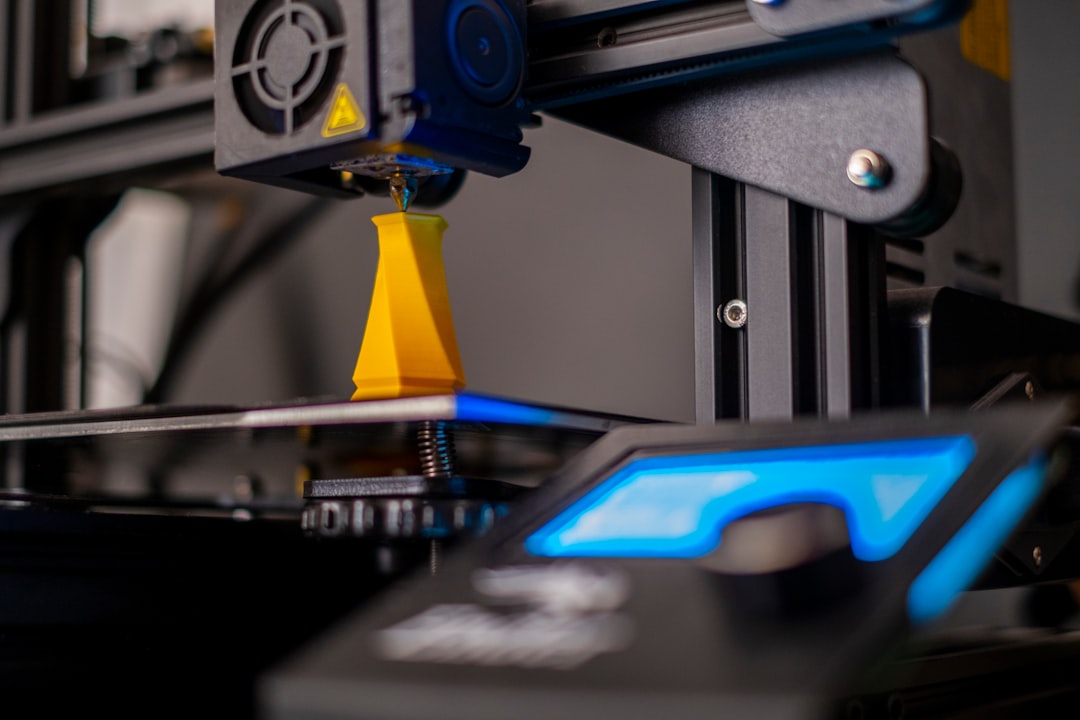
Stage 3: build CAD around constraints
Create accurate reference models for components and define mounting points. Add practical clearances. Think about how the product will be assembled and serviced. Avoid adding cosmetic detail until the core geometry works.
Stage 4: design for the printing process
Choose likely print orientation, wall thickness and part splits. Reduce unnecessary supports. Add fillets around stressed corners. If screws or inserts are required, design them from the beginning rather than drilling random holes after printing.
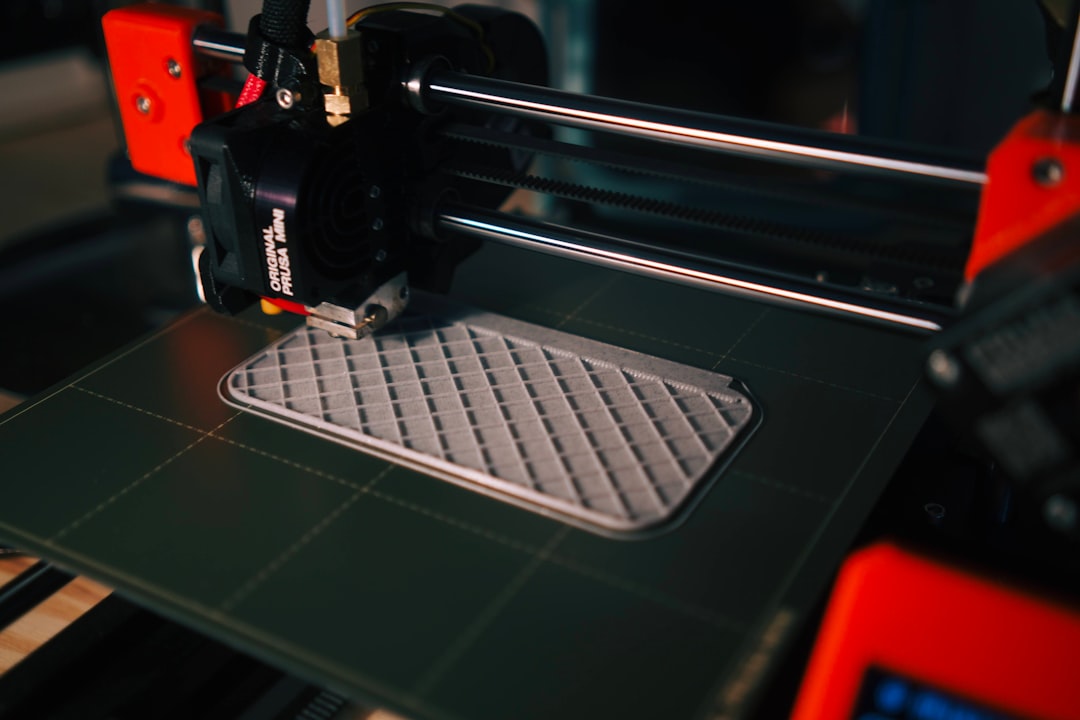
Stage 5: print a rough prototype
The first physical version should answer questions. Does it fit? Can the user reach the controls? Does it stand securely? Is the grip comfortable? Use a faster draft setting when fine finish does not affect the test.
Stage 6: test with real components
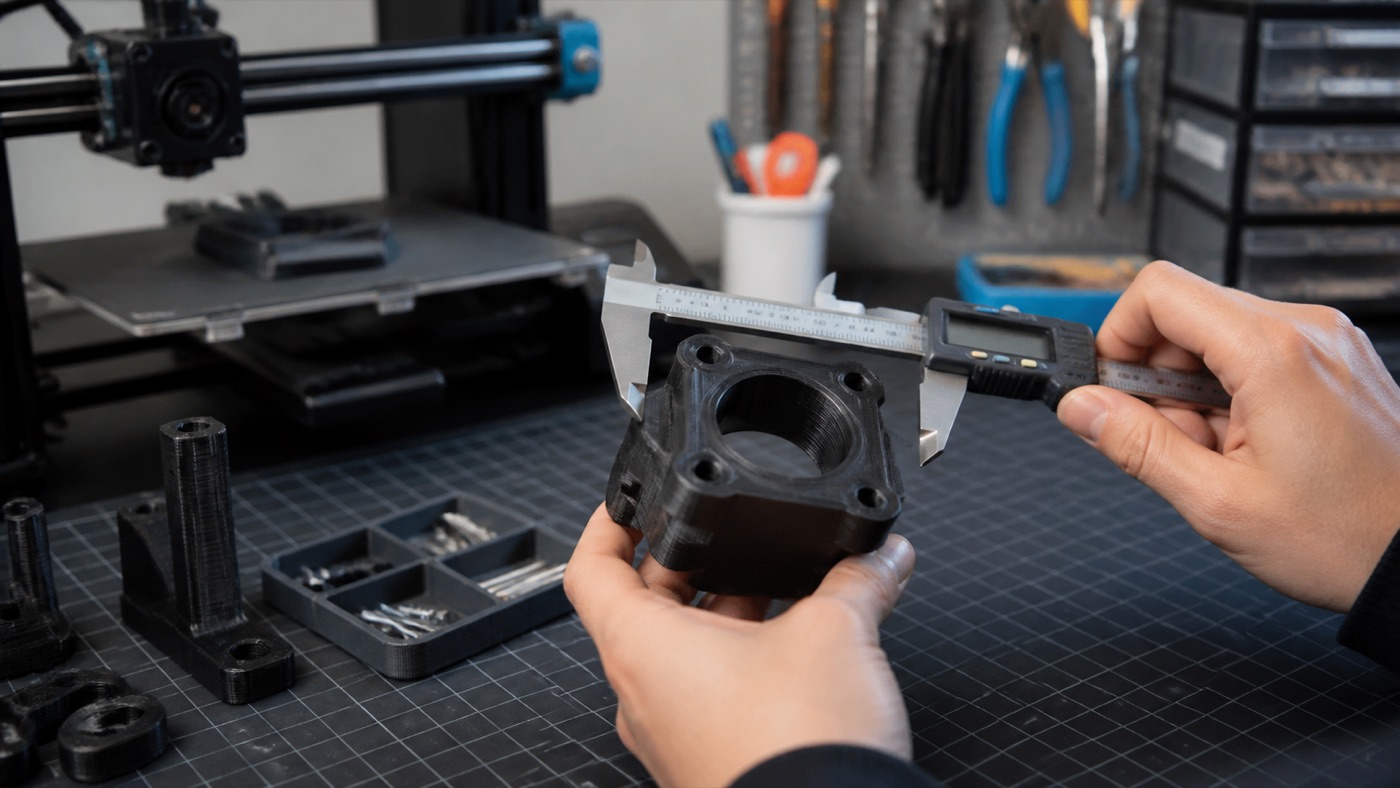
Install the PCB, bearing, motor, camera or other actual hardware. Connect real cables. Operate the mechanism. Many important issues appear only during assembly: blocked connectors, insufficient tool access, wires rubbing against moving parts or fasteners that cannot be reached.
Stage 7: record problems
Do not rely on memory. Mark every issue and assign it to the next CAD revision. Photograph interference points and measure needed changes. Use version names such as V1, V2 and V3 so the team can trace decisions.
Stage 8: improve the design
Move holes, strengthen weak features, reduce material where unnecessary and improve usability. One of 3D printing’s greatest advantages is that these changes can be manufactured without rebuilding a mold.
Stage 9: choose a realistic material
Early fit prototypes may use PLA, while later functional prototypes should use material closer to the intended environment. PETG, ABS, ASA, TPU, nylon or resin may be considered depending on heat, impact, flexibility and detail. Testing in an irrelevant material can hide or create problems.
Stage 10: appearance prototype
Once geometry is stable, create a version for presentation. Use finer settings, sanding, primer, paint or resin printing where appropriate. This model can support investor meetings, client presentations, photography or user feedback.
Stage 11: pilot production
Produce a small batch and let real users interact with it. Track failures, assembly time and feedback. If changes are still frequent, 3D printing preserves flexibility. When the design becomes stable and demand grows, evaluate other manufacturing methods.
Working with a 3D printing partner
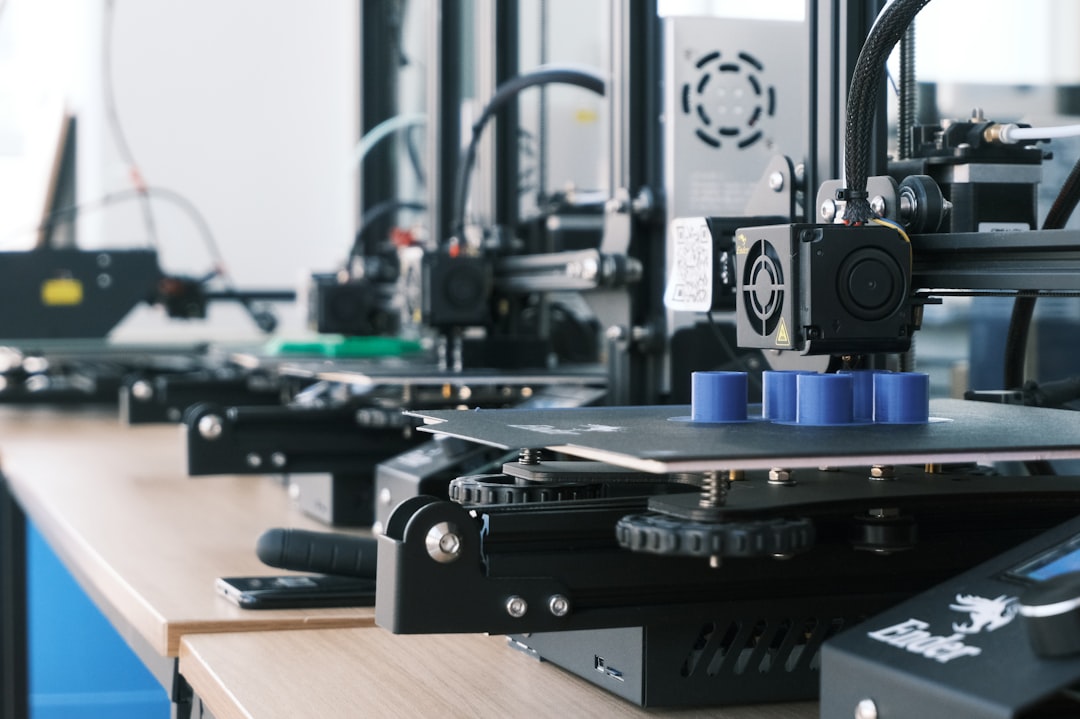
Share more than the STL. Explain the product goal, components, environment, quantity and stage of development. A prototype intended only to check size should be treated differently from a part being tested under load. Artin3D can work with ready files or, for suitable projects, develop custom bodies around client-supplied components.
Conclusion
Product development is a sequence of learning cycles. Sketch, design, print, test, measure and improve. 3D printing is valuable because it makes those cycles faster and less dependent on permanent tooling. The final goal is not a 3D print; it is a better product. Artin3D – Where ideas take shape.