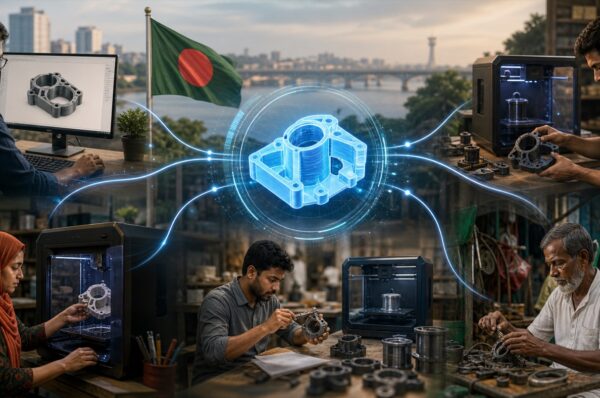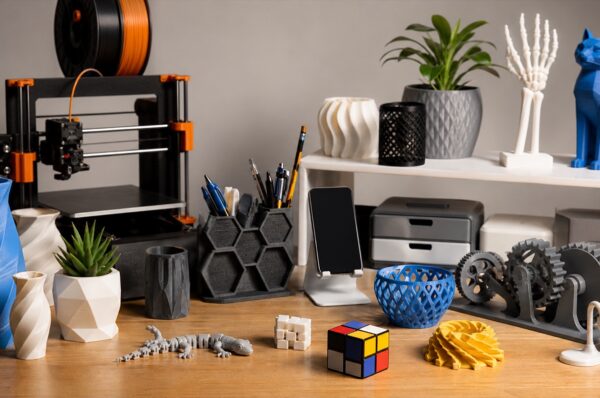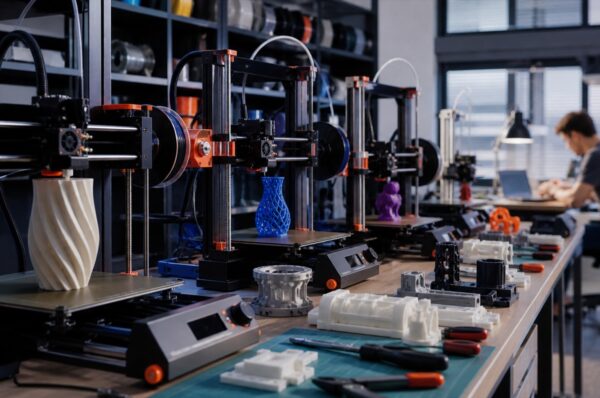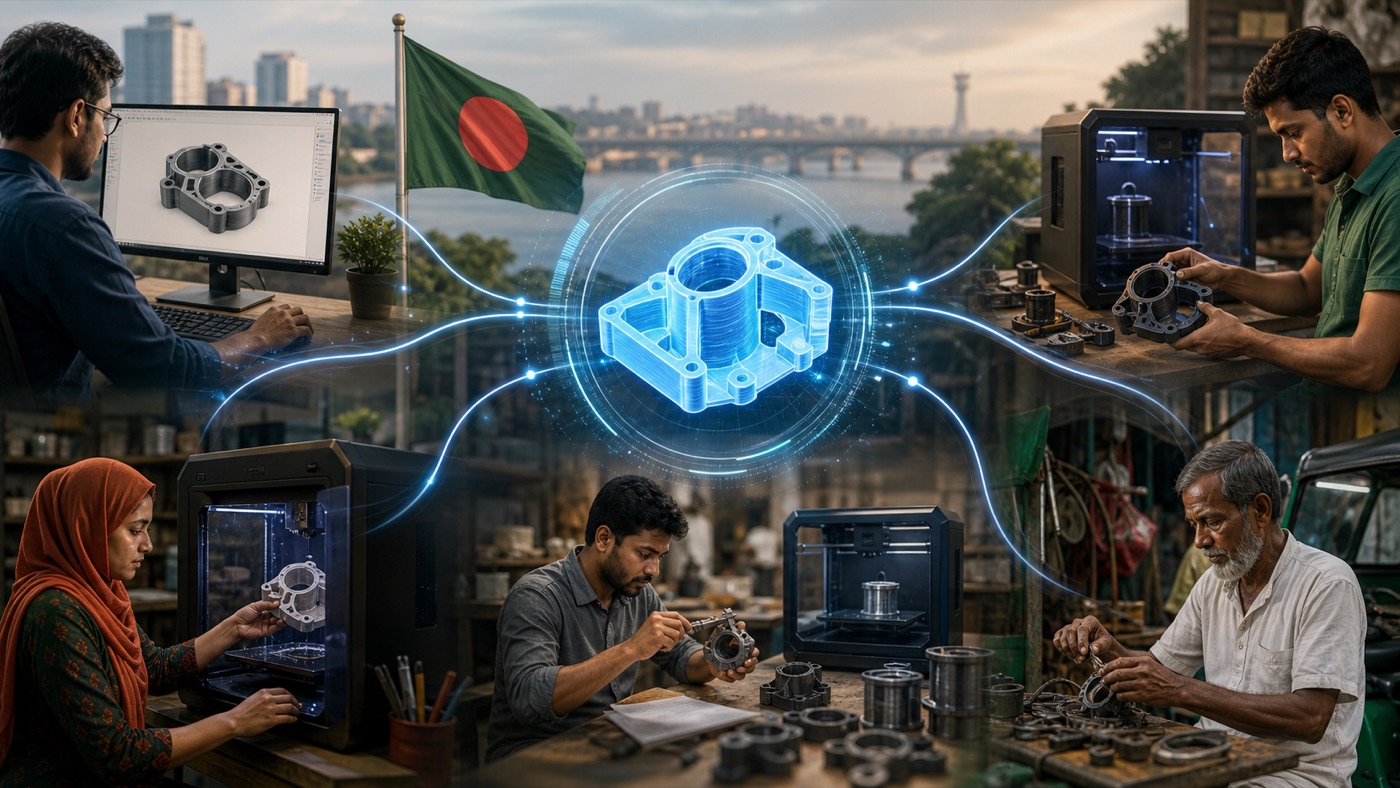
A prototype turns an idea into something you can hold, test and improve. For product developers in Bangladesh, 3D printing can shorten the distance between a sketch and a physical test because it does not require conventional tooling for every design change.
What is prototype manufacturing?
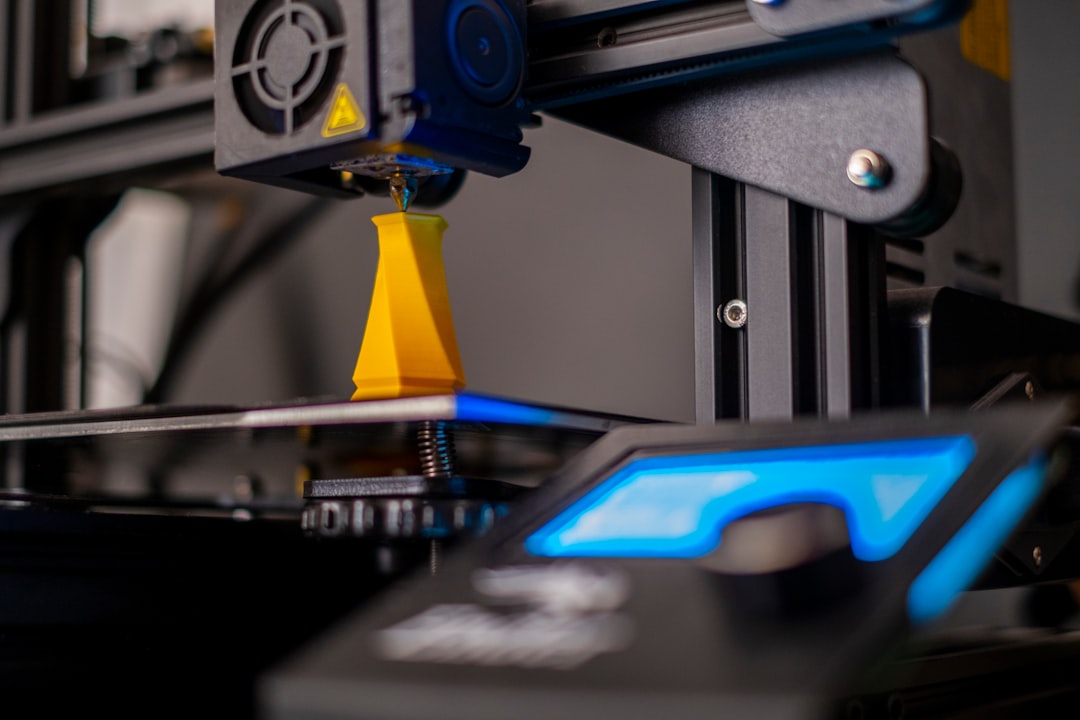
Prototype manufacturing creates an early physical version of a product before final production. It may be used to test size, fit, ergonomics, assembly, appearance or mechanical function.
Why prototype before mass production?
- Find design errors earlier.
- Check real-world dimensions.
- Test components together.
- Show the concept to stakeholders.
- Improve ergonomics.
- Compare alternative designs.
- Reduce the risk of expensive tooling changes later.
Stage 1: define the problem
Start by writing what the product must achieve. A prototype without a clear test goal can consume time without producing useful information. Decide whether the first version needs to prove appearance, fit, mechanism or overall concept.
Stage 2: collect dimensions and components
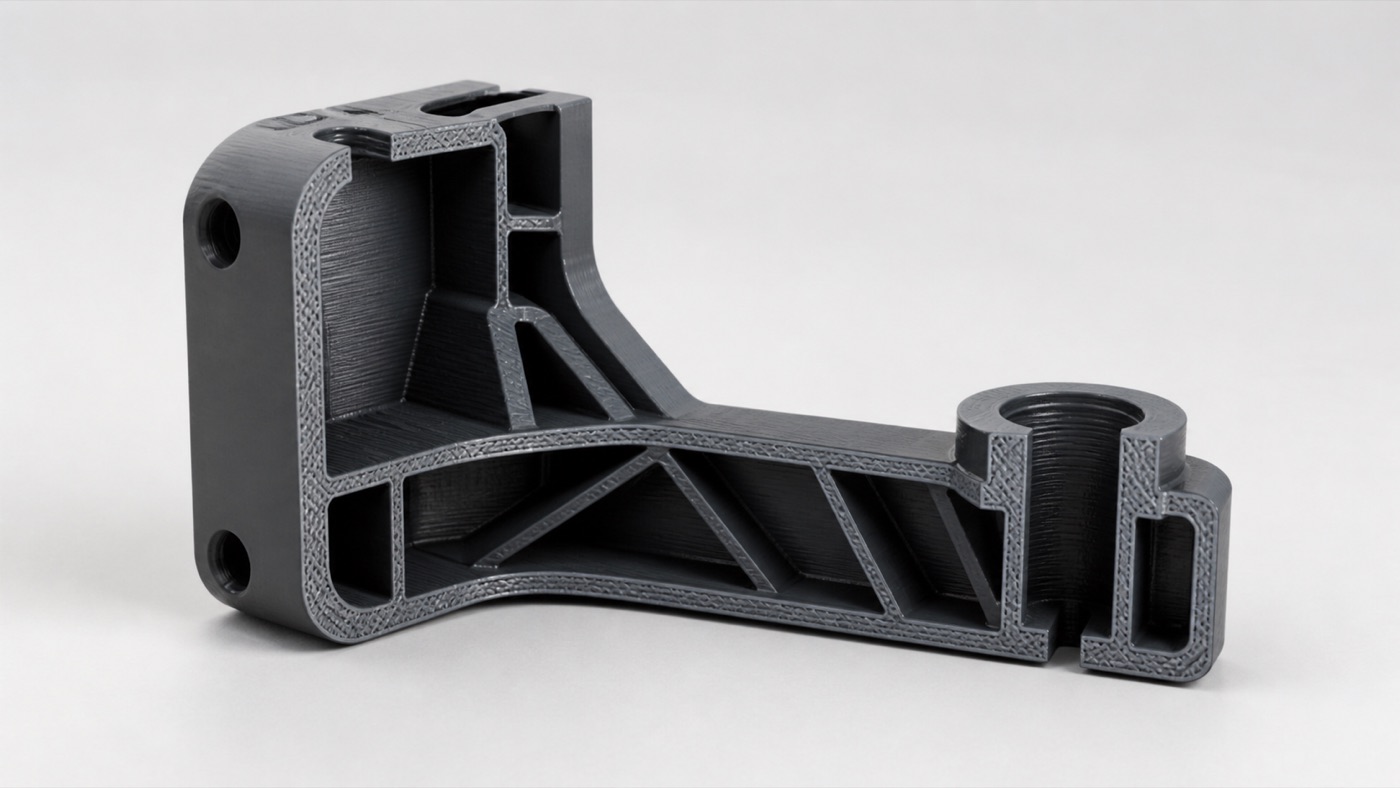
If the product interacts with a PCB, camera, motor, bearing, bottle, phone or existing machine, measure those interfaces accurately. Whenever practical, design around the actual components.
Stage 3: create CAD
CAD converts requirements into controlled geometry. At this stage, designers define walls, mounting points, openings, fasteners and assembly features. The model should be created for the manufacturing process rather than only for visual presentation.
Stage 4: choose prototype technology
FDM is useful for many larger and functional prototypes. SLA can be useful for smaller models requiring fine detail. The best choice depends on what the prototype needs to prove.
- FDM: enclosures, brackets, robotics, larger models and functional forms.
- SLA: miniatures, fine-detail visual prototypes and small complex surfaces.
Stage 5: choose material
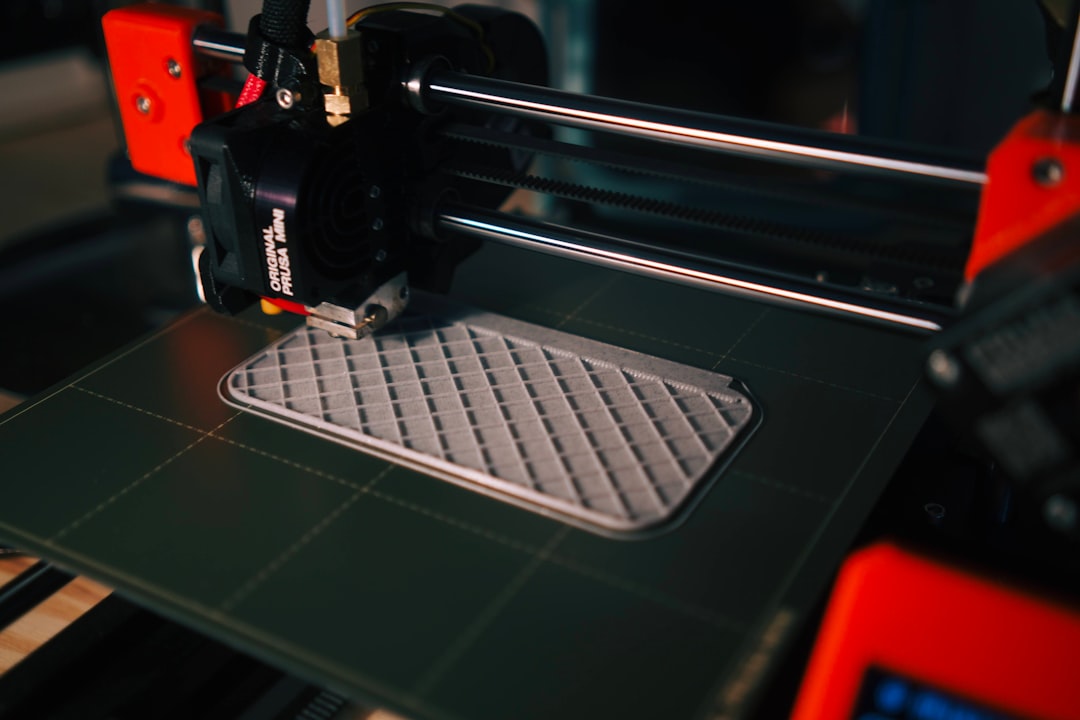
Early concept models may use an easy-to-print material, while later functional prototypes should more closely represent the expected operating environment. Consider heat, flexibility, impact and outdoor exposure.
Stage 6: print the first version
The first print does not need to be perfect. Its purpose is to answer questions. Mark important dimensions and interfaces before testing so the team knows what to inspect.
Stage 7: test systematically
Do not rely only on whether the prototype looks good. Test the criteria defined at the beginning.
- Does the PCB fit?
- Can screws be installed easily?
- Can cables bend without being pinched?
- Does a lid open correctly?
- Are controls accessible?
- Is the product comfortable to hold?
- Are loaded areas stiff enough?
Stage 8: revise the design
Record every issue and update the CAD. Version control is helpful: name revisions clearly so the team knows which file produced which prototype.
Appearance prototype versus functional prototype
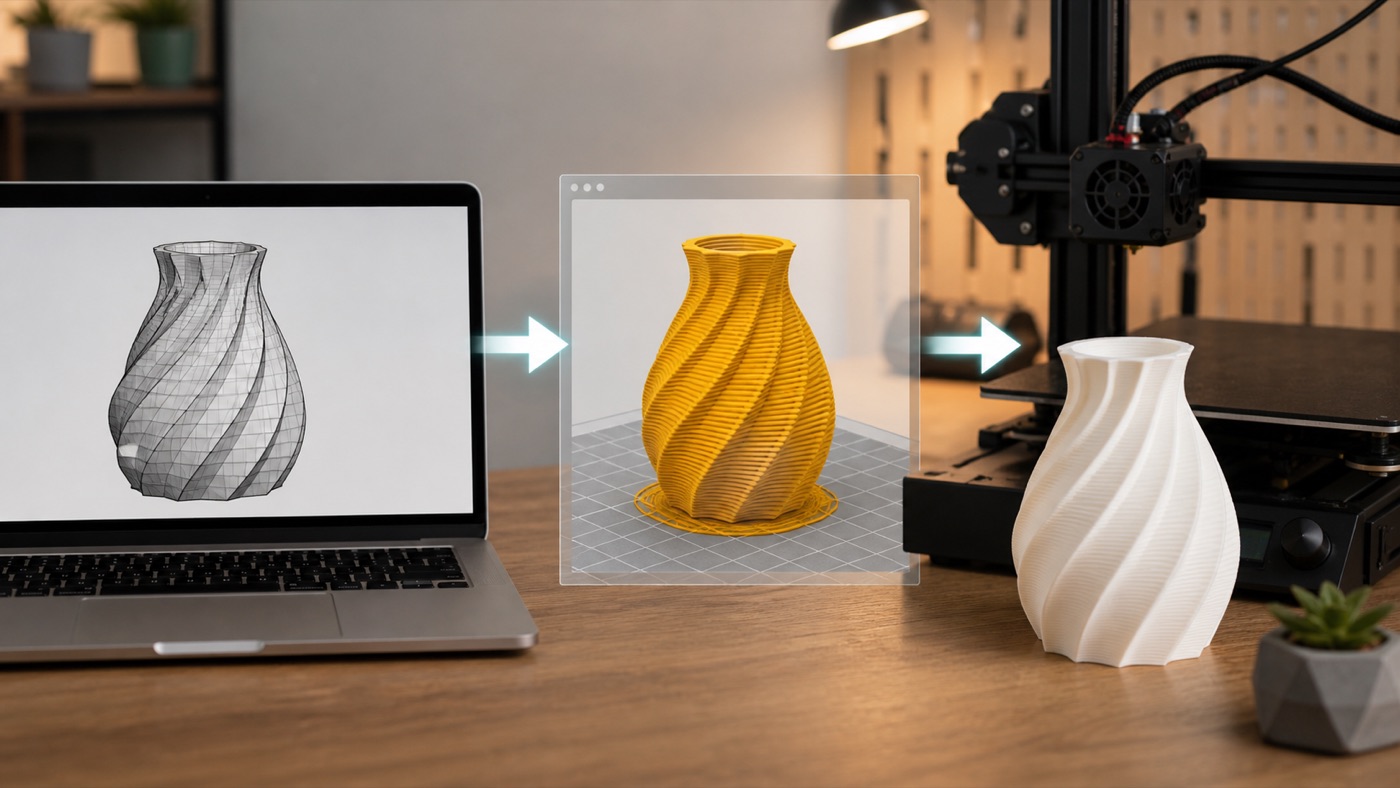
An appearance model focuses on visual proportions, surface and presentation. A functional model focuses on fit, motion, load and assembly. Trying to perfect both in the earliest prototype can waste time. Use the simplest version that answers the current question.
Proof-of-concept prototype
A proof of concept may be rough but demonstrates that the core mechanism or idea can work. It is often the fastest way to eliminate a bad assumption before investing in detailed industrial design.
Engineering prototype
Later prototypes should become more representative. Mounting, tolerances and material choices become more important. Electronics may be integrated and the enclosure tested as a complete assembly.
Pre-production prototype
Before moving to a larger manufacturing method, a mature prototype can validate final dimensions, assembly sequence and user interaction. It can also reveal design-for-manufacturing changes that should be made before tooling.
How 3D printing saves development time
Because a digital file can be revised and printed again, teams can test multiple iterations without creating a new mold for each one. This is particularly useful during early development when dimensions may change frequently.
When 3D printing is not the final manufacturing method
A 3D-printed prototype can still be valuable even if the final product will be injection molded, machined or manufactured another way. The prototype validates the idea before expensive production commitments.
Small-batch production after prototyping
For some products, 3D printing can continue beyond prototyping into low-volume production. This is useful when customization is important or demand does not justify tooling yet.
Common prototype mistakes
- Starting without a clear test goal.
- Designing from approximate component dimensions.
- Making the first prototype cosmetically perfect before testing fit.
- Changing many variables at once.
- Failing to record revisions.
- Ordering a large quantity before validation.
- Using an unsuitable material for a functional test.
Prototype cost factors
Cost depends on CAD complexity, material, size, print time, support, finishing and number of iterations. A simple fit-check model may be inexpensive compared with a fully finished presentation prototype.
How to reduce development cost
- Test critical sections before printing the entire product.
- Use low-cost materials for early fit checks when appropriate.
- Avoid unnecessary cosmetic finishing during engineering iterations.
- Provide accurate components and measurements.
- Group changes into planned revisions.
- Use modular designs so only changed sections need reprinting.
Prototype manufacturing for startups
Startups can use prototypes for internal testing, demonstrations and product refinement. A physical object also makes discussions with suppliers and team members more concrete because dimensions and interaction can be evaluated directly.
Prototype manufacturing for students
University teams can use additive manufacturing for robotics, capstone projects, research equipment and demonstration models. Planning early is important because CAD revisions and failed tests can require additional time.
Prototype manufacturing for businesses
Businesses can prototype fixtures, housings, product concepts and custom tools before committing to larger production. This can be useful for solving highly specific operational problems where no standard product exists.
What to send for a prototype project
- Sketch, CAD or reference images.
- Required dimensions.
- Real components when possible.
- Purpose of the prototype.
- Expected load and environment.
- Quantity.
- Deadline.
- Which features must be tested.
A practical development sequence
- Define requirements.
- Create CAD.
- Review printability.
- Print version one.
- Test critical functions.
- Revise CAD.
- Print version two.
- Validate assembly and use.
- Prepare the mature design for the next production stage.
Conclusion
Prototype manufacturing is most valuable when it is treated as a learning process rather than a one-time print. Each iteration should answer a question and move the design closer to a reliable product. Artin3D can support suitable prototype projects with custom design, FDM and SLA printing, helping clients move from early references and components to testable physical models. Artin3D – Where ideas take shape.