
Ordering a custom 3D print in Dhaka is easier when you know what information the printing team needs. You may already have an STL or STEP file, or you may only have a sketch, photo, PCB, broken component or product idea. The correct workflow depends on your starting point and what the finished object needs to do.
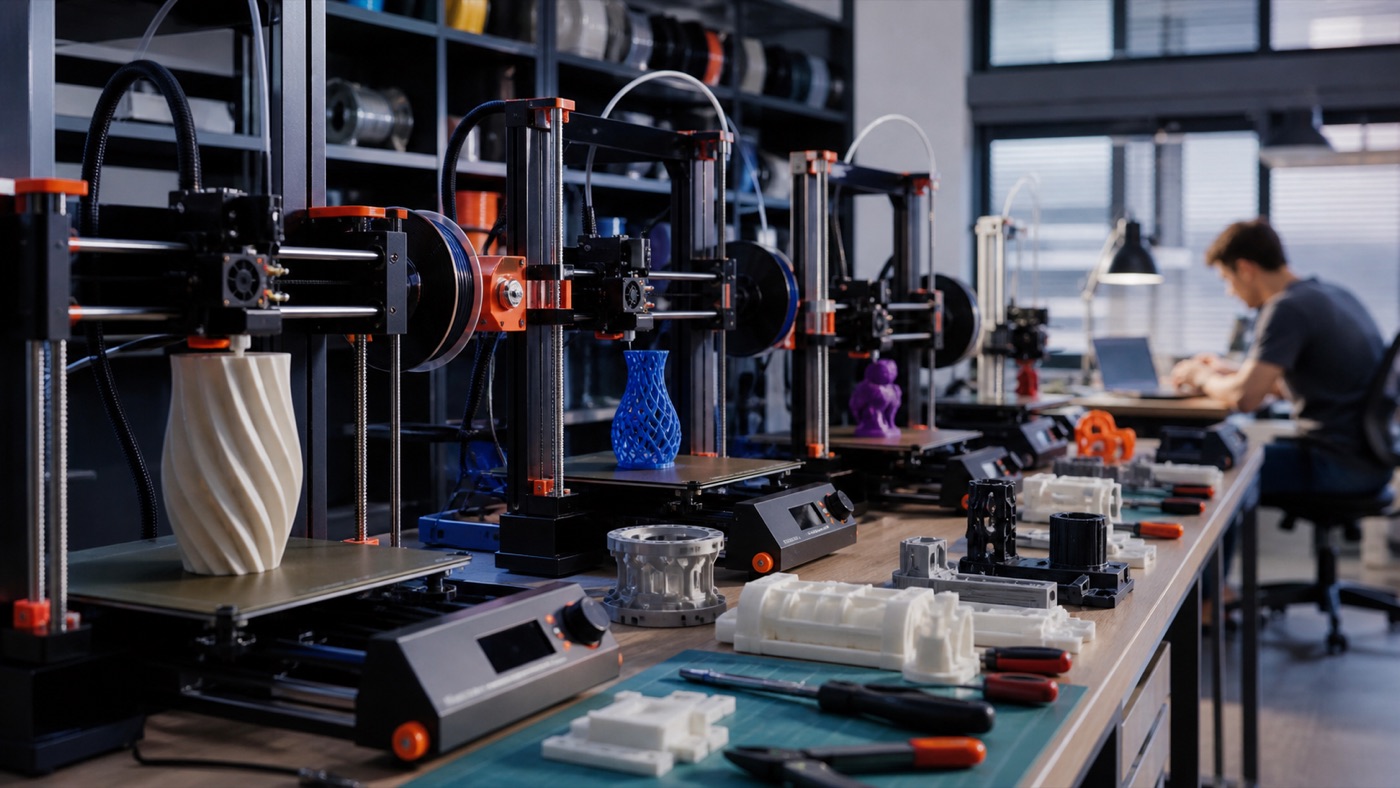
What can a 3D printing service produce?
3D printing is useful for one-off parts, prototypes and low-volume products where conventional tooling may be unnecessary. Common projects include:
- Engineering and university prototypes
- Robotics components
- Electronic enclosures
- FPV, drone and RC parts
- Architectural models
- Miniatures and figures
- Replacement plastic parts
- Custom holders, mounts and brackets
- Product-development prototypes
- Personalized products and gifts
Step 1: send the best information you have
If a printable model already exists, send the file with the required final dimensions. If you do not have a model, provide clear photos, sketches and measurements. For a case or enclosure, supplying the actual PCB, camera, sensor or other component can help the designer position openings and mounting points correctly.
Step 2: choose FDM or SLA
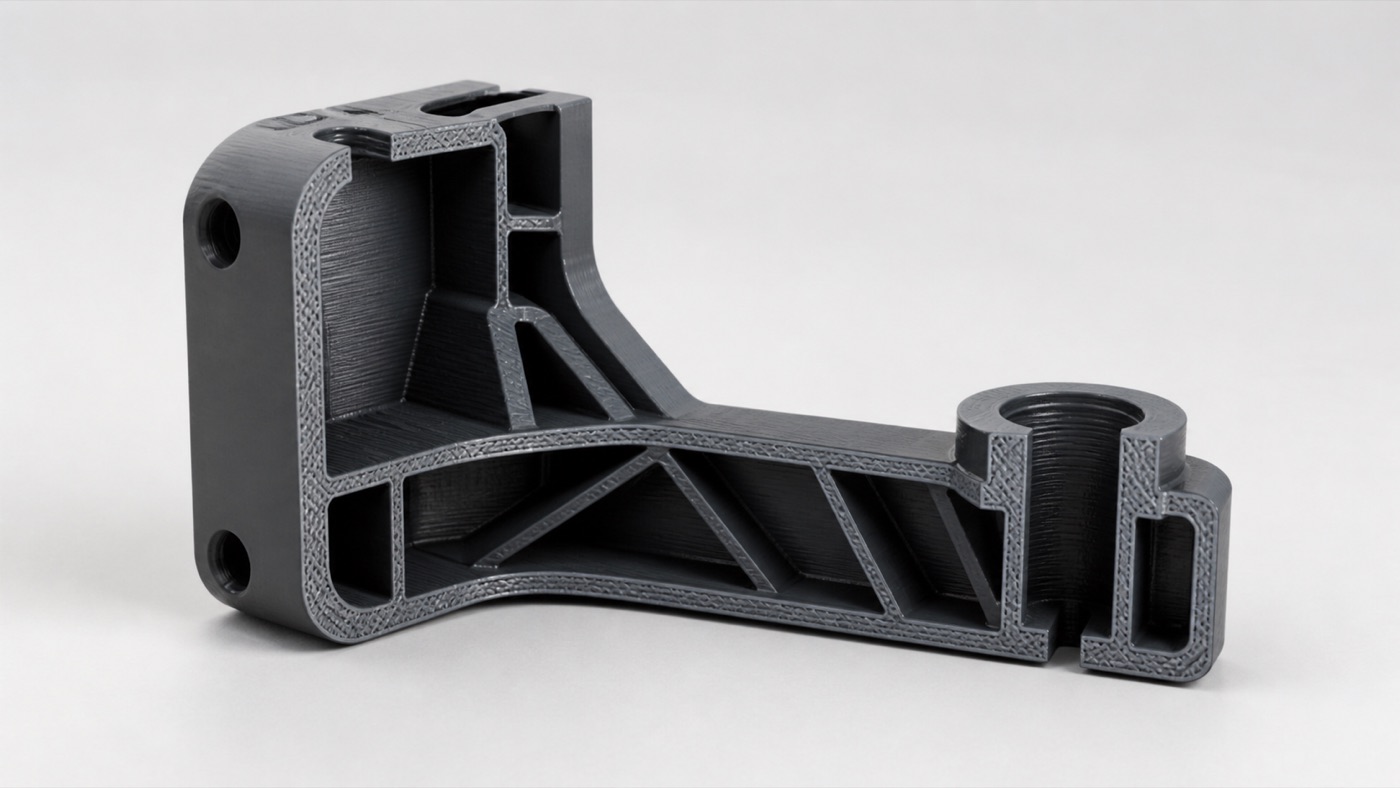
FDM printing builds a part from thermoplastic filament and is commonly used for practical prototypes, enclosures, larger models and functional components. SLA resin printing can capture fine details and is useful for miniatures and small visual models.
Choose the process according to:
- Required detail
- Part size
- Strength requirements
- Surface expectations
- Material needs
- Budget and quantity
Step 3: select the material
PLA is suitable for many indoor prototypes and display objects. PETG can be useful for tougher functional parts. ABS and ASA may be considered where temperature performance is important, while TPU is used for flexible products. Resin is selected when small detail is a priority.
Tell the service provider whether the part will face heat, sunlight, bending, impact or mechanical load. This information is more useful than simply requesting the strongest material.
Step 4: confirm dimensions and tolerances
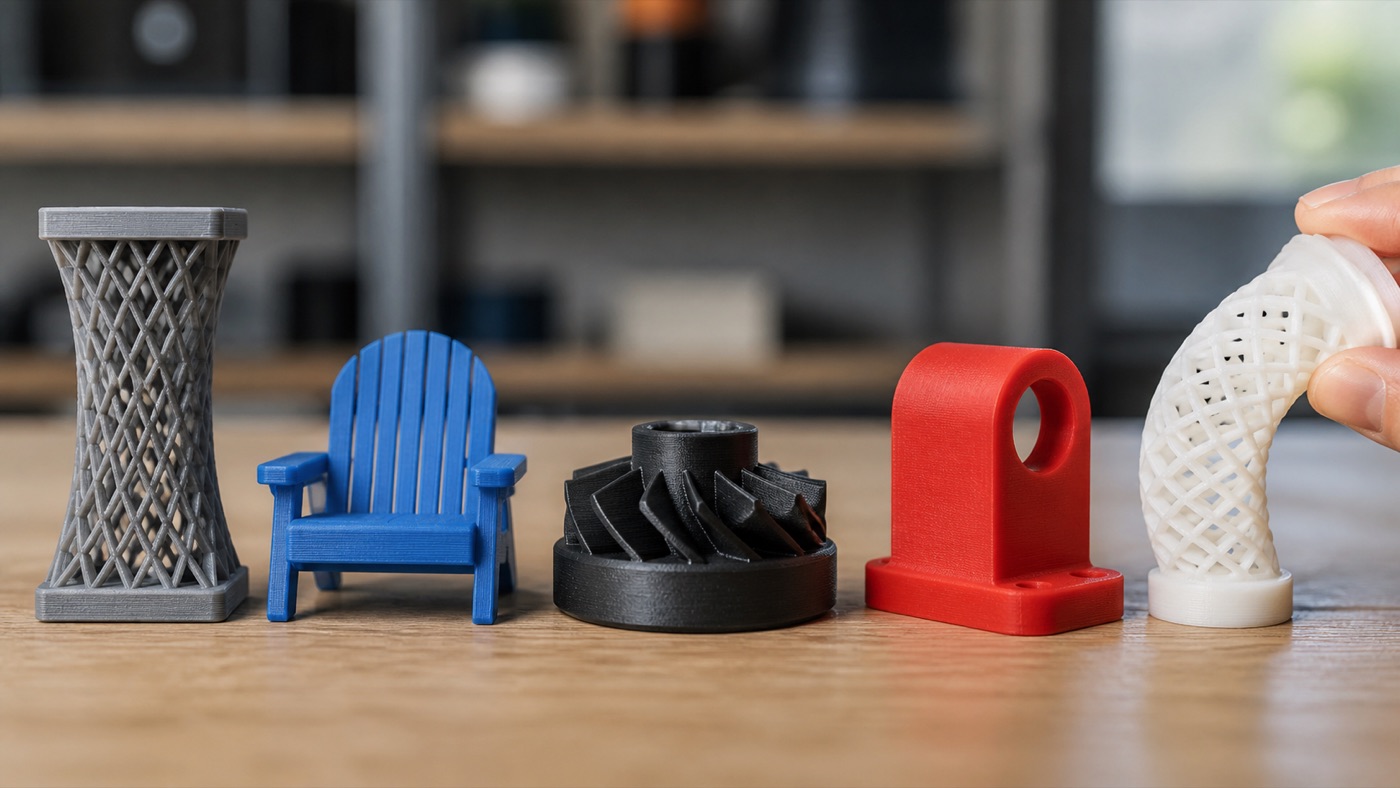
Scale is critical. A decorative model may tolerate small dimensional differences, while a bearing seat, screw hole or PCB enclosure may require carefully planned clearance. Provide important measurements and identify every surface that must fit another component.
Step 5: understand the quotation
Custom printing price is influenced by more than grams of plastic. A quotation may consider material, machine time, layer height, supports, model complexity, design work, finishing and quantity.
- Larger parts often use more material.
- Fine layers can increase print time.
- Supports add material and cleanup work.
- Flexible or specialty materials may print more slowly.
- CAD design or reverse engineering is separate work.
- Painting and assembly add manual labor.
Step 6: prototype before quantity
If a part must fit real hardware, order or produce a test unit before committing to a larger batch. Install the prototype, check hole positions, clearances and assembly, then revise the model if necessary.
How to prepare an STL file
Before sending an STL, confirm that the model is watertight, correctly scaled and free from accidental floating geometry. Very thin walls may look fine on screen but fail to print reliably. A professional service can review the file, but a clean source file makes the process faster.
When STEP is better than STL
For functional CAD parts, a STEP file can be useful because it preserves editable solid geometry better than a triangulated STL. If design changes may be needed, keep the original CAD file as well as the export used for printing.
Designing for lower cost
Cost can often be reduced without damaging the project goal. Avoid unnecessarily dense infill, extreme detail that will not be visible, and geometry that creates large support structures. Splitting a large object into intelligently designed sections can also make production easier.
- Use appropriate wall thickness.
- Orient strength-critical features carefully.
- Use standard quality where ultra-fine layers are unnecessary.
- Make assembly points accessible.
- Design support-free angles where practical.
What about finishing?
FDM parts naturally show layer lines. Depending on the product, they may be left as printed or processed through sanding, filling, priming and painting. Resin parts also require support removal, washing and curing. Decide early whether you need a functional finish or a presentation-quality finish.
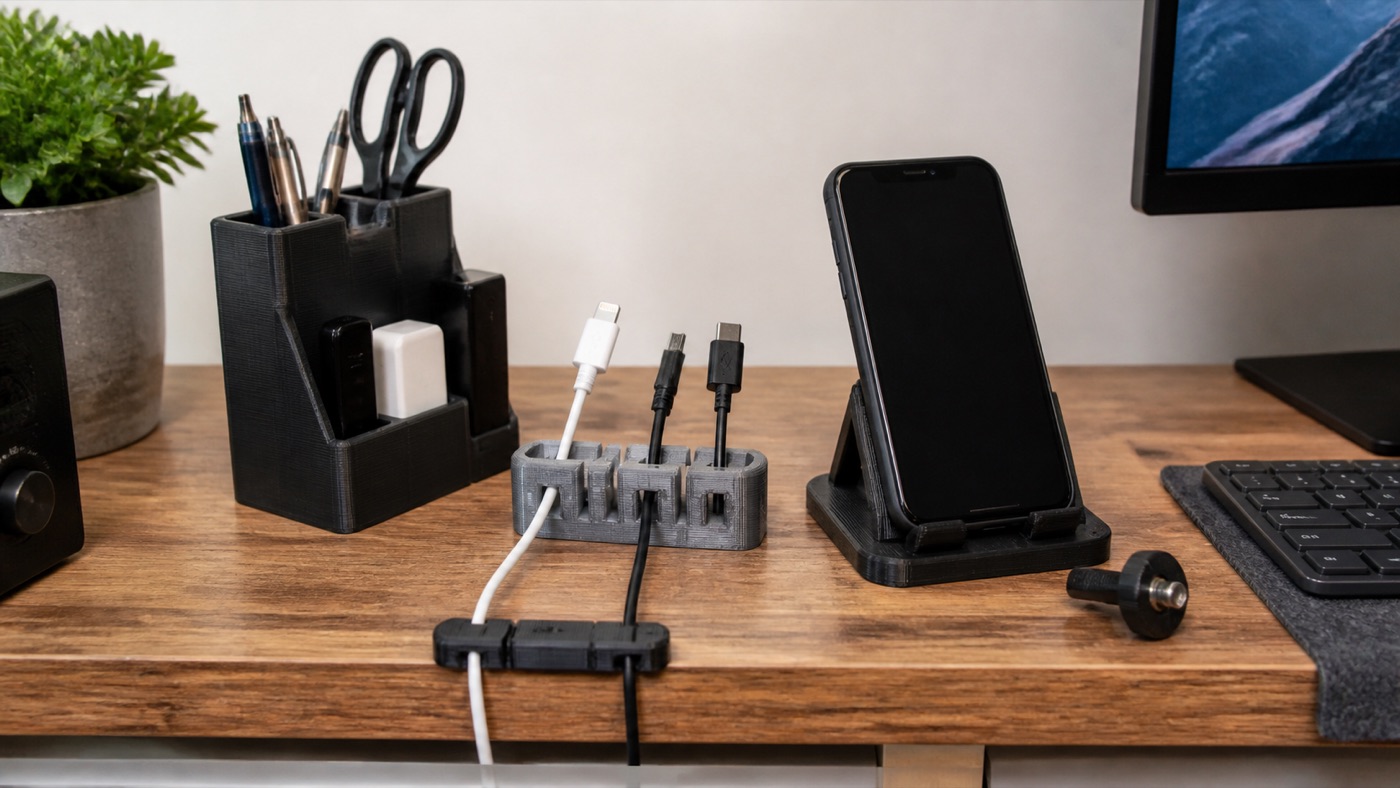
Ordering an electronics enclosure
For a custom electronics body, provide the PCB and all important components when possible. The designer may need to account for USB ports, buttons, LEDs, camera lenses, ventilation, batteries, wires and screw locations. A good enclosure is designed around assembly, not just external appearance.
Ordering a replacement part
If the original plastic component is broken or unavailable, send the surviving part and related mating components. Measurements can be used to reconstruct the geometry. The new part may also be strengthened where the original failed, provided the modification does not interfere with fit.
Ordering architectural and presentation models
Architecture students and professionals should define scale, overall size, deadline and the level of detail required. Very small features may need simplification. Large models can be divided into sections for easier printing, transport and assembly.
Ordering miniatures
Small characters, statues and detailed display models often benefit from resin printing. The quality of the source model remains important: a printer cannot create detail that does not exist in the 3D file.
Common mistakes first-time clients should avoid
- Sending a screenshot without dimensions.
- Assuming every 3D model is automatically printable.
- Choosing material only by color.
- Requesting 100% infill without a functional reason.
- Ordering quantity before testing fit.
- Ignoring the deadline until the final day.
- Expecting an engineering part to be reconstructed accurately from one photo.
Questions to answer before placing an order
- What is the final size?
- How many pieces are required?
- Is the object functional or decorative?
- Does it need to fit another component?
- Will it be exposed to heat or outdoors?
- Does it need flexibility?
- What color is required?
- Is finishing or assembly needed?
- What is the deadline?
Why local communication matters
Custom manufacturing often involves small decisions that cannot be captured by an upload form alone. Clear communication about use, fit and priorities helps the printing team recommend a more appropriate material and production strategy.
Final ordering checklist
- Prepare the STL, STEP, photos or physical reference.
- Confirm final dimensions.
- State quantity and deadline.
- Explain how the part will be used.
- Select FDM or SLA with the service team.
- Choose material based on function.
- Review the quotation.
- Test a prototype if fit is important.
- Approve revisions before quantity production.
- Confirm finishing and assembly requirements.
Conclusion
A successful 3D printing order starts with clear requirements. Whether you need a university prototype, custom enclosure, replacement component, miniature or low-volume product, provide accurate dimensions and explain the real application. Artin3D provides custom design, FDM and SLA printing for suitable projects and can work from client files, components, references and ideas. Artin3D – Where ideas take shape.


