
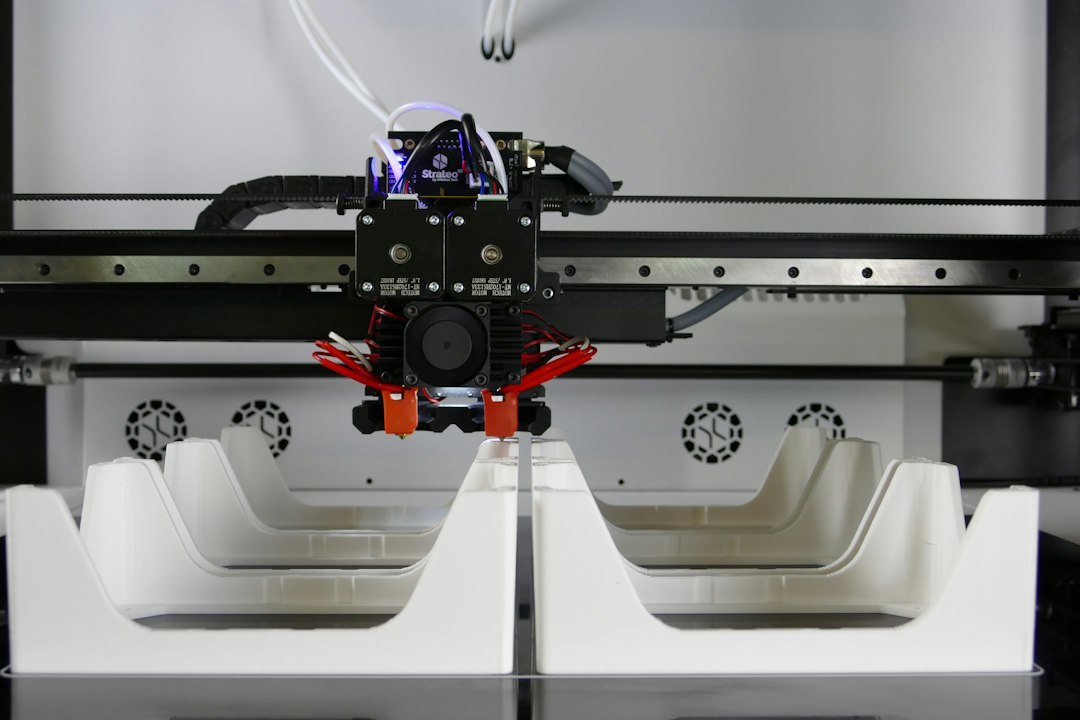
Warping happens when part of an FDM print lifts from the build plate or bends as the plastic cools. It is especially noticeable at corners of large flat models. The underlying issue is thermal contraction: different regions cool at different times, creating stress that can overcome bed adhesion.

Cause 1: poor first-layer adhesion
If the first layer is not firmly attached, shrinkage can pull corners upward. Confirm bed cleanliness, first-layer height and extrusion before changing advanced settings.
Cause 2: build plate contamination
Finger oils and residue reduce adhesion. Clean the plate using the method recommended for its surface. Avoid touching the printing region after cleaning.
Cause 3: incorrect bed temperature
A bed that is too cool may allow the bottom layers to contract too quickly. Use a validated material profile and adjust cautiously. Excessive heat can also create dimensional or surface issues.

Cause 4: drafts
Air from a fan, air conditioner or open window can cool one side faster than another. Materials such as ABS and ASA are particularly sensitive. An enclosure can create a more stable thermal environment when the printer and material are designed for it.
Cause 5: material shrinkage
Different polymers contract by different amounts. PLA is generally easier to manage than ABS for large open-frame prints. Material choice can therefore be part of solving warping.
Cause 6: model geometry
Long sharp corners and large flat footprints concentrate shrinkage stress. Rounded corners, segmented designs or strategically added anti-warp features can help.
Cause 7: insufficient brim
A brim increases the first-layer contact area around the part. It can be useful for narrow footprints and corners that tend to lift. The brim must later be removed, so use only as much as needed.

Cause 8: first layer is too fast
Printing the first layer more slowly gives extrusion time to form consistent contact with the bed. A fast first layer can expose calibration and adhesion problems.
Cause 9: excessive cooling too early
Part cooling is useful for overhangs and PLA detail, but aggressive cooling during the first layers can work against bed adhesion. Material-specific fan profiles are important.
Cause 10: bed is not mechanically consistent
If one corner of the bed is too far from the nozzle, adhesion can vary across the footprint. Verify bed tramming, leveling or mesh calibration according to the printer.
First-layer inspection
Watch the first layer. Lines should bond consistently without being round and barely attached or excessively squashed. A perfect-looking upper print cannot compensate for a poor foundation.
Brim versus raft
A brim extends outward from the model and uses relatively little material. A raft creates a separate printed platform under the model. Modern well-calibrated setups often solve warping without a raft, but specialized cases can still benefit from one.

Enclosure benefits
An enclosure reduces rapid ambient temperature changes and drafts. For higher-temperature materials, chamber behavior can be important. Follow printer safety guidance and do not enclose electronics in a way that creates overheating risk.
Design changes that reduce warping
- Round sharp external corners
- Reduce large uninterrupted flat regions where practical
- Split very large models
- Add removable mouse ears to problem corners
- Orient the model to reduce footprint stress
Warping and dimensional accuracy
Even mild corner lift can distort hole locations and assembly surfaces. A print may finish successfully but still fail to fit. Functional components should be inspected on a flat surface after cooling.
Do adhesives solve everything?
Bed adhesives can help on compatible surfaces, but they should not hide major calibration problems. Start with a clean, correctly prepared build surface and appropriate temperature.
Material-specific approach
- PLA: usually manageable with good first-layer setup.
- PETG: needs suitable bed preparation and can adhere strongly to some surfaces.
- ABS/ASA: benefit greatly from thermal stability and draft control.
- Nylon: moisture and shrinkage management are important.

Troubleshooting order
- Clean the build plate.
- Verify first-layer calibration.
- Use the correct bed temperature.
- Reduce first-layer speed if needed.
- Control drafts.
- Adjust early-layer cooling.
- Add a brim.
- Consider enclosure and material behavior.
- Modify geometry for persistent cases.
Common mistakes
- Adding extreme bed temperature immediately
- Ignoring a dirty build plate
- Running an air conditioner directly at the printer
- Using aggressive fan cooling on the first layer
- Printing large ABS parts in unstable ambient conditions
- Removing the part before it cools appropriately
Conclusion
Warping is a thermal and adhesion problem, so the best solution usually combines a strong first layer with controlled cooling. Clean the bed, verify calibration, use material-appropriate temperatures and reduce drafts before reaching for extreme settings. Artin3D plans material, orientation and process conditions according to the requirements of suitable client prints. Artin3D – Where ideas take shape.


