
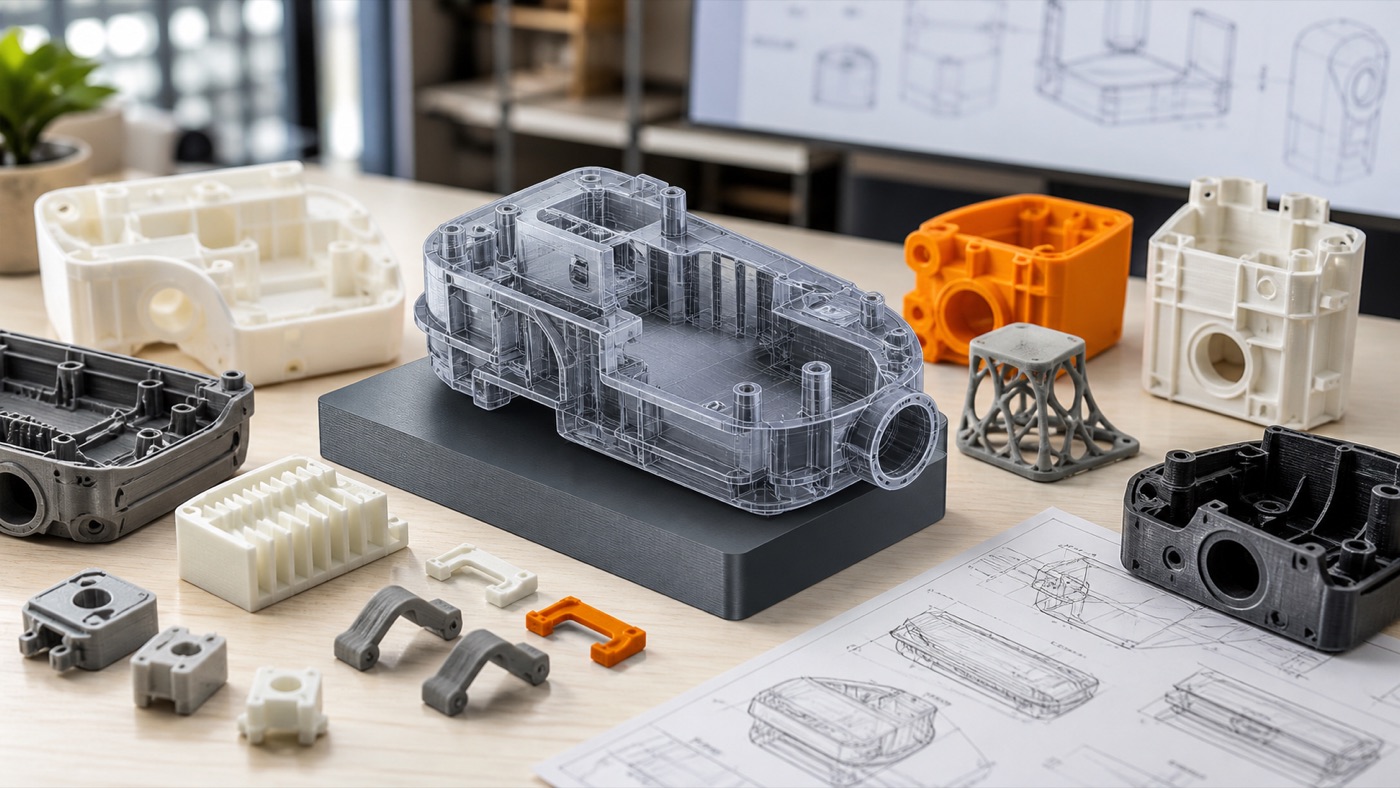
অনেক custom 3D printing project শুরু হয় কোনো STL file দিয়ে নয়, বরং একটি photo, hand sketch বা rough idea দিয়ে। সেখান থেকে usable 3D printed product বানাতে কয়েকটি structured ধাপ অনুসরণ করতে হয়—reference analysis, measurement, CAD modeling, printability review, prototype এবং final production।

ধাপ ১: Reference Collect করা
একটি single front photo shape বোঝাতে সাহায্য করে, কিন্তু depth ও scale বোঝায় না। সম্ভব হলে front, side, top এবং detail photo দিন। Hand sketch হলে dimension mark করুন।
ধাপ ২: Known Dimension দরকার
Photo থেকে exact size অনুমান করা যায় না। অন্তত একটি known measurement—যেমন overall width 80 mm—দিলে proportional scaling করা সম্ভব হয়। Functional part-এর ক্ষেত্রে multiple measurements আরও ভালো।

ধাপ ৩: Product-এর Function বোঝা
শুধু visual copy আর functional engineering design এক জিনিস নয়। Product কি load নেবে, screw থাকবে, PCB বসবে, snap fit হবে, হাতে ধরা হবে নাকি শুধু display—এই information CAD সিদ্ধান্ত বদলায়।
ধাপ ৪: CAD Blockout
প্রথমে basic proportion, body এবং major feature তৈরি করা হয়। এরপর hole, cutout, fillet, text, logo, ribs এবং assembly feature যোগ করা হয়। Mechanical project-এ dimension-driven CAD গুরুত্বপূর্ণ।

ধাপ ৫: Printability Check
Wall thickness, overhang, support, tolerance এবং build volume review করা হয়। Screen-এ সুন্দর model print করলে weak বা impossible হতে পারে—তাই additive manufacturing-এর জন্য geometry optimize করা দরকার।
ধাপ ৬: Client Approval
CAD screenshot বা render client-এর সাথে share করে overall shape ও important dimension confirm করা হয়। এই stage-এ correction করা printed part revise করার চেয়ে সস্তা।
ধাপ ৭: Prototype Print
Assembly-critical part হলে প্রথমে one-piece prototype করা উচিত। হাতে ধরে ergonomics, fitting, hole alignment এবং visual proportion test করা যায়।

ধাপ ৮: Revision
Prototype test-এ সমস্যা পাওয়া গেলে CAD update করা হয়। Lid tight, connector cutout ছোট, wall weak বা grip uncomfortable—সবকিছু physical feedback থেকে improve করা যায়।
ধাপ ৯: Final Material Selection
Early prototype PLA-তে করা হলেও final part PETG, ASA, TPU বা অন্য material-এ হতে পারে। Application অনুযায়ী final material ঠিক করুন।
ধাপ ১০: Production ও Finishing
Final model approve হলে required quantity print করা হয়। Support removal, sanding, insert installation, assembly বা painting scope অনুযায়ী করা যায়।

Photo থেকে Model বানাতে কোন তথ্য সবচেয়ে useful?
- Front/side/top photo
- Known dimensions
- Close-up of holes or connectors
- Intended function
- Material preference
- Assembly method
- Target quantity
কখন 3D Scan দরকার হতে পারে?
Organic surface, human face, complex sculpture বা irregular curvature manual measurement-এ কঠিন হলে scanning useful হতে পারে। তবে scan data-ও অনেক সময় cleanup ও CAD reconstruction চায়।
শেষ কথা
Photo বা sketch থেকে 3D printed product বানানো সম্ভব, কিন্তু reliable result-এর জন্য reference এবং measurement-এর quality গুরুত্বপূর্ণ। Artin3D client-এর idea বা visual reference থেকে CAD design, prototype এবং final 3D printed part তৈরির workflow support করে।
Artin3D — আপনার আইডিয়া, আমাদের নিখুঁত বাস্তবতা।


