
খুব ছোট model-এ একটি 0.2 mm edge, চোখের recess বা finger পুরো character-এর quality বদলে দিতে পারে। Detail রক্ষার কাজ printer setting-এর আগে source model ও scale review থেকে শুরু হয়।
Full-size sculpt ছোট scale-এ নামালে প্রতিটি feature proportionalভাবে print-friendly থাকে না। Screen-এ চোখ, button বা hair strand দেখা গেলেও pixel, exposure ও cleaning force-এর তুলনায় সেগুলো খুব ছোট হতে পারে। তাই শুধু scale command নয়, miniature-specific exaggeration ও thickening দরকার হতে পারে।
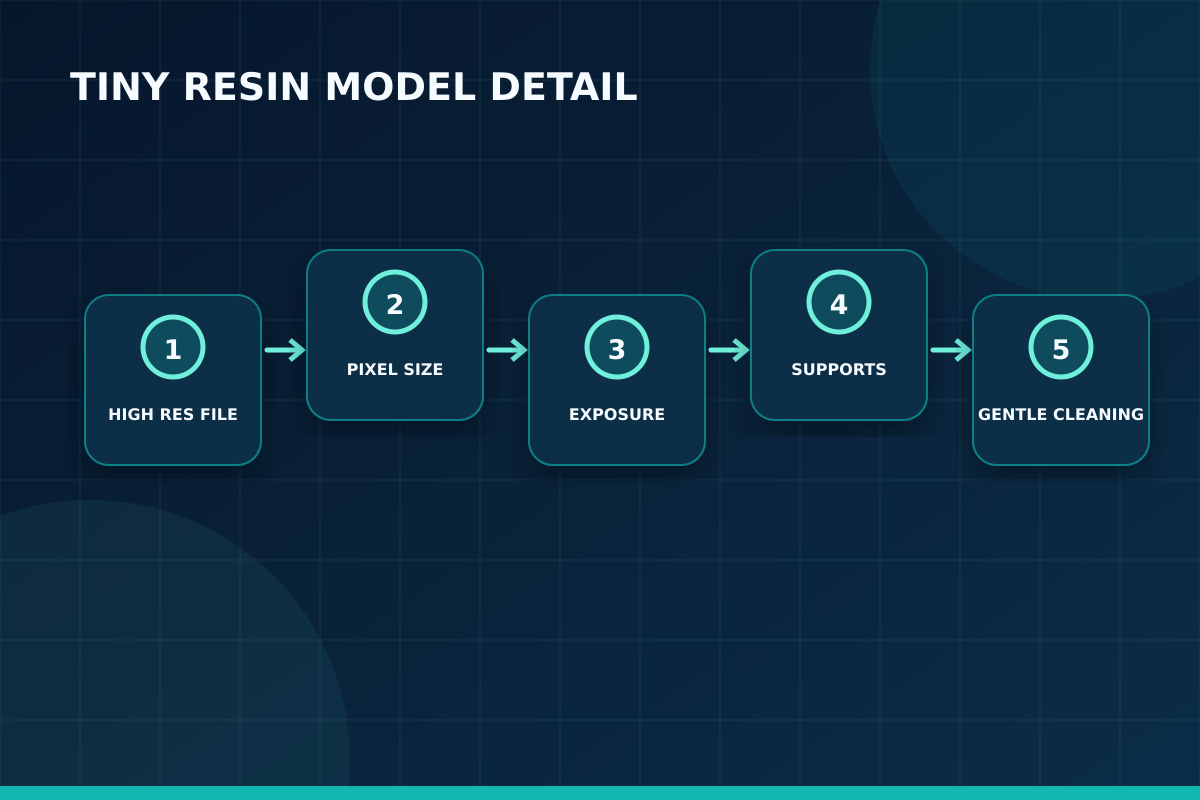
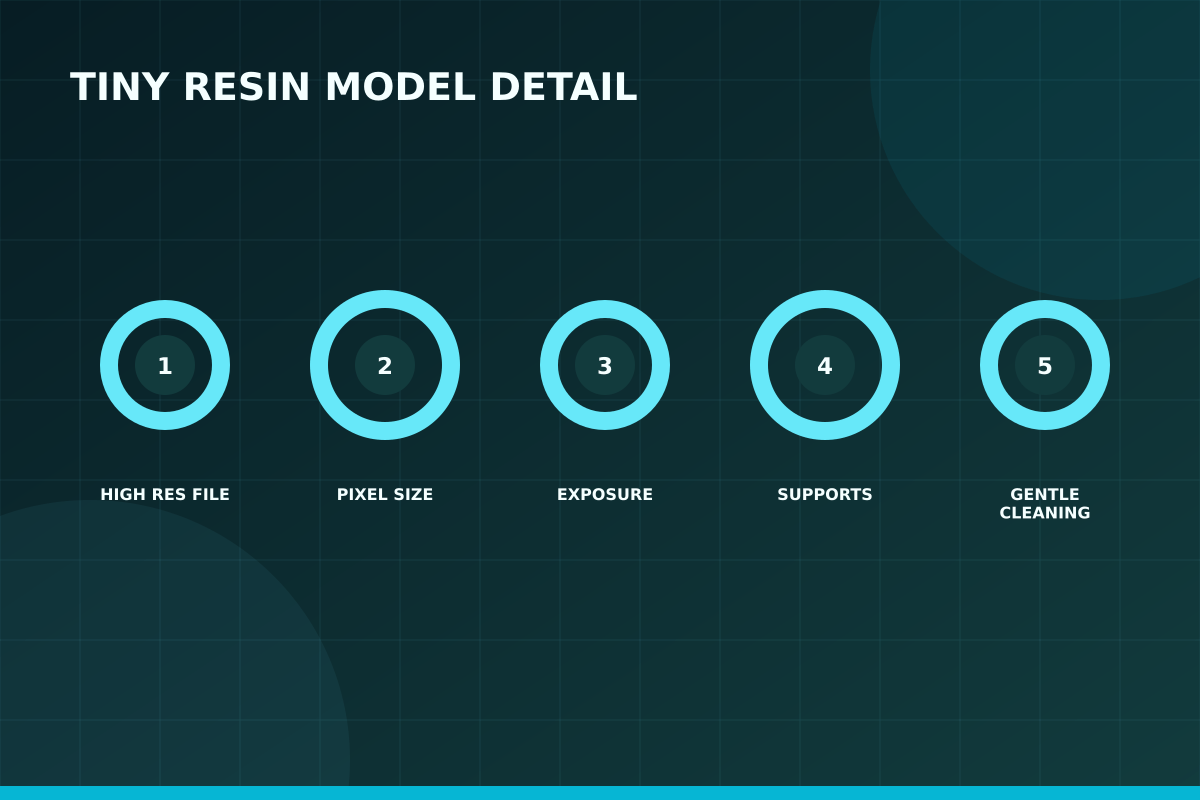
Tiny model workflow-এ পাঁচটি filter আছে: digital mesh, printer resolution, resin response, support/orientation এবং post-processing। Detail যে filter-এ হারায় সেটি আগে চিহ্নিত করলে random setting change কমে।
সংক্ষিপ্ত উত্তর
High-resolution watertight mesh, printable minimum feature, calibrated exposure, critical face-protecting orientation, fine কিন্তু reliable support, clean two-stage wash এবং thin primer ব্যবহার করুন। Full model-এর আগে face/hand/texture crop test print করুন।
Scale করার পর Feature Audit
100 mm figure-কে 32 mm করলে 0.6 mm belt line প্রায় 0.19 mm হয়ে যায়। তাই scale শেষে positive feature, engraved gap, wall, finger, weapon ও ankle measure করুন। Important detail সামান্য exaggerate করা artistic cheating নয়; final viewing distance ও manufacturing limit অনুযায়ী design compensation। Silhouette first—দূর থেকে readable shape micro texture-এর চেয়ে বেশি মূল্যবান।
প্র্যাকটিক্যাল সিদ্ধান্ত নেওয়ার সময় শুধু screen preview দেখে থেমে গেলে চলবে না। Model-এর visible face, load direction, trapped resin, suction force এবং পরে support removal—সবগুলো ধাপ একসঙ্গে কল্পনা করতে হবে। যে orientation print সফল করে কিন্তু গুরুত্বপূর্ণ face-এ গভীর mark রেখে দেয়, সেটিকে ভালো orientation বলা যায় না।
Mesh Resolution ও Export
Low-poly mesh tiny model-এ flat cheek, faceted helmet ও broken circle তৈরি করে। Sculpt software থেকে export-এর সময় decimation এমন রাখুন যাতে visual surface বজায় থাকে কিন্তু file অপ্রয়োজনীয় বিশাল না হয়। Non-manifold edge, reversed normal ও floating shell repair করুন। Slicer preview-তে প্রতিটি layer-এ thin element continuity আছে কি না দেখুন।
একটি নির্ভরযোগ্য workflow হলো একবারে একটি variable পরিবর্তন করা। প্রথম test-এর ছবি, resin batch, temperature, layer height ও exposure লিখে রাখুন। পরের test-এ শুধু একটি parameter বদলান। এতে improvement কোন পরিবর্তনের কারণে হয়েছে বোঝা যায়; একই সঙ্গে ভবিষ্যতের repeat order-এ consistent result পাওয়া সহজ হয়।
Pixel Size ও Practical Limit
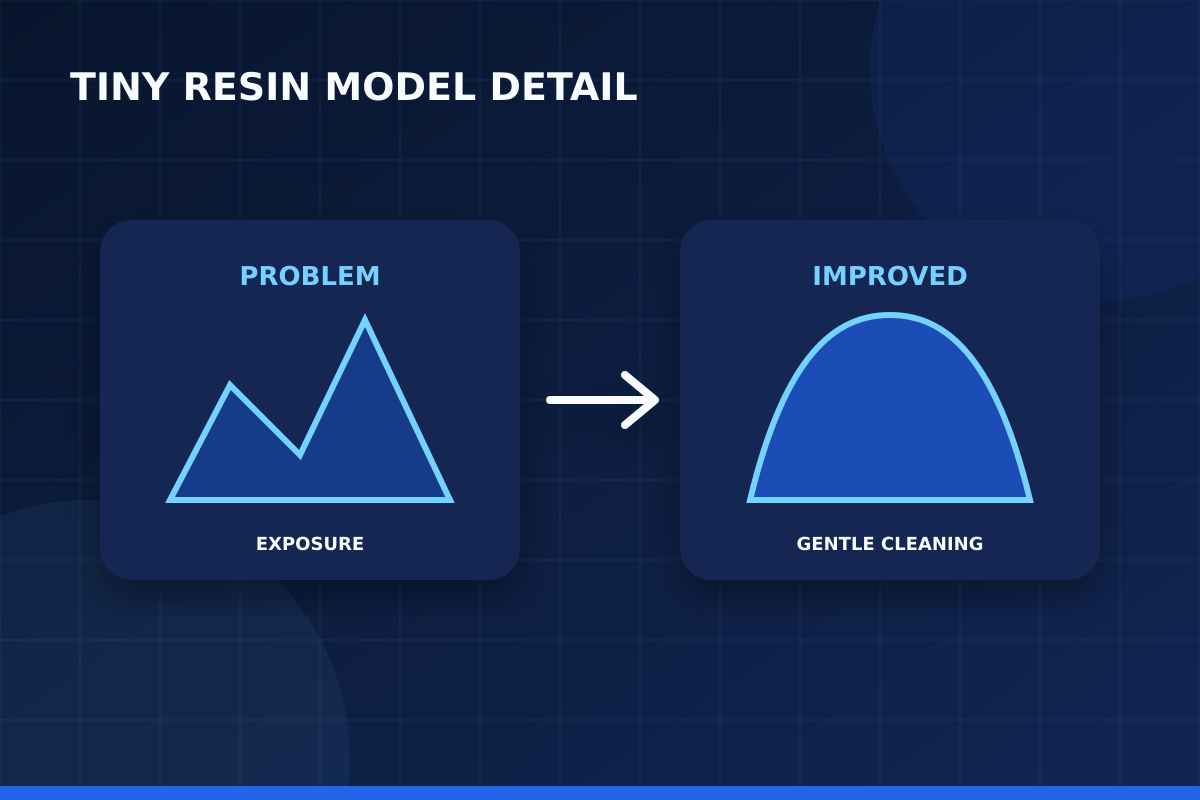
Printer-এর nominal pixel size minimum guaranteed feature নয়। One-pixel line reliableভাবে survive নাও করতে পারে, কারণ optical spread ও exposure margin দরকার। Positive pin, negative gap ও text-এর জন্য আলাদা calibration coupon print করুন। Tiny face print করার আগে printer-resin combination-এর repeatable limit জানা থাকলে model modification data-driven হয়।
ছোট feature-এর ক্ষেত্রে digital model-এর detail থাকাই যথেষ্ট নয়; printer-এর XY resolution, layer height, resin behavior এবং cleaning method সেই detail বাঁচাতে পারছে কি না সেটিও জরুরি। Design-এর সবচেয়ে পাতলা অংশ printer-এর practical limit-এর কাছাকাছি হলে সামান্য scale increase বা controlled thickening অনেক সময় দৃশ্যমান পার্থক্য তৈরি করে।
Exposure Calibrate করুন
Overexposure raised feature মোটা করে এবং eye/mouth recess বন্ধ করে; underexposure thin support ও blade missing করে। Generic exposure tower useful, কিন্তু final decision একই scale-এর actual face বা armour crop দিয়ে নিন। Room temperature ও resin mixing constant রাখুন। নতুন colour বা batch এলে quick confirmation print করুন।
Safety-কে finishing-এর আলাদা বিষয় ভাবা ঠিক নয়। Uncured resin skin contact এড়াতে উপযুক্ত nitrile glove, eye protection ও পরিষ্কার work area দরকার। Resin এবং contaminated cleaning liquid স্থানীয় নিয়ম মেনে dispose করতে হবে; sink বা খোলা জায়গায় ফেলা উচিত নয়। নির্দিষ্ট wash ও cure time সবসময় resin manufacturer-এর নির্দেশনা অনুযায়ী ঠিক করুন।
Orientation ও Face Protection
Face, chest emblem ও front hand support-free রাখতে model পিছনে সামান্য tilt করা যায়। কিন্তু thin ankle-এ পুরো body-এর load দিলে failure হতে পারে; base/feet-এ stronger anchor ও hidden back support দিন। Weapon tip বা finger নতুন island হিসেবে কখন শুরু হচ্ছে layer preview-তে দেখুন। Long thin spear-এর জন্য separate print/assembly অনেক সময় safer।
Professional result-এর জন্য “আরও বেশি” সবসময় “আরও ভালো” নয়। বেশি exposure fine gap বন্ধ করতে পারে, বেশি support surface নষ্ট করতে পারে, বেশি cure brittleness বাড়াতে পারে এবং aggressive washing সূক্ষ্ম অংশ ভেঙে দিতে পারে। লক্ষ্য হলো model ও resin অনুযায়ী balanced setting, সর্বোচ্চ setting নয়।
Support Size বনাম Reliability
সব support micro করলে print detach হতে পারে; heavy support মুখে দিলে detail নষ্ট। Base ও body-তে load-bearing anchor, limbs-এ medium brace এবং final tips-এ light contact—এই hierarchy ব্যবহার করুন। Thin feature-এর মাঝখানে support টানার বদলে root-এর কাছাকাছি stabilize করুন। Removal tool access না থাকলে support design সফল হলেও finishing ব্যর্থ হবে।
Batch production-এর আগে একটি approved master sample রাখা কার্যকর। সেই sample-এর dimensions, surface, support marks ও colour দেখে পরবর্তী batch তুলনা করা যায়। একই model আবার print করতে হলে resin ভালোভাবে mix করা, tank inspect করা এবং validated file ব্যবহার করা consistency বাড়ায়।
Gentle Wash, Dry ও Cure
Tiny part aggressive agitation-এ ভাঙতে পারে এবং dirty solvent recess ভরতে পারে। Short controlled wash, clean rinse এবং low-force drying ব্যবহার করুন। Loose support fragment cavity-তে আছে কি না magnification-এ দেখুন। Full dry-এর পরে resin-specific cure দিন; tiny cross-section দ্রুত warm হতে পারে, তাই unvalidated heat বা excessive time এড়িয়ে চলুন।
Cost হিসাবেও failed print-এর প্রভাব বড়। শুধু model-এর resin নয়, support, wash liquid, gloves, machine time এবং finishing labour যোগ হয়। তাই preparation-এ কয়েক মিনিট বেশি ব্যয় করে orientation ও support review করা প্রায়ই দ্রুত print শুরু করার চেয়ে লাভজনক।
Primer, Paint ও Inspection
Macro photo raw print-এর defect বড় করে দেখায়, কিন্তু final viewing distanceও বিবেচনা করুন। Thin mist primer layer surface unify করে; thick coat চোখ, chainmail ও engraved line ঢেকে দেয়। Paint-এর প্রতিটি layer thin রাখুন এবং recess flood করবেন না। 5x–10x magnification দিয়ে support nub inspect করুন, তবে sanding-এ intentional texture flatten করবেন না।
Resin printing-এ কোনো setting আলাদাভাবে কাজ করে না। Layer height, exposure, lift movement, support এবং model geometry একে অন্যকে প্রভাবিত করে। তাই production model-এ যাওয়ার আগে একই resin, একই room condition এবং একই profile দিয়ে ছোট validation print করা ভালো। এতে failure হলে কারণ চিহ্নিত করা সহজ হয় এবং অপ্রয়োজনীয় resin নষ্ট কমে।
ধাপে ধাপে Practical Workflow
- Final scale-এ model measure করুন।
- Vulnerable feature thicken/exaggerate করুন।
- Fine mesh export ও repair করুন।
- Pixel/exposure coupon print করুন।
- Face-protecting orientation ও graded support দিন।
- Critical crop validation print করুন।
- Gentle wash, dry ও controlled cure করুন।
- Thin primer-এর পরে detail acceptance করুন।
দ্রুত সিদ্ধান্তের Checklist
- Final scale-এ finger/weapon printable?
- Negative recess exposure margin পেয়েছে?
- Face-এ touchpoint নেই?
- Body load-এর strong anchor আছে?
- Clean rinse ও gentle handling plan আছে?
- Primer coat thin রাখা হবে?
Common Mistakes
- Full-size sculpt শুধু scale down করা।
- One-pixel feature reliable ধরে নেওয়া।
- সব support একই micro size করা।
- Face সামনে রেখে plate-এর দিকে দেওয়া।
- Thick primer দিয়ে defect ঢাকতে যাওয়া।
প্রায় জিজ্ঞাসিত প্রশ্ন
1:64 figure কত layer height-এ print করব?
0.03–0.05 mm common starting range, কিন্তু XY pixel, resin ও model orientation বেশি গুরুত্বপূর্ণ হতে পারে। Actual crop test করুন।
Tiny finger বারবার missing কেন?
Feature খুব thin, exposure কম, island unsupported বা wash force বেশি হতে পারে। Root thickening ও support preview করুন।
Anti-aliasing detail নষ্ট করে?
High blur small engraving soften করতে পারে। Off/low/high setting-এ একই face crop compare করে সিদ্ধান্ত নিন।
Miniature solid নাকি hollow?
খুব ছোট figure সাধারণত solid রাখা সহজ; hollow করলে wall, drain ও cleaning complexity বাড়ে। Size ও resin volume দেখে সিদ্ধান্ত নিন।
Magnification-এ rough দেখালে print খারাপ?
Macro view diagnostic, কিন্তু acceptance final viewing distance ও intended use অনুযায়ী। Paint master-এর standard display miniature-এর থেকে কঠোর হতে পারে।
Tiny model delivery-তে কীভাবে protect করব?
Fully cured part, removable weapon হলে separate packing, soft non-abrasive support এবং rigid outer box ব্যবহার করুন।
বাস্তব প্রয়োগের নোট 1: Scale করার পর Feature Audit
100 mm figure-কে 32 mm করলে 0.6 mm belt line প্রায় 0.19 mm হয়ে যায়। তাই scale শেষে positive feature, engraved gap, wall, finger, weapon ও ankle measure করুন। Important detail সামান্য exaggerate করা artistic cheating নয়; final viewing distance ও manufacturing limit অনুযায়ী design compensation। Silhouette first—দূর থেকে readable shape micro texture-এর চেয়ে বেশি মূল্যবান। Safety-কে finishing-এর আলাদা বিষয় ভাবা ঠিক নয়। Uncured resin skin contact এড়াতে উপযুক্ত nitrile glove, eye protection ও পরিষ্কার work area দরকার। Resin এবং contaminated cleaning liquid স্থানীয় নিয়ম মেনে dispose করতে হবে; sink বা খোলা জায়গায় ফেলা উচিত নয়। নির্দিষ্ট wash ও cure time সবসময় resin manufacturer-এর নির্দেশনা অনুযায়ী ঠিক করুন। এই পর্যবেক্ষণটি Tiny Resin Model Detail নিয়ে কাজ করার সময় decision log-এ লিখে রাখলে পরবর্তী print বা production batch-এ একই ভুল পুনরাবৃত্তি হওয়ার ঝুঁকি কমে।
বাস্তব প্রয়োগের নোট 2: Mesh Resolution ও Export
Low-poly mesh tiny model-এ flat cheek, faceted helmet ও broken circle তৈরি করে। Sculpt software থেকে export-এর সময় decimation এমন রাখুন যাতে visual surface বজায় থাকে কিন্তু file অপ্রয়োজনীয় বিশাল না হয়। Non-manifold edge, reversed normal ও floating shell repair করুন। Slicer preview-তে প্রতিটি layer-এ thin element continuity আছে কি না দেখুন। Professional result-এর জন্য “আরও বেশি” সবসময় “আরও ভালো” নয়। বেশি exposure fine gap বন্ধ করতে পারে, বেশি support surface নষ্ট করতে পারে, বেশি cure brittleness বাড়াতে পারে এবং aggressive washing সূক্ষ্ম অংশ ভেঙে দিতে পারে। লক্ষ্য হলো model ও resin অনুযায়ী balanced setting, সর্বোচ্চ setting নয়। এই পর্যবেক্ষণটি Tiny Resin Model Detail নিয়ে কাজ করার সময় decision log-এ লিখে রাখলে পরবর্তী print বা production batch-এ একই ভুল পুনরাবৃত্তি হওয়ার ঝুঁকি কমে।
বাস্তব প্রয়োগের নোট 3: Pixel Size ও Practical Limit
Printer-এর nominal pixel size minimum guaranteed feature নয়। One-pixel line reliableভাবে survive নাও করতে পারে, কারণ optical spread ও exposure margin দরকার। Positive pin, negative gap ও text-এর জন্য আলাদা calibration coupon print করুন। Tiny face print করার আগে printer-resin combination-এর repeatable limit জানা থাকলে model modification data-driven হয়। Batch production-এর আগে একটি approved master sample রাখা কার্যকর। সেই sample-এর dimensions, surface, support marks ও colour দেখে পরবর্তী batch তুলনা করা যায়। একই model আবার print করতে হলে resin ভালোভাবে mix করা, tank inspect করা এবং validated file ব্যবহার করা consistency বাড়ায়। এই পর্যবেক্ষণটি Tiny Resin Model Detail নিয়ে কাজ করার সময় decision log-এ লিখে রাখলে পরবর্তী print বা production batch-এ একই ভুল পুনরাবৃত্তি হওয়ার ঝুঁকি কমে।
বাস্তব প্রয়োগের নোট 4: Exposure Calibrate করুন
Overexposure raised feature মোটা করে এবং eye/mouth recess বন্ধ করে; underexposure thin support ও blade missing করে। Generic exposure tower useful, কিন্তু final decision একই scale-এর actual face বা armour crop দিয়ে নিন। Room temperature ও resin mixing constant রাখুন। নতুন colour বা batch এলে quick confirmation print করুন। Cost হিসাবেও failed print-এর প্রভাব বড়। শুধু model-এর resin নয়, support, wash liquid, gloves, machine time এবং finishing labour যোগ হয়। তাই preparation-এ কয়েক মিনিট বেশি ব্যয় করে orientation ও support review করা প্রায়ই দ্রুত print শুরু করার চেয়ে লাভজনক। এই পর্যবেক্ষণটি Tiny Resin Model Detail নিয়ে কাজ করার সময় decision log-এ লিখে রাখলে পরবর্তী print বা production batch-এ একই ভুল পুনরাবৃত্তি হওয়ার ঝুঁকি কমে।
বাস্তব প্রয়োগের নোট 5: Orientation ও Face Protection
Face, chest emblem ও front hand support-free রাখতে model পিছনে সামান্য tilt করা যায়। কিন্তু thin ankle-এ পুরো body-এর load দিলে failure হতে পারে; base/feet-এ stronger anchor ও hidden back support দিন। Weapon tip বা finger নতুন island হিসেবে কখন শুরু হচ্ছে layer preview-তে দেখুন। Long thin spear-এর জন্য separate print/assembly অনেক সময় safer। Resin printing-এ কোনো setting আলাদাভাবে কাজ করে না। Layer height, exposure, lift movement, support এবং model geometry একে অন্যকে প্রভাবিত করে। তাই production model-এ যাওয়ার আগে একই resin, একই room condition এবং একই profile দিয়ে ছোট validation print করা ভালো। এতে failure হলে কারণ চিহ্নিত করা সহজ হয় এবং অপ্রয়োজনীয় resin নষ্ট কমে। এই পর্যবেক্ষণটি Tiny Resin Model Detail নিয়ে কাজ করার সময় decision log-এ লিখে রাখলে পরবর্তী print বা production batch-এ একই ভুল পুনরাবৃত্তি হওয়ার ঝুঁকি কমে।
শেষ কথা
Tiny resin detail printer resolution দিয়ে শুরু হলেও design compensation এবং gentle finishing দিয়ে শেষ হয়। Final scale-এর feature audit ছাড়া high-resolution machine-ও missing detail ফিরিয়ে আনতে পারে না।
Critical crop test full figure failure-এর চেয়ে অনেক কম খরচে profile ও model approve করে—small-scale production-এ এটি সবচেয়ে কার্যকর অভ্যাস।
আপনার model, sample, measurement বা project requirement পাঠালে Artin3D team printability, material, orientation এবং finishing requirement review করে উপযুক্ত solution প্রস্তাব করতে পারে। Artin3D-এর সঙ্গে যোগাযোগ করুন।
Artin3D – Where ideas take shape.


