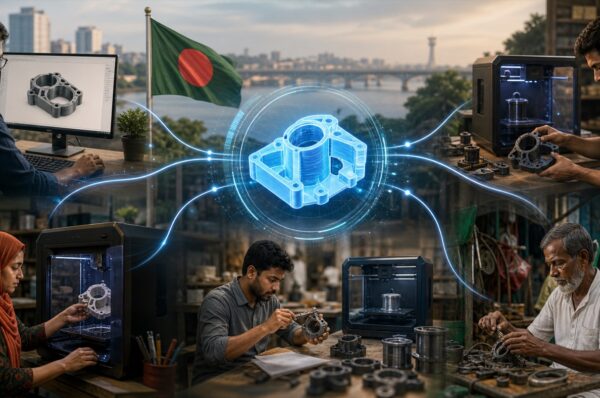
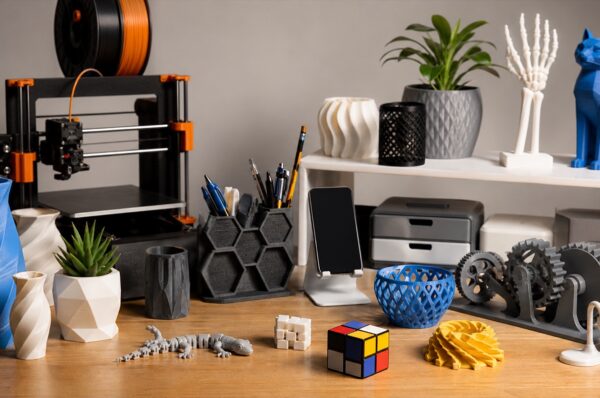
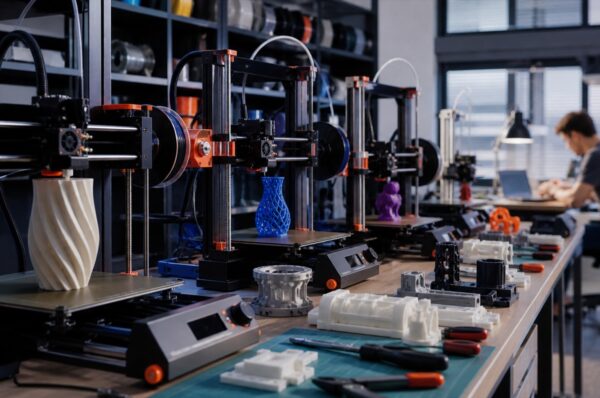
Many products begin in the same place: an idea. You can imagine the shape, understand the problem it should solve and perhaps even sketch it on paper, but turning that idea into something you can physically hold is the difficult part. Custom 3D printing in Bangladesh provides a practical bridge between concept and real object.
Whether you are developing a new product, making a one-off replacement part, building an electronics enclosure or preparing a university project, 3D printing allows you to create and test physical versions without starting with expensive tooling.
What Does “Custom 3D Printing” Actually Mean?
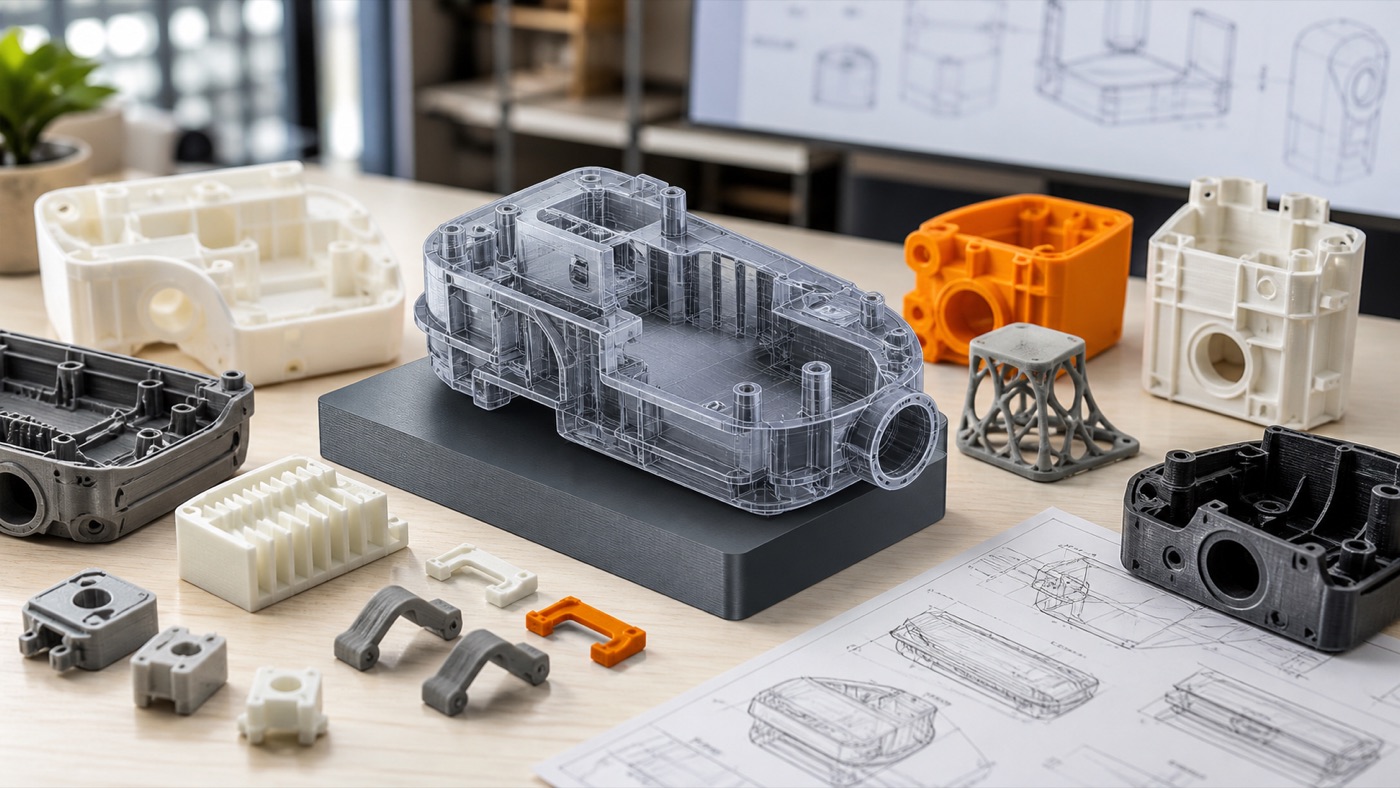
Custom printing means the object is manufactured for your specific requirement rather than selected from a shelf. The design can be completely original or adapted around an existing component. Size, mounting points, openings, text, shape and internal features can all be adjusted in the digital model before manufacturing.
This flexibility is one reason 3D printing is useful for prototypes and low-volume products. A design can change without rebuilding an expensive mold.
Stage 1: Define the Problem
Before opening CAD software, clearly define what the product needs to achieve. A good design starts with requirements. What will the part hold? What must fit inside it? How much load will it experience? Does it need ventilation? Will it be used indoors or outdoors?
For an electronics enclosure, gather the PCB dimensions, connector locations, camera position, buttons, battery and mounting method. For a replacement component, identify the critical dimensions and surfaces that interact with the original machine.
Stage 2: Create the 3D Design
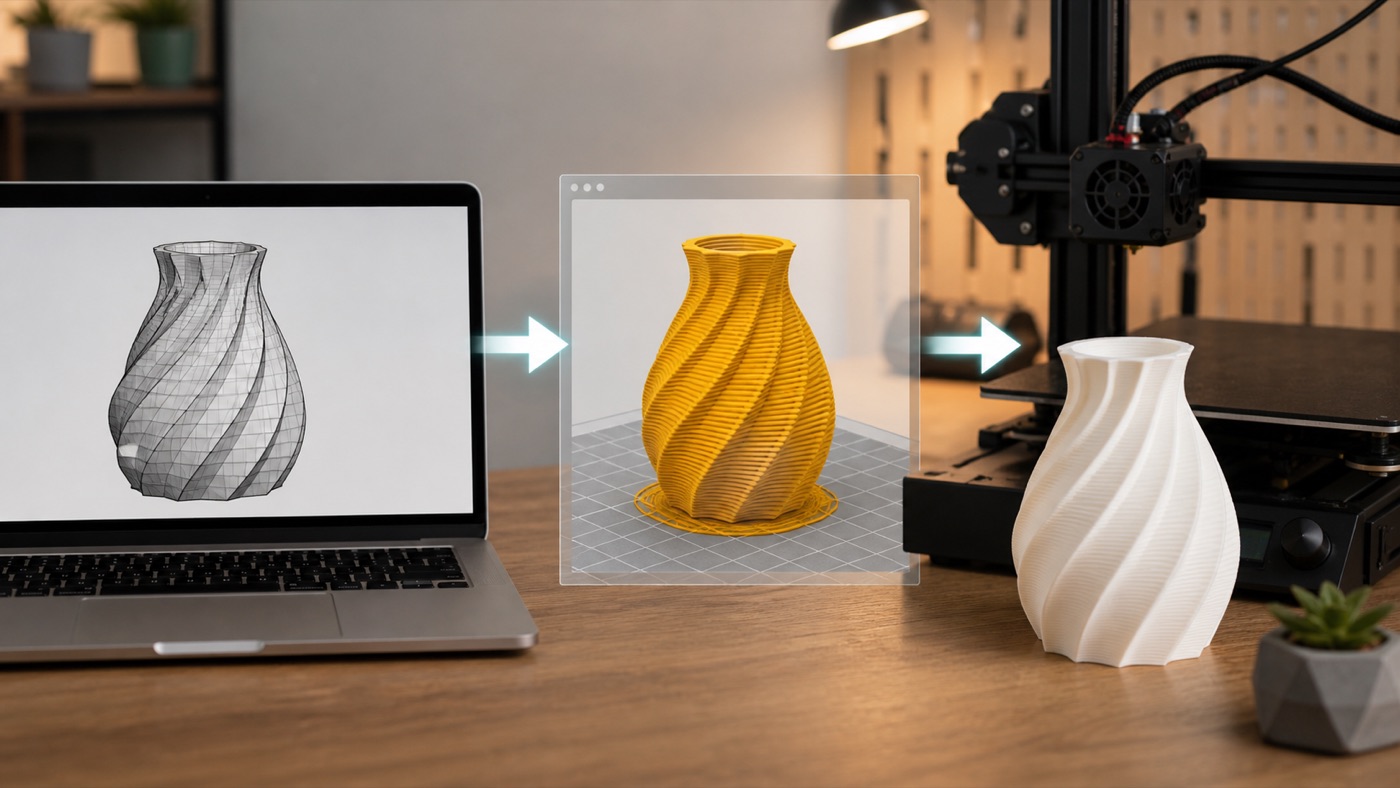
The next step is converting the idea into a digital 3D model. Functional parts are often created with CAD software because dimensions and relationships between features need to be controlled accurately.
Reference photos are helpful, but photos alone cannot always reveal exact dimensions. Measurements, sketches and access to the real component dramatically improve the design process.
Stage 3: Design for 3D Printing
A model that looks good on a screen is not automatically optimized for additive manufacturing. Wall thickness, overhangs, tolerances, orientation and support requirements should be considered before printing.
For example, two parts that slide together need clearance. Screw holes may need to account for the printing process. Thin decorative walls may look elegant in CAD but become fragile in real life. Good design balances appearance, function and manufacturability.
Stage 4: Select FDM or SLA
FDM printing is widely used for functional prototypes, enclosures, jigs, brackets and larger objects. It offers a useful selection of thermoplastic materials and is an efficient choice for many engineering projects.
SLA resin printing is valuable when fine detail is the priority. Small figures, intricate surfaces and detailed presentation models can benefit from the high-resolution nature of resin printing.
The technology should follow the project rather than the other way around.
Stage 5: Choose a Material
Material choice affects strength, flexibility, heat behavior, appearance and cost. PLA is useful for many visual prototypes and general models. PETG is commonly selected for functional applications. TPU offers flexibility. Other materials may be considered when a project has more demanding environmental requirements.
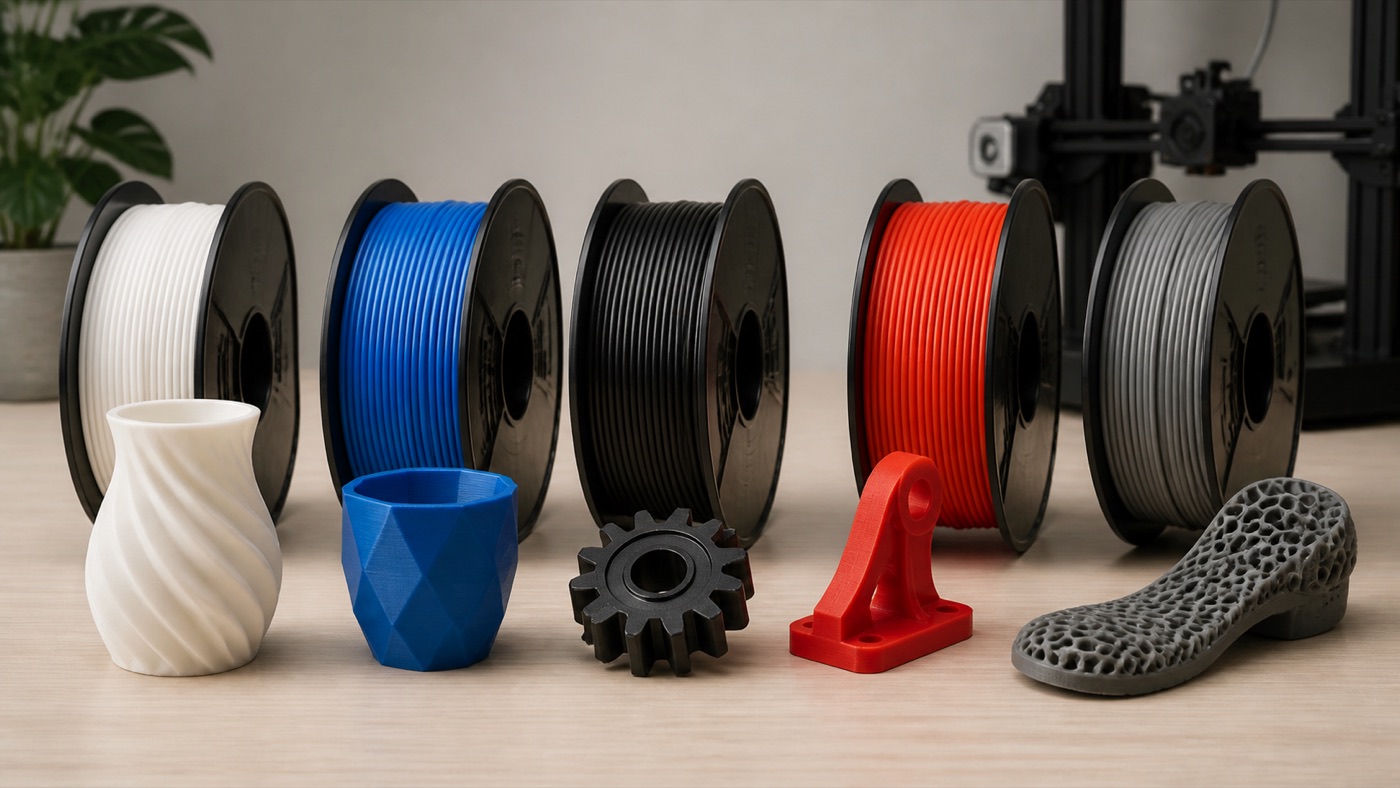
Do not choose material only because its name sounds stronger. A well-designed part printed in an appropriate material can perform better than a poorly oriented part made from a more expensive filament.
Stage 6: Print the First Prototype
The first physical version is where the project becomes interesting. You can finally hold the object, check proportions and discover issues that were difficult to notice on a monitor.
Test the actual components. Insert the PCB. Tighten the screws. Check the grip. Try the hinge. Place the product where it will really be used. A prototype is not merely a display piece; it is a tool for learning.
Stage 7: Improve the Design
Finding a problem in version one is not failure. It is exactly what prototyping is for. Perhaps a cable opening needs to move by a few millimeters, a wall needs reinforcement or a button is uncomfortable to reach.
Update the digital design and print another version. This rapid iteration is one of the most valuable advantages of 3D printing for product development.
Stage 8: Produce the Final Part or Small Batch
After the design has been tested, you can manufacture the final version or a small batch. Multiple parts can also be assembled into a larger product when printing the complete object in one piece would be inefficient.
Depending on the project, post-processing may include support removal, sanding, hardware installation, bearings, magnets or assembly. These steps should be planned during design rather than added as an afterthought.
What Types of Custom Products Can Be Made?
Examples include electronics and AI-camera enclosures, robotics bodies, FPV and RC components, architectural models, holders, brackets, educational models, replacement parts, custom gifts, miniatures, jigs, fixtures and early-stage product prototypes.
What Should You Send to Start a Project?
If you have an STL, STEP or other 3D file, send it. If you do not, provide a clear description, dimensions, reference images and information about any components the design must fit. Mention quantity, material preference if you have one, intended use and deadline.
The more clearly the problem is defined, the faster the path from idea to working object becomes.
Build Your Next Idea With Artin3D
Artin3D works on custom FDM and SLA printing, 3D design and prototype projects. We can work from a prepared model or develop a design around your idea and components.
Start with the problem you want to solve. The physical product can follow.
Artin3D – Where ideas take shape.