A circuit board can work perfectly on a desk and still feel unfinished as a product. The enclosure is what protects electronics, positions controls, manages cables and gives users a safe way to handle the device. For prototypes and low-volume products in Bangladesh, 3D printing is a practical way to create custom enclosures without paying for injection-mold tooling before the design is proven.
Design around the real components
The most reliable enclosure begins with accurate component geometry. PCB dimensions are only the start. Designers must consider connectors, headers, solder joints, buttons, displays, antennas, camera lenses, battery packs and cable bend radius. If possible, work from the physical components or verified manufacturer drawings.
PCB mounting methods
Boards can be held with screw bosses, standoffs, slots or clips depending on the application. Screw bosses need sufficient wall thickness and should not be placed so close to enclosure walls that they create weak sections. Heat-set inserts or captured nuts can improve repeated assembly for suitable designs.
Connector access
USB, HDMI, power, Ethernet and sensor connectors need openings with enough clearance for real plugs, not just the connector body. Test the largest cable head likely to be used. Recessed connectors may require finger clearance around the opening.
Buttons, LEDs and displays
Buttons need travel and should not bind against the enclosure. LEDs may use direct holes, light pipes or translucent inserts. Displays need a visible opening and sometimes a protective clear cover. These user-interface details often determine whether a prototype feels professional.
Ventilation and heat
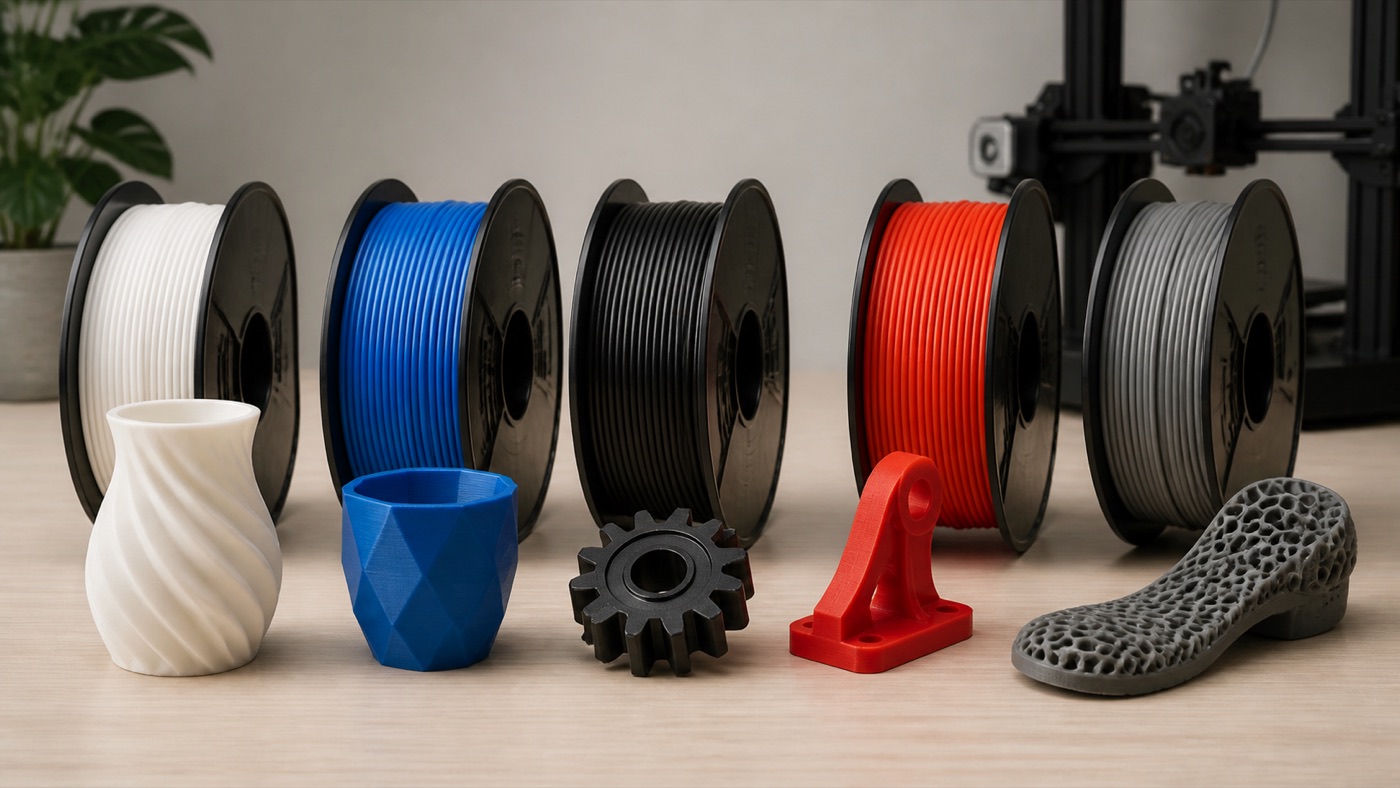
Processors, regulators, batteries and cameras can generate heat. Vent placement should support airflow without exposing sensitive electronics unnecessarily. Material choice also matters. PLA may be appropriate for many indoor prototypes, while PETG, ABS, ASA or other materials may be considered when temperature and environment demand more.
Snap fit, screws or magnets?
Screws are straightforward and serviceable. Snap fits can create a cleaner exterior but require careful geometry and material behavior. Magnets can be useful for removable panels or products that need frequent access. The best closure depends on how often the enclosure will be opened, expected loads and manufacturing tolerance.
Wall thickness and strength
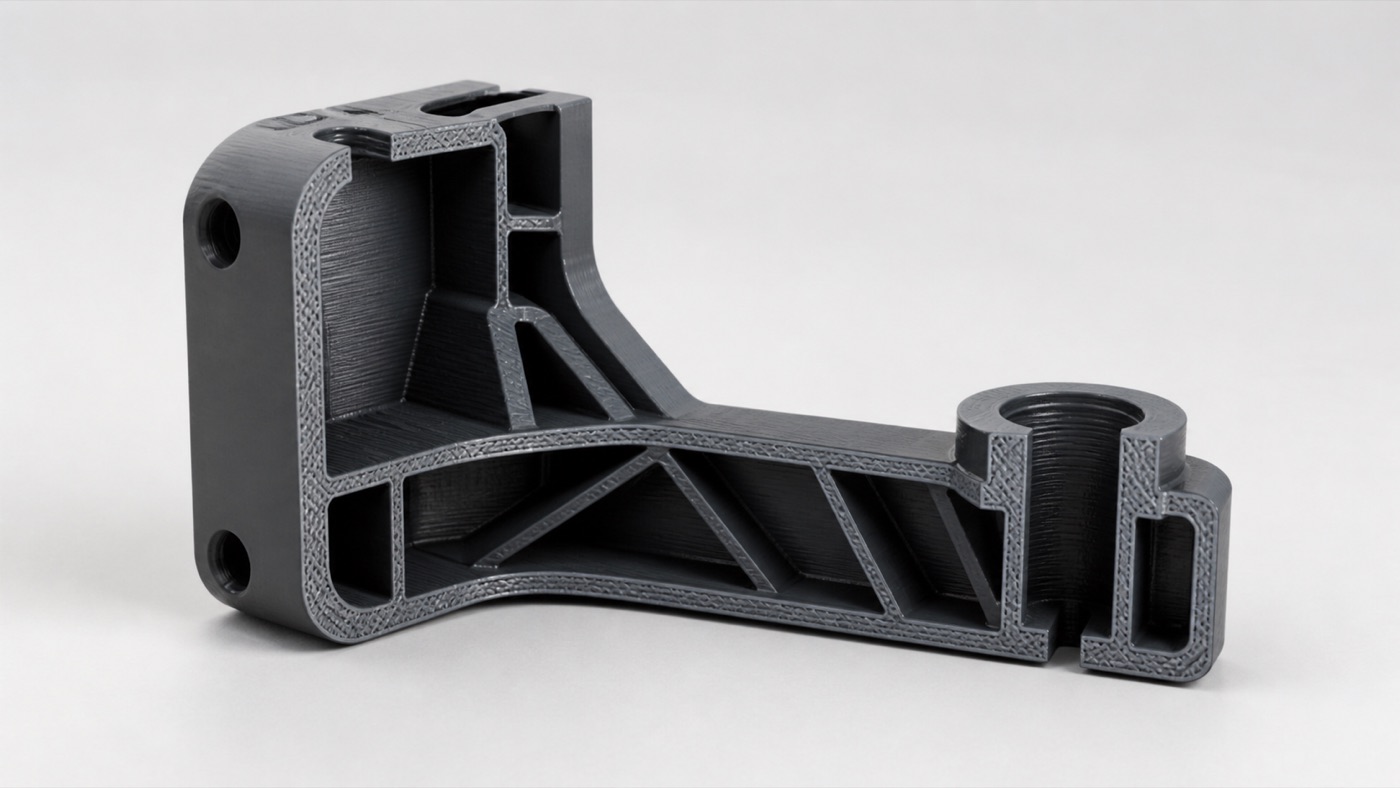
Very thin walls may flex or warp. Extremely thick walls add weight and print time. Use ribs and local reinforcement around screws, mounts and openings rather than making the entire enclosure solid. Rounded internal corners can also improve strength and print quality.
Design for printing
Enclosures should be split so each half prints reliably with minimal support. Overhangs, bridges and internal cavities affect orientation. A design that looks elegant in CAD may require unnecessary support if the manufacturing direction is ignored. Design and printing should be considered together.
Prototype, assemble and revise
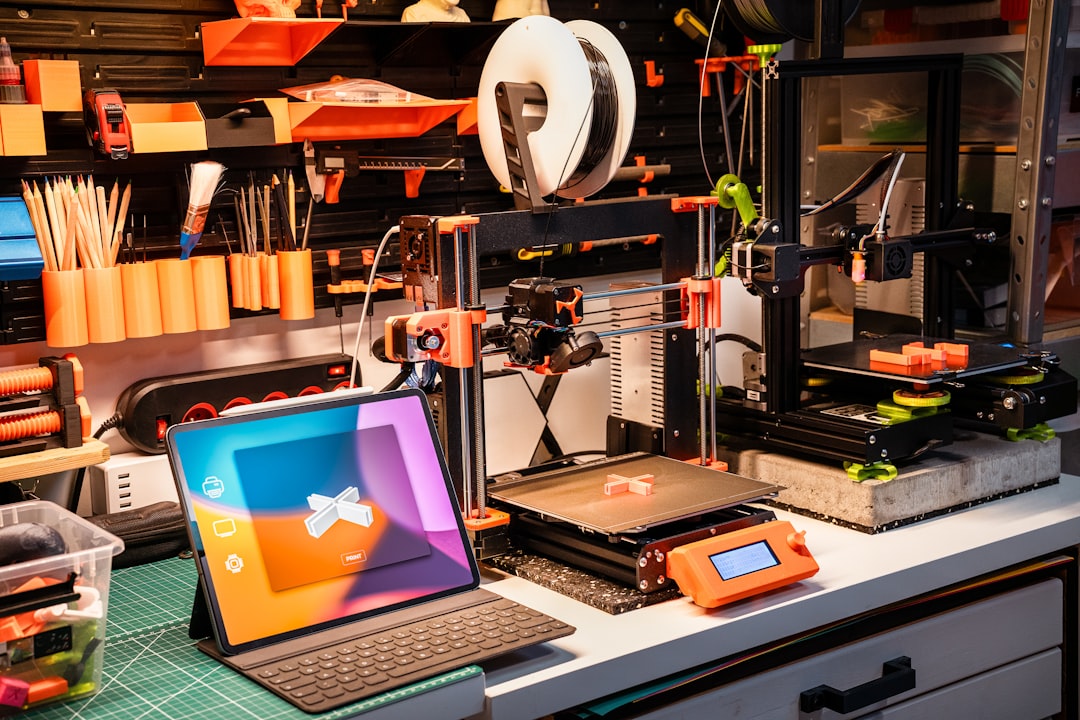
The first enclosure should be treated as a test. Install the PCB, connect every cable, press every button and check the viewing angle of screens and cameras. Look for assembly problems. A 1 mm adjustment in CAD can make a large difference to usability.
From prototype to small batch
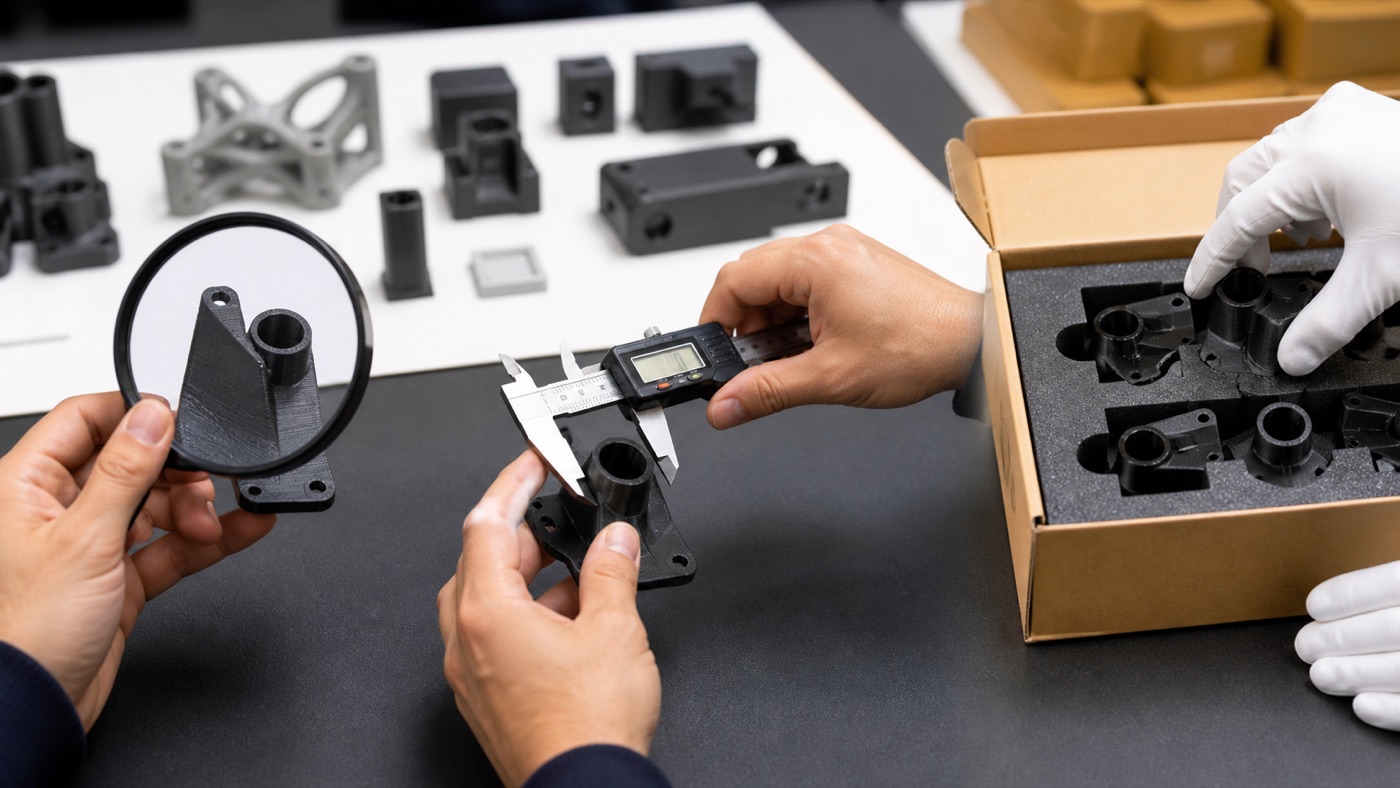
Once the design is stable, 3D printing can produce small batches for field tests, pilot customers or specialized devices. Each unit can even be customized with different labels, ports or mounting features. If demand later justifies molding, the tested enclosure provides valuable information for the next manufacturing stage.
What Artin3D needs from a client
If you already have CAD, send the files and component requirements. If design is needed, provide the PCB, camera, sensors or other physical components when possible, along with sketches and the intended installation. Explain the environment, mounting method, quantity and required access points. Artin3D can design around client components and deliver assembly-ready printed bodies for suitable projects.
Conclusion
Custom electronics enclosure design is not simply drawing a box around a PCB. Good housings manage fit, heat, connectors, assembly, serviceability and real human use. 3D printing allows those details to be tested physically before expensive tooling. Artin3D – Where ideas take shape.