
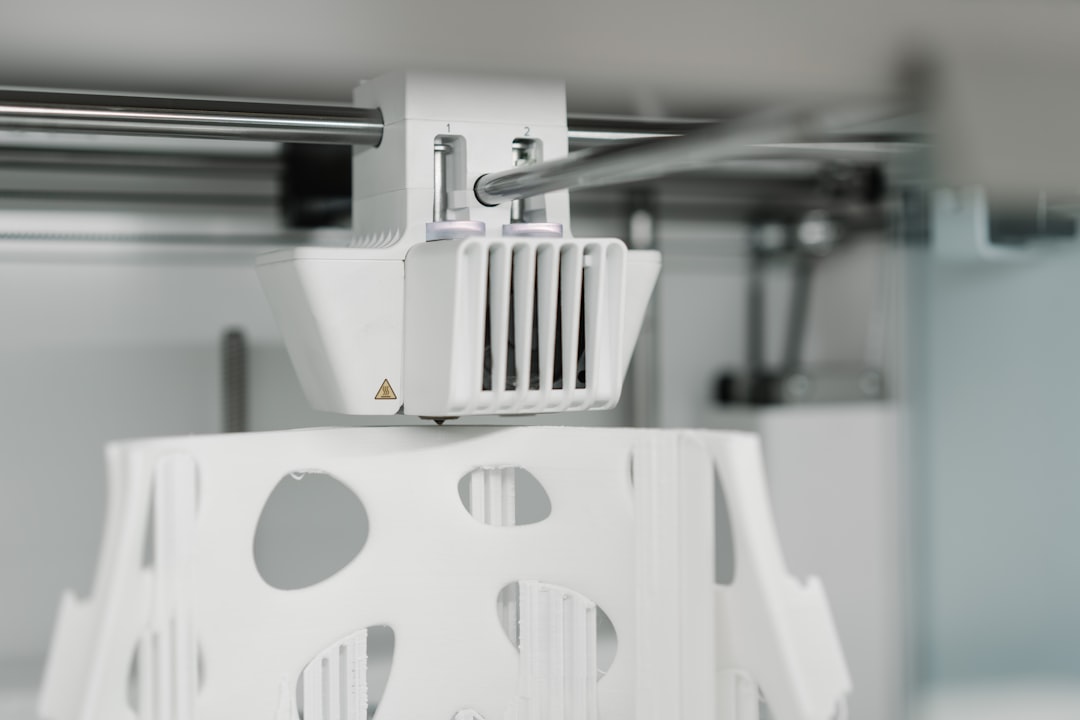
3D Print-এর নিচের surface পুরো model-এর quality-এর ভিত্তি। Bottom layer rough, অতিরিক্ত চ্যাপ্টা, অসম, line-separated বা detail-less হলে শুধু appearance নয়—part-এর dimension এবং assembly fit-ও নষ্ট হতে পারে। সমস্যাটি build plate-এ সরাসরি print হওয়া surface এবং support-এর ওপর তৈরি bottom surface—দুই ক্ষেত্রেই আলাদা কারণে হতে পারে।
প্রধান কারণগুলো
- ভুল Z-offset
- Bed leveling ঠিক না থাকা
- Build plate dirty বা damaged
- First-layer speed বেশি
- Bed/nozzle temperature অনুপযুক্ত
- First-layer flow বেশি বা কম
- Support interface দুর্বল
- Model orientation অনুপযুক্ত

Z-offset সবচেয়ে আগে দেখুন
Nozzle bed-এর খুব কাছে হলে first layer অতিরিক্ত squish হয়, elephant-foot এবং rough texture তৈরি হতে পারে। বেশি দূরে হলে extrusion line একে অপরের সঙ্গে যথেষ্ট overlap করে না এবং gap দেখা যায়। একটি first-layer calibration pattern print করে uniform line পাওয়া পর্যন্ত Z-offset fine tune করুন।
Bed Leveling এবং Build Plate
এক পাশে ভালো এবং অন্য পাশে খারাপ first layer সাধারণত leveling বা bed mesh-এর ইঙ্গিত। Plate পরিষ্কার রাখুন এবং material অনুযায়ী recommended surface ব্যবহার করুন। Oil, dust বা adhesive residue adhesion এবং texture দুটোই বদলে দিতে পারে।

First-layer Speed ও Temperature
প্রথম layer সাধারণত controlled speed-এ print করলে adhesion ও line consistency ভালো হয়। Temperature খুব কম হলে bonding দুর্বল হতে পারে, আবার অপ্রয়োজনীয় বেশি temperature bottom edge soft করে dimension বদলে দিতে পারে। Material profile থেকে শুরু করে ছোট test-এর মাধ্যমে tune করুন।
Support-এর ওপর Bottom Surface খারাপ হলে
Support interface distance বেশি হলে underside sag করে; খুব কম হলে support model-এর সঙ্গে শক্তভাবে fuse হয়ে যায়। Support interface density, top interface layers এবং Z-distance material ও layer height অনুযায়ী tune করতে হবে। Curved underside-এর ক্ষেত্রে orientation পরিবর্তন অনেক সময় setting পরিবর্তনের চেয়ে ভালো ফল দেয়।

Orientation কেন গুরুত্বপূর্ণ?
যে surface cosmetic বা mating surface হিসেবে সবচেয়ে গুরুত্বপূর্ণ, সেটিকে সম্ভব হলে clean build-plate side বা support-free orientation-এ রাখুন। তবে strength direction, support volume এবং dimensional tolerance-ও একসাথে বিবেচনা করতে হবে।
Step-by-step Fix
- Build plate clean করুন।
- Bed mesh/leveling পুনরায় চালান।
- First-layer test দিয়ে Z-offset tune করুন।
- First-layer speed ও flow যাচাই করুন।
- Material অনুযায়ী nozzle/bed temperature ঠিক করুন।
- Support underside হলে interface settings tune করুন।
- Critical surface-এর জন্য alternative orientation test করুন।

Bottom Dimension ভুল হলে
First-layer squish-এর কারণে hole, slot বা outer dimension বদলে যেতে পারে। Mechanical part-এর ক্ষেত্রে elephant-foot compensation বা model-level chamfer ব্যবহার করা যায়, তবে আগে mechanical calibration ঠিক থাকা জরুরি।
Quick Checklist
- Plate clean ও flat?
- Z-offset calibrated?
- First layer uniform?
- Temperature stable?
- Support interface যথেষ্ট?
- Orientation end-use অনুযায়ী?
Artin3D-এ functional এবং presentation part print করার সময় first layer থেকে final surface পর্যন্ত material, geometry এবং assembly requirement বিবেচনা করা হয়।
Custom FDM/SLA 3D Printing-এর জন্য Artin3D-এর সাথে যোগাযোগ করুন। Artin3D – Where ideas take shape.
Supporting photos: Jakub Żerdzicki, Snapmaker 3D Printer এবং ASIA CULTURECENTER via Unsplash.


