
Professional 3D printing শুধু একটি model printer-এ পাঠানোর নাম নয়। ভালো final product পেতে requirement বোঝা থেকে শুরু করে CAD, material, orientation, slicing, printing, inspection এবং finishing পর্যন্ত একটি structured workflow অনুসরণ করা হয়। বিশেষ করে custom client project-এ এই workflow ভুল হলে সময় ও material দুটোই নষ্ট হতে পারে।

১. Requirement বোঝা
Project-এর প্রথম ধাপ হলো object কী কাজ করবে তা পরিষ্কার করা। Decorative model এবং functional machine part-এর requirement এক নয়। Size, load, temperature, outdoor exposure, flexibility, assembly, color, finish এবং deadline আগে জানা দরকার।
২. Reference ও Measurement সংগ্রহ
Existing part reproduce করতে হলে caliper, ruler বা প্রয়োজন অনুযায়ী অন্য measurement method ব্যবহার করা হয়। PCB enclosure হলে board dimension, port location, screw hole এবং cable clearance সংগ্রহ করতে হয়। Reference photo একা সবসময় dimensional accuracy দেয় না।

৩. CAD বা 3D Model তৈরি
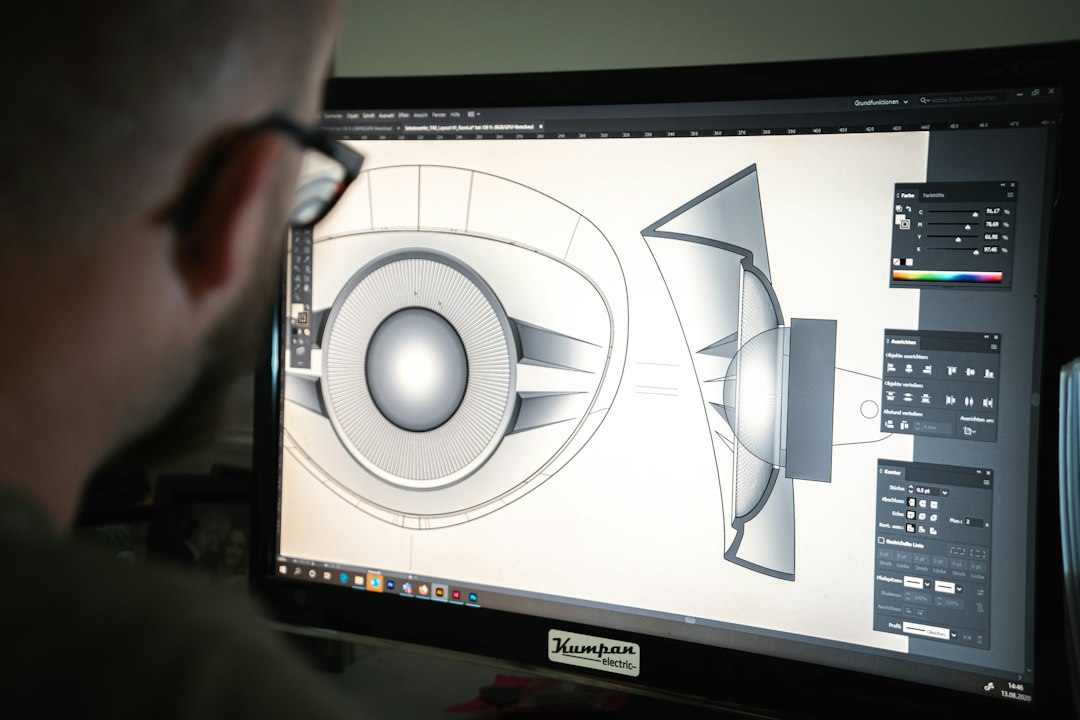
Requirement অনুযায়ী model তৈরি হয়। Functional CAD-এ wall thickness, ribs, bosses, fillet, clearance, fastener এবং assembly strategy গুরুত্বপূর্ণ। Artistic model-এ surface detail ও visual proportion বেশি গুরুত্বপূর্ণ হতে পারে।
৪. Design for Additive Manufacturing Review
Model দেখতে ঠিক হলেও print-friendly নাও হতে পারে। Unsupported overhang, খুব thin wall, impossible internal cavity বা wrong tolerance সমস্যা তৈরি করতে পারে। এই stage-এ geometry optimize করলে পরবর্তী failure কমে।

৫. Technology নির্বাচন: FDM নাকি Resin?
Large functional part, enclosure, jig বা prototype-এর জন্য FDM practical হতে পারে। Fine miniature, intricate visual detail বা smooth small model-এর জন্য resin উপযোগী হতে পারে। Technology selection application অনুযায়ী হওয়া উচিত।
৬. Material নির্বাচন
PLA, PETG, ASA, TPU, engineering filament বা বিভিন্ন resin—প্রতিটির behaviour আলাদা। Material selection-এ strength, heat, UV, impact, flexibility, surface finish এবং budget বিবেচনা করা হয়।
৭. Orientation Planning
Orientation print time, support, surface finish এবং strength বদলায়। Functional part-এ expected load direction দেখে orientation ঠিক করা গুরুত্বপূর্ণ। Resin model-এ peel force, islands এবং support marks বিবেচনা করা হয়।

৮. Slicing
Slicer-এ layer height, walls, infill, temperature, speed, cooling, support ও adhesion settings configure করা হয়। Functional prototype-এ wall count এবং orientation অনেক সময় infill percentage-এর চেয়ে বেশি গুরুত্বপূর্ণ হতে পারে।
৯. Preview Inspection
Print শুরু করার আগে sliced preview layer-by-layer দেখা ভালো অভ্যাস। Missing layer, unsupported island, unexpected gap, thin feature বা excessive support এখানেই ধরা যেতে পারে।
১০. Machine Preparation
Build plate clean, nozzle condition ভালো, correct material loaded এবং calibration ঠিক আছে কি না দেখা হয়। Filament moisture-sensitive হলে dry condition নিশ্চিত করা হয়। Resin printing-এ vat, film এবং resin condition inspect করা হয়।

১১. First Layer Monitoring
Long print-এর প্রথম layer monitor করা গুরুত্বপূর্ণ। Adhesion সমস্যা early stage-এ ধরা গেলে hours of wasted machine time বাঁচানো যায়।
১২. Printing ও Process Monitoring
Printer unattended রেখে risk নেওয়ার পরিবর্তে safe operating practice অনুসরণ করুন। Long print-এ periodic inspection করলে layer shift, spaghetti failure বা material issue দ্রুত ধরা যায়।
১৩. Part Removal
Print শেষ হওয়ার পর material এবং build surface অনুযায়ী part safely remove করা হয়। জোর করে তুললে part বা plate ক্ষতিগ্রস্ত হতে পারে।
১৪. Support Removal ও Post-Processing
Support carefully remove করা, sanding, deburring, joining, heat-set insert, painting বা coating final requirement অনুযায়ী করা হয়। Resin part-এর washing ও curing manufacturer procedure অনুযায়ী করা উচিত।
১৫. Quality Control
Critical dimension caliper দিয়ে measure করা, fit test করা এবং visual defect inspect করা হয়। Assembly project হলে PCB, bearing, screw বা mating part বসিয়ে test করা দরকার।
১৬. Iteration
Prototype-এর সবচেয়ে বড় সুবিধা হলো দ্রুত পরিবর্তন। Hole 0.3 mm সরাতে হবে বা wall একটু thicker দরকার—CAD update করে নতুন revision print করা যায়। Mass production tooling-এর আগে এই iteration valuable।
১৭. Final Production ও Delivery
Design validated হলে required quantity print করা হয়। Part labeling, assembly, cleaning এবং packaging শেষে delivery-ready করা হয়।
Workflow Checklist
- Requirement documented?
- Dimensions verified?
- CAD print-ready?
- Material application-এর উপযোগী?
- Orientation reviewed?
- Support optimized?
- Slicer preview checked?
- Machine ready?
- Final dimensions inspected?
- Assembly test complete?
শেষ কথা
একটি ভালো 3D printed product-এর quality machine-এর চেয়ে পুরো workflow-এর quality-এর ওপর বেশি নির্ভর করে। Artin3D client-এর idea বা component থেকে design, FDM/SLA printing এবং assembly-ready part তৈরির structured workflow অনুসরণ করে।
Artin3D — আপনার আইডিয়া, আমাদের নিখুঁত বাস্তবতা।


