
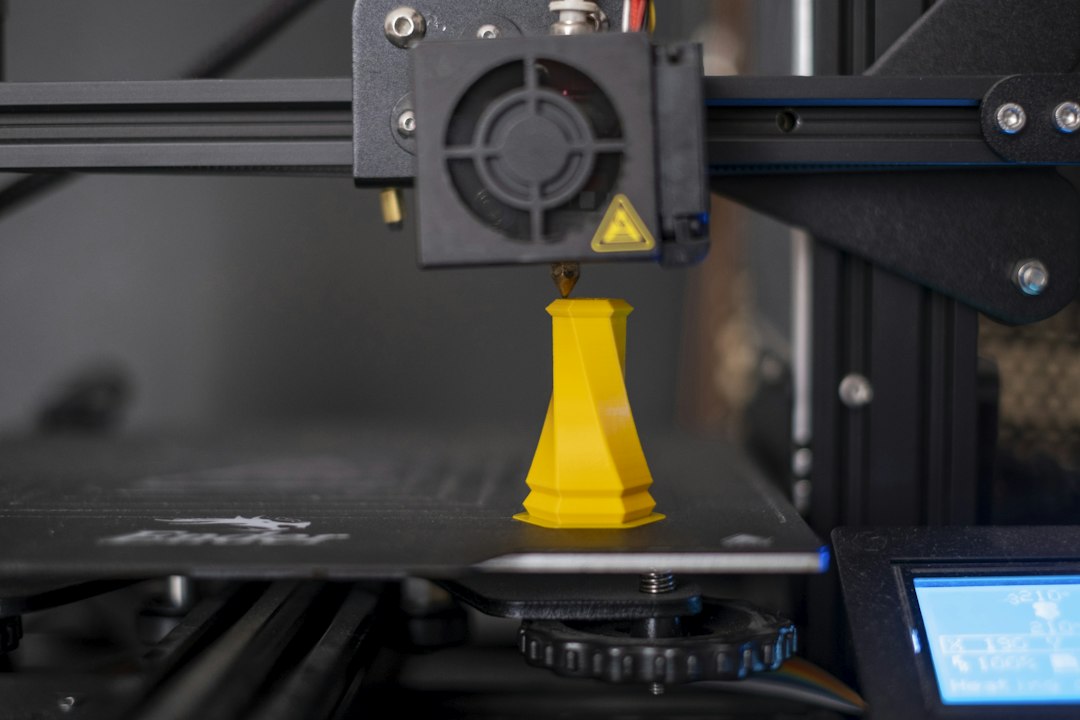
Layer height is one of the most visible slicer settings because it directly changes how many layers are required to build a model. Smaller layers can reproduce slopes more smoothly, while larger layers can reduce machine time. The best value depends on nozzle size, geometry and the purpose of the print.

What is layer height?
FDM creates a model as a stack of deposited layers. Layer height is the vertical thickness of each layer. A 100 mm tall object at 0.20 mm nominal layers requires roughly half as many vertical layers as the same height at 0.10 mm, although actual slicing can vary.
0.08 mm: ultra-fine detail
0.08 mm can be useful when a compatible nozzle and printer are being used for small visual features or shallow slopes. The trade-off is a large increase in layer count and production time. It is rarely necessary for a basic functional bracket.
0.12 mm: high quality
0.12 mm offers fine vertical resolution while being faster than 0.08 mm. It can be useful for display parts, detailed prototypes and small models where FDM surface quality is important.

0.16 mm: balanced quality
0.16 mm is a useful middle ground on many 0.4 mm nozzle setups. It can provide cleaner slopes than 0.20 mm without the large time penalty of ultra-fine layers.
0.20 mm: general-purpose choice
0.20 mm is widely used because it balances quality and speed. Many functional prototypes, enclosures and ordinary products do not need finer vertical resolution.
0.28 mm: faster production
With a suitable nozzle and extrusion setup, 0.28 mm can be useful for larger functional parts and prototypes where speed matters more than fine surface detail. Curved and angled surfaces will show the layer stepping more clearly.
Nozzle size sets practical limits
Layer height should be selected in relation to nozzle diameter. Extremely thick layers can be difficult to extrude reliably through a small nozzle, while extremely thin layers increase time. Slicer profiles from the printer manufacturer are a good starting point.

Layer height and surface finish
On vertical walls, changing layer height may have limited visual effect compared with seams or extrusion quality. On shallow slopes and curved top surfaces, smaller layers can make a major difference because the staircase steps become thinner.
Layer height and XY detail
Layer height controls vertical resolution, not all detail. Nozzle width, line width, motion accuracy and model geometry influence horizontal features. Switching from 0.20 to 0.08 mm does not automatically make tiny XY text printable.
Layer height and print time
Smaller layers create more passes. A detailed model can take substantially longer when the layer height is reduced. Before choosing the finest profile, ask whether the improvement will actually be visible or valuable.
Layer height and strength
Strength is influenced by many factors including material, temperature, orientation, walls and geometry. Layer height can affect bonding and cross-section, but it should not be treated as a simple slider where smaller always equals stronger.

Best layer height for miniatures
For FDM miniatures, 0.08–0.12 mm may help with visible slopes and small vertical details. If extremely fine miniature detail is the priority, SLA resin printing may be more appropriate than forcing FDM to operate at very small layers.
Best layer height for functional parts
0.16–0.24 mm is often a practical region for ordinary functional FDM work with a 0.4 mm nozzle, depending on the machine and material. Choose based on dimensional needs and production time.
Best layer height for large prototypes
Large housings and fit-check models can often use 0.24–0.28 mm or another validated coarse profile. If the prototype only needs to confirm volume and mounting locations, fine cosmetic layers may add no value.
Variable layer height
Many slicers can vary layer height across a model. Fine layers can be used on curved or detailed regions while coarse layers are used on simple vertical sections. This can provide a better quality-to-time balance.
First layer is different
The first layer may use a different height to improve bed adhesion and compensate for surface variation. Do not assume the first-layer setting must equal the rest of the print.

How to choose quickly
- 0.08 mm: maximum FDM vertical detail when time is secondary.
- 0.12 mm: high-quality visual prints.
- 0.16 mm: balanced detail and speed.
- 0.20 mm: dependable general-purpose starting point.
- 0.28 mm: faster large or functional prints where coarse layers are acceptable.
Common mistakes
- Using ultra-fine layers on every model
- Ignoring nozzle diameter
- Expecting layer height to solve XY-detail limits
- Comparing quality without considering model orientation
- Using an unvalidated thick layer with a small nozzle
Test the actual geometry
If the project is important, print a representative section at two or three layer heights. Compare appearance and machine time. The best setting is the one that meets the requirement efficiently.
Conclusion
There is no universally best layer height. 0.08 and 0.12 mm prioritize vertical detail, 0.16 and 0.20 mm balance quality and production time, and 0.28 mm can accelerate suitable larger prints. Select the setting according to nozzle size, geometry and the client’s actual quality requirement. Artin3D – Where ideas take shape.


