
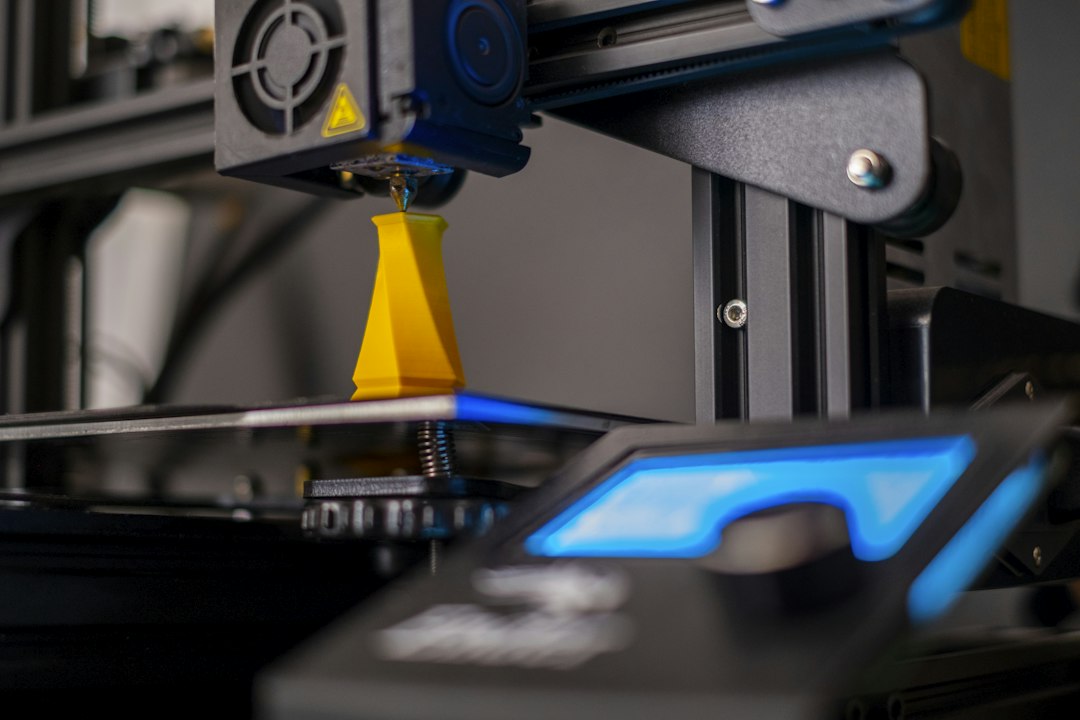
Infill is the internal structure generated inside many FDM parts. It is easy to assume that more infill automatically means a better print, but that can waste material and machine time. The right percentage depends on the part’s purpose, geometry, walls, material and load direction.

What does infill do?
Infill supports top surfaces, connects outer walls and contributes to internal stiffness. Slicers offer patterns such as grid, gyroid, cubic and lines. Percentage describes how much of the interior is occupied by the generated structure, but two patterns at the same percentage may behave differently.
Is 10% infill enough?
For decorative objects, visual prototypes and lightly loaded models, 10% can often be a reasonable starting point. The part still has solid outer walls; the interior is simply sparse.
When 20% makes sense
Around 15–25% is commonly useful for general-purpose printing because it balances material, time and support for top layers. It is not a universal engineering standard, but it can be an efficient starting region for many ordinary parts.

What changes at 50%?
At 50%, the internal structure becomes much denser. This can increase stiffness and provide more internal support, but material use and print time also rise. Before choosing 50%, ask whether additional walls or a geometry change would provide a better strength-to-weight result.
Do you need 100% infill?
Only in specific situations. A fully dense interior may be useful when mass, machining allowance or a particular load case requires it. For many ordinary products, 100% infill adds substantial time and plastic for diminishing benefit.
Walls can matter more than infill
Loads enter a part through its exterior. Increasing perimeter or wall thickness can significantly affect performance. A hollow tube demonstrates the principle: material placed farther from the neutral axis can contribute strongly to bending stiffness.
Layer orientation matters
An FDM part is anisotropic. If the component is loaded in a direction that tends to separate layers, simply increasing infill may not solve the underlying weakness. Reorienting the part or redesigning the geometry can be more effective.

10% infill use cases
- Display models
- Large decorative objects
- Early prototypes
- Low-load covers
- Models where weight should stay low
20% infill use cases
- General prototypes
- Moderately functional housings
- Desk accessories
- Many brackets with appropriate walls and geometry
- Ordinary custom products
50% infill use cases
- Parts needing additional internal stiffness
- Small highly loaded regions when redesign is not practical
- Objects where added mass is desirable
- Components requiring stronger internal support for later operations
100% infill use cases
Use deliberately rather than by default. Dense prints may be chosen for specialized mechanical testing, weight, drilling or machining, but they can also create longer thermal cycles and significant material use.
Infill pattern
Pattern changes how loads are distributed. Gyroid offers a continuous three-dimensional structure, grid is straightforward, and other patterns may prioritize speed or directional behavior. The best pattern depends on the application and slicer.

Top and bottom layers
Low infill requires enough top layers to bridge the internal gaps and create a closed surface. If the top skin sags, increasing infill is one option, but increasing top thickness or changing the pattern can also help.
Local reinforcement
Modern slicers can use modifiers to increase infill only where loads, screws or inserts require it. This is often more efficient than making the entire model 80–100% dense.
Fasteners and infill
A screw driven into a weak sparse interior may not hold well. Design bosses and solid regions around fasteners rather than relying on global infill. Heat-set inserts also require adequate surrounding material.
Infill and flexible materials
TPU behavior changes dramatically with wall count, infill pattern and percentage. Lower infill can allow more compression, while dense structures become firmer. For flexible products, infill is part of tuning the feel, not only strength.
Infill and print cost
Higher infill consumes more filament and usually increases machine time. If a client requests 100% without a functional reason, a lower percentage plus stronger walls may reduce cost while still meeting the requirement.

A better way to choose infill
- Define the real load.
- Choose material.
- Design adequate wall thickness.
- Choose print orientation.
- Select an efficient infill pattern.
- Start with a moderate percentage.
- Prototype and test.
- Increase local or global density only when testing shows a need.
Common mistakes
- Using 100% infill for every functional part
- Ignoring wall count
- Ignoring layer direction
- Using high infill to compensate for poor geometry
- Comparing percentages without considering pattern
- Skipping physical testing for load-bearing parts
Quick recommendation table in words
For a display model, start low. For a normal functional prototype, moderate infill with sensible walls is usually a better starting point. For heavily loaded components, do not choose a percentage in isolation: evaluate material, geometry, orientation, walls and infill together.
Conclusion
10%, 20%, 50% and 100% are not quality levels. They are manufacturing choices. More infill can increase stiffness and weight, but it also increases time and material. Efficient 3D printing uses the lowest density that reliably meets the actual requirement while combining it with suitable walls, geometry and orientation. Artin3D evaluates these factors when preparing suitable client models for FDM production. Artin3D – Where ideas take shape.


