
Resin model কত degree tilt করবেন—এর একক উত্তর নেই। সঠিক orientation হলো যে অবস্থায় layer cross-section, suction, support, visible surface, dimension ও print time project অনুযায়ী balance হয়।
Slicer-এর auto-orient button দ্রুত একটি starting point দেয়, কিন্তু software আপনার client-facing surface, fit-critical hole বা finishing priority পুরো বুঝতে পারে না। একই model vertical, flat বা diagonal রাখলে support mark, staircase pattern এবং peel load ভিন্ন হয়।
Orientation decision print failure কমানোর পাশাপাশি labour cost ঠিক করে। এমন orientation যা print সফল করলেও model-এর সামনে অসংখ্য crater দেয়, সেটি commercial result-এর জন্য খারাপ। আবার perfect face পেতে support এত কমালে print fail হতে পারে। তাই systematic review দরকার।
সংক্ষিপ্ত উত্তর
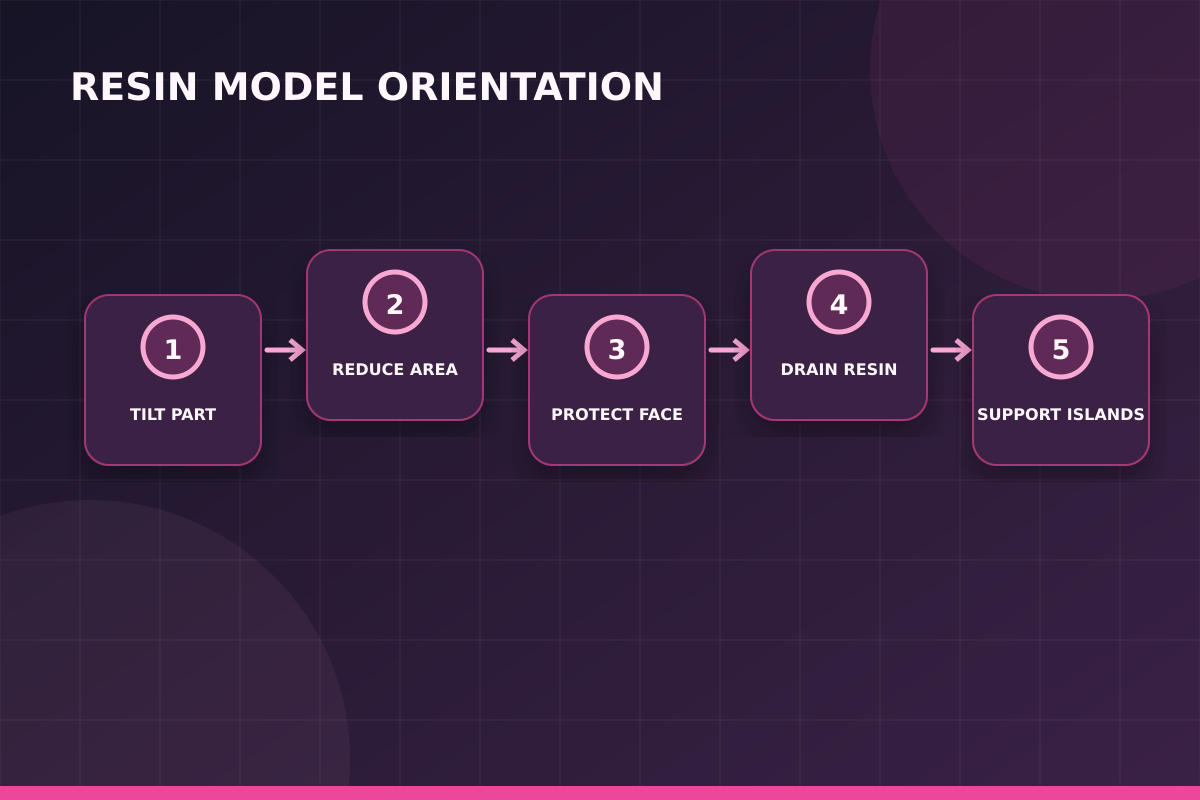
Critical face চিহ্নিত করে সেটি support থেকে দূরে রাখুন; প্রতি layer-এর area ধীরে পরিবর্তিত হয় এমন tilt দিন; cup-like cavity drain/vent করুন; island support করুন; fit-critical dimension layer direction অনুযায়ী যাচাই করুন। Auto orientation-এর পরে layer preview manual inspect করুন।
Critical Surface দিয়ে শুরু করুন
Model-এর সামনে, logo, lens seat, sealing face, snap interface ও measurement reference আলাদা করে চিহ্নিত করুন। Decorative face-এ support mark এবং functional face-এ dimensional bump—দুটোর consequence ভিন্ন। Build plate-এ model ঘোরানোর আগে কোন face A-grade finish, কোনটি sand করা যাবে এবং কোনটি hidden থাকবে লিখলে orientation decision পরিষ্কার হয়।
Resin printing-এ কোনো setting আলাদাভাবে কাজ করে না। Layer height, exposure, lift movement, support এবং model geometry একে অন্যকে প্রভাবিত করে। তাই production model-এ যাওয়ার আগে একই resin, একই room condition এবং একই profile দিয়ে ছোট validation print করা ভালো। এতে failure হলে কারণ চিহ্নিত করা সহজ হয় এবং অপ্রয়োজনীয় resin নষ্ট কমে।
Cross-sectional Area ও Peel Force
Bottom-up resin printer-এ cured layer film থেকে আলাদা হওয়ার সময় force তৈরি হয়। এক layer-এ area হঠাৎ বড় হলে suction ও peel load support-এ shock দেয়। Large flat surface angled করলে area ধীরে বাড়ে এবং force distribute হয়। তবে অতিরিক্ত steep angle print height ও time বাড়ায়। Layer-area graph থাকলে spike খুঁজুন; না থাকলে preview-তে silhouette change দেখুন।
প্র্যাকটিক্যাল সিদ্ধান্ত নেওয়ার সময় শুধু screen preview দেখে থেমে গেলে চলবে না। Model-এর visible face, load direction, trapped resin, suction force এবং পরে support removal—সবগুলো ধাপ একসঙ্গে কল্পনা করতে হবে। যে orientation print সফল করে কিন্তু গুরুত্বপূর্ণ face-এ গভীর mark রেখে দেয়, সেটিকে ভালো orientation বলা যায় না।
Suction Cup ও Drain Path
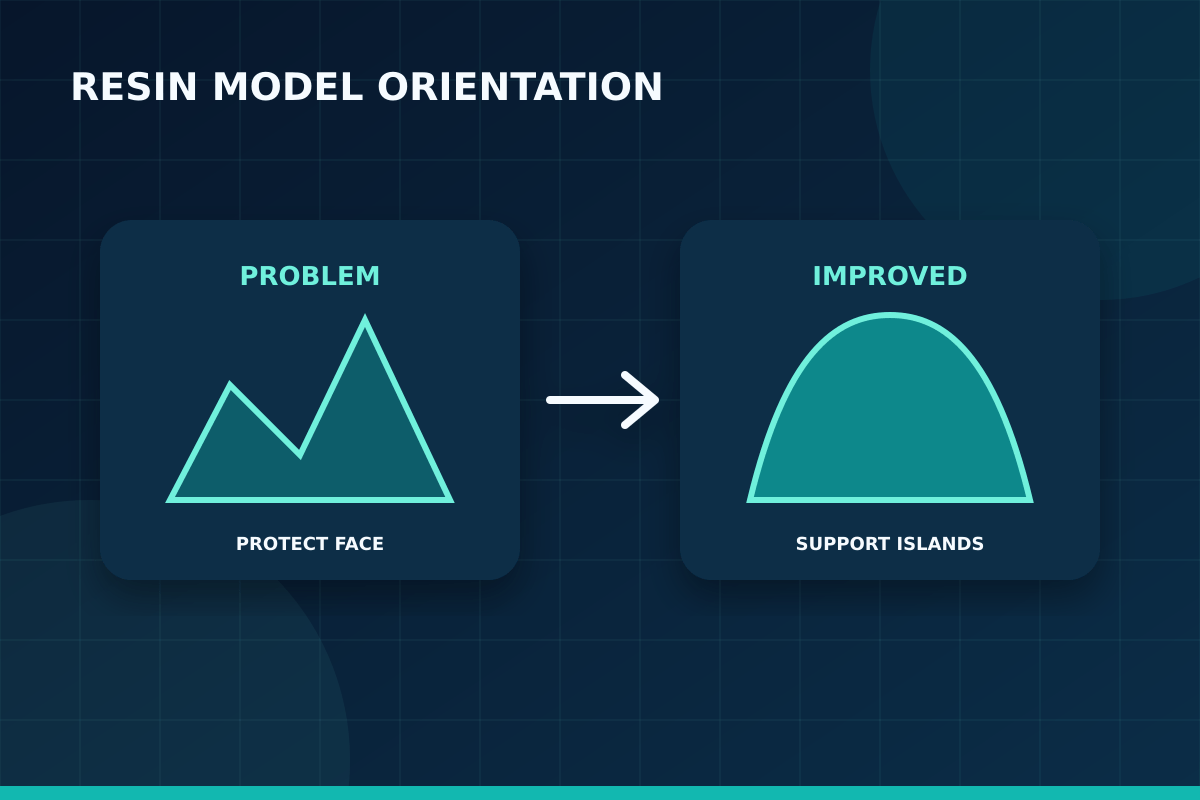
Hollow bowl বা closed cavity film-এর দিকে cup তৈরি করলে lift-এর সময় negative pressure ও resin trapping হয়। Orientation দিয়ে opening নিচে/side-এ কার্যকর রাখুন এবং drain/vent এমনভাবে বসান যেন print ও wash দুই অবস্থাতেই flow হয়। Drain hole cosmetic face-এ না রেখে plug বা hidden assembly plan CAD stage-এ করুন।
একটি নির্ভরযোগ্য workflow হলো একবারে একটি variable পরিবর্তন করা। প্রথম test-এর ছবি, resin batch, temperature, layer height ও exposure লিখে রাখুন। পরের test-এ শুধু একটি parameter বদলান। এতে improvement কোন পরিবর্তনের কারণে হয়েছে বোঝা যায়; একই সঙ্গে ভবিষ্যতের repeat order-এ consistent result পাওয়া সহজ হয়।
Support Placement ও Tool Access
Orientation এমন হতে হবে যাতে main support strong area-তে লাগে এবং flush cutter পৌঁছাতে পারে। Deep cavity-র ভেতরে support দিলে removal অসম্ভব হতে পারে। Long lever arm থাকলে base থেকে দূরের heavy mass oscillate করে; extra brace বা angle change দরকার। Support tips line বা texture-এর মধ্যে লুকানো গেলেও thin edge-এ না দেওয়াই ভালো।
ছোট feature-এর ক্ষেত্রে digital model-এর detail থাকাই যথেষ্ট নয়; printer-এর XY resolution, layer height, resin behavior এবং cleaning method সেই detail বাঁচাতে পারছে কি না সেটিও জরুরি। Design-এর সবচেয়ে পাতলা অংশ printer-এর practical limit-এর কাছাকাছি হলে সামান্য scale increase বা controlled thickening অনেক সময় দৃশ্যমান পার্থক্য তৈরি করে।
Layer Lines ও Stair-stepping
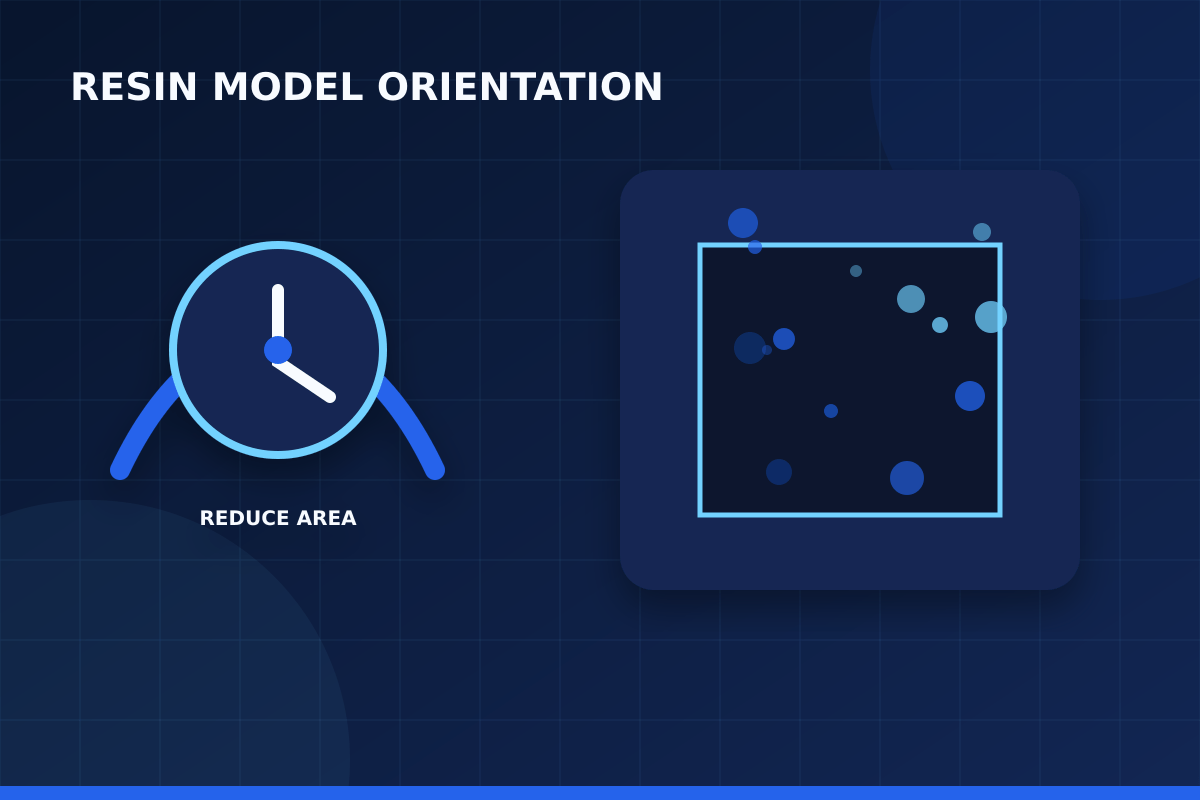
Curved face layer plane-এর সঙ্গে সামান্য angle করলে visible stepping pattern বদলায়। Almost-horizontal gentle slope-এ staircase বেশি চোখে পড়তে পারে; vertical wall XY pixel edge দেখায়। Display model-এর viewing direction অনুযায়ী layer texture কম দৃশ্যমান orientation বাছাই করুন। Thin layer সাহায্য করে, কিন্তু bad angle পুরোপুরি ঠিক করে না।
Safety-কে finishing-এর আলাদা বিষয় ভাবা ঠিক নয়। Uncured resin skin contact এড়াতে উপযুক্ত nitrile glove, eye protection ও পরিষ্কার work area দরকার। Resin এবং contaminated cleaning liquid স্থানীয় নিয়ম মেনে dispose করতে হবে; sink বা খোলা জায়গায় ফেলা উচিত নয়। নির্দিষ্ট wash ও cure time সবসময় resin manufacturer-এর নির্দেশনা অনুযায়ী ঠিক করুন।
Dimensional Accuracy ও Hole Direction
Hole, pin, slot ও snap feature layer orientation-এ আলাদাভাবে cure ও support নেয়। Down-facing hole oval বা support-marked হতে পারে; vertical small hole light bleed-এ সংকুচিত হতে পারে। Critical mating feature-এর test coupon একই orientation-এ print করুন। Partকে শুধু build volume fit করানোর জন্য ঘোরালে assembly tolerance বদলাতে পারে।
Professional result-এর জন্য “আরও বেশি” সবসময় “আরও ভালো” নয়। বেশি exposure fine gap বন্ধ করতে পারে, বেশি support surface নষ্ট করতে পারে, বেশি cure brittleness বাড়াতে পারে এবং aggressive washing সূক্ষ্ম অংশ ভেঙে দিতে পারে। লক্ষ্য হলো model ও resin অনুযায়ী balanced setting, সর্বোচ্চ setting নয়।
Print Time ও Build Plate Efficiency
Resin printer-এ প্রতি layer সময় প্রায় একই, তাই tallest Z height print duration-এ বড় প্রভাব ফেলে। অনেক ছোট model একসঙ্গে বসালে layer count অপরিবর্তিত থাকলেও peel load ও failure consequence বাড়ে। Orientation দিয়ে height কমানো ভালো, কিন্তু flat করে cross-section spike তৈরি করা ঠিক নয়। Throughput হিসাব successful plate per hour দিয়ে করুন, theoretical models per plate দিয়ে নয়।
Batch production-এর আগে একটি approved master sample রাখা কার্যকর। সেই sample-এর dimensions, surface, support marks ও colour দেখে পরবর্তী batch তুলনা করা যায়। একই model আবার print করতে হলে resin ভালোভাবে mix করা, tank inspect করা এবং validated file ব্যবহার করা consistency বাড়ায়।
Orientation Validate করার পদ্ধতি
একটি orientation screenshot, layer-area observation এবং support map save করুন। Critical section বা scaled model print করে surface, warp, hole ও support mark inspect করুন। সফল profile-এর resin temperature, layer ও cure record করুন। Similar-looking নতুন model-এও hidden cavity বা weight distribution ভিন্ন হতে পারে, তাই quick validation বাদ দেবেন না।
Cost হিসাবেও failed print-এর প্রভাব বড়। শুধু model-এর resin নয়, support, wash liquid, gloves, machine time এবং finishing labour যোগ হয়। তাই preparation-এ কয়েক মিনিট বেশি ব্যয় করে orientation ও support review করা প্রায়ই দ্রুত print শুরু করার চেয়ে লাভজনক।
ধাপে ধাপে Practical Workflow
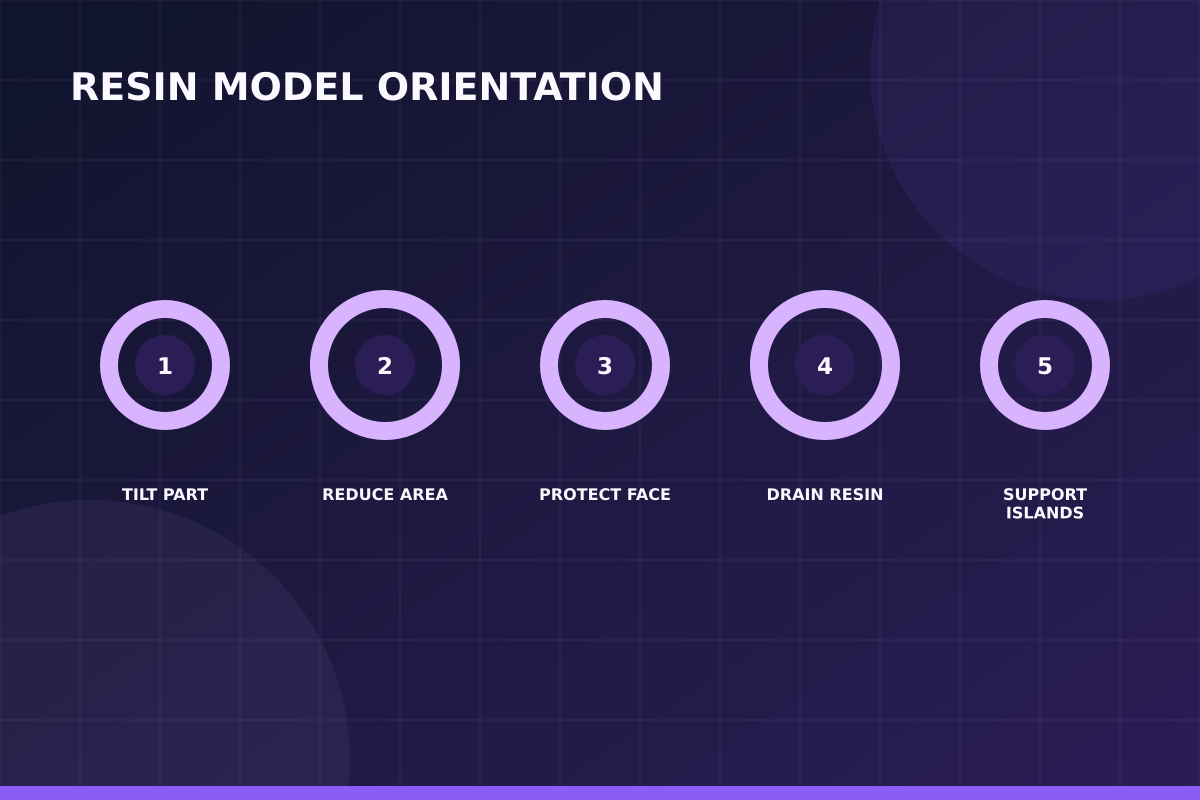
- A/B/C surface priority map করুন।
- Three-axis-এ কয়েকটি candidate angle তৈরি করুন।
- Layer preview-তে area spike খুঁজুন।
- Cup, drain ও trapped volume check করুন।
- Anchor, island support ও cutter access দিন।
- Z height ও plate throughput compare করুন।
- Critical crop/test coupon print করুন।
- Best orientation screenshot ও profile save করুন।
দ্রুত সিদ্ধান্তের Checklist
- Critical face plate থেকে নিরাপদ?
- Layer area হঠাৎ বাড়ছে?
- Cavity drain ও vent open?
- Support tool পৌঁছাবে?
- Fit feature expected direction-এ?
- Total Z height যুক্তিযুক্ত?
Common Mistakes
- সব model-এ 45° ব্যবহার করা।
- শুধু support কমাতে flat রাখা।
- Hollow cup preview না করা।
- Auto-orient-এর ফল blindভাবে নেওয়া।
- Print time কমাতে surface quality sacrifice করা।
প্রায় জিজ্ঞাসিত প্রশ্ন
Resin model কত degree tilt করব?
Universal degree নেই। অনেক model angled হয়, কিন্তু final angle cross-section, visible face, hole ও support test থেকে নির্ধারণ করুন।
সরাসরি build plate-এ print ভালো?
Flat rigid base-এ সম্ভব এবং support কমে, তবে elephant foot, removal stress ও drainage consideration আছে। Critical dimension test করুন।
Auto-orientation ব্যবহার করব?
Starting point হিসেবে করুন, তারপর critical face, cup, island, support access ও Z height manually review করুন।
Vertical print কি বেশি accurate?
Featureভেদে। Vertical wall ও hole কিছু ক্ষেত্রে ভালো, কিন্তু tall print time ও wobble বাড়ায়। Test ছাড়া generalize করা যায় না।
Hollow model-এর drain hole কোথায় দেব?
Print orientation-এ lowest trapped pocket এবং wash orientation-এ flow path—দুটো বিবেচনায় সাধারণত inlet/outlet pair রাখা হয়।
এক plate-এ বেশি model দিলে orientation বদলাব?
Peel load ও support collision বিবেচনায় layout বদলাতে পারে। প্রত্যেক model-এর safe orientation রেখে spacing ও plate balance করুন।
বাস্তব প্রয়োগের নোট 1: Critical Surface দিয়ে শুরু করুন
Model-এর সামনে, logo, lens seat, sealing face, snap interface ও measurement reference আলাদা করে চিহ্নিত করুন। Decorative face-এ support mark এবং functional face-এ dimensional bump—দুটোর consequence ভিন্ন। Build plate-এ model ঘোরানোর আগে কোন face A-grade finish, কোনটি sand করা যাবে এবং কোনটি hidden থাকবে লিখলে orientation decision পরিষ্কার হয়। ছোট feature-এর ক্ষেত্রে digital model-এর detail থাকাই যথেষ্ট নয়; printer-এর XY resolution, layer height, resin behavior এবং cleaning method সেই detail বাঁচাতে পারছে কি না সেটিও জরুরি। Design-এর সবচেয়ে পাতলা অংশ printer-এর practical limit-এর কাছাকাছি হলে সামান্য scale increase বা controlled thickening অনেক সময় দৃশ্যমান পার্থক্য তৈরি করে। এই পর্যবেক্ষণটি Resin Model Orientation নিয়ে কাজ করার সময় decision log-এ লিখে রাখলে পরবর্তী print বা production batch-এ একই ভুল পুনরাবৃত্তি হওয়ার ঝুঁকি কমে।
বাস্তব প্রয়োগের নোট 2: Cross-sectional Area ও Peel Force
Bottom-up resin printer-এ cured layer film থেকে আলাদা হওয়ার সময় force তৈরি হয়। এক layer-এ area হঠাৎ বড় হলে suction ও peel load support-এ shock দেয়। Large flat surface angled করলে area ধীরে বাড়ে এবং force distribute হয়। তবে অতিরিক্ত steep angle print height ও time বাড়ায়। Layer-area graph থাকলে spike খুঁজুন; না থাকলে preview-তে silhouette change দেখুন। Safety-কে finishing-এর আলাদা বিষয় ভাবা ঠিক নয়। Uncured resin skin contact এড়াতে উপযুক্ত nitrile glove, eye protection ও পরিষ্কার work area দরকার। Resin এবং contaminated cleaning liquid স্থানীয় নিয়ম মেনে dispose করতে হবে; sink বা খোলা জায়গায় ফেলা উচিত নয়। নির্দিষ্ট wash ও cure time সবসময় resin manufacturer-এর নির্দেশনা অনুযায়ী ঠিক করুন। এই পর্যবেক্ষণটি Resin Model Orientation নিয়ে কাজ করার সময় decision log-এ লিখে রাখলে পরবর্তী print বা production batch-এ একই ভুল পুনরাবৃত্তি হওয়ার ঝুঁকি কমে।
বাস্তব প্রয়োগের নোট 3: Suction Cup ও Drain Path
Hollow bowl বা closed cavity film-এর দিকে cup তৈরি করলে lift-এর সময় negative pressure ও resin trapping হয়। Orientation দিয়ে opening নিচে/side-এ কার্যকর রাখুন এবং drain/vent এমনভাবে বসান যেন print ও wash দুই অবস্থাতেই flow হয়। Drain hole cosmetic face-এ না রেখে plug বা hidden assembly plan CAD stage-এ করুন। Professional result-এর জন্য “আরও বেশি” সবসময় “আরও ভালো” নয়। বেশি exposure fine gap বন্ধ করতে পারে, বেশি support surface নষ্ট করতে পারে, বেশি cure brittleness বাড়াতে পারে এবং aggressive washing সূক্ষ্ম অংশ ভেঙে দিতে পারে। লক্ষ্য হলো model ও resin অনুযায়ী balanced setting, সর্বোচ্চ setting নয়। এই পর্যবেক্ষণটি Resin Model Orientation নিয়ে কাজ করার সময় decision log-এ লিখে রাখলে পরবর্তী print বা production batch-এ একই ভুল পুনরাবৃত্তি হওয়ার ঝুঁকি কমে।
বাস্তব প্রয়োগের নোট 4: Support Placement ও Tool Access
Orientation এমন হতে হবে যাতে main support strong area-তে লাগে এবং flush cutter পৌঁছাতে পারে। Deep cavity-র ভেতরে support দিলে removal অসম্ভব হতে পারে। Long lever arm থাকলে base থেকে দূরের heavy mass oscillate করে; extra brace বা angle change দরকার। Support tips line বা texture-এর মধ্যে লুকানো গেলেও thin edge-এ না দেওয়াই ভালো। Batch production-এর আগে একটি approved master sample রাখা কার্যকর। সেই sample-এর dimensions, surface, support marks ও colour দেখে পরবর্তী batch তুলনা করা যায়। একই model আবার print করতে হলে resin ভালোভাবে mix করা, tank inspect করা এবং validated file ব্যবহার করা consistency বাড়ায়। এই পর্যবেক্ষণটি Resin Model Orientation নিয়ে কাজ করার সময় decision log-এ লিখে রাখলে পরবর্তী print বা production batch-এ একই ভুল পুনরাবৃত্তি হওয়ার ঝুঁকি কমে।
বাস্তব প্রয়োগের নোট 5: Layer Lines ও Stair-stepping
Curved face layer plane-এর সঙ্গে সামান্য angle করলে visible stepping pattern বদলায়। Almost-horizontal gentle slope-এ staircase বেশি চোখে পড়তে পারে; vertical wall XY pixel edge দেখায়। Display model-এর viewing direction অনুযায়ী layer texture কম দৃশ্যমান orientation বাছাই করুন। Thin layer সাহায্য করে, কিন্তু bad angle পুরোপুরি ঠিক করে না। Cost হিসাবেও failed print-এর প্রভাব বড়। শুধু model-এর resin নয়, support, wash liquid, gloves, machine time এবং finishing labour যোগ হয়। তাই preparation-এ কয়েক মিনিট বেশি ব্যয় করে orientation ও support review করা প্রায়ই দ্রুত print শুরু করার চেয়ে লাভজনক। এই পর্যবেক্ষণটি Resin Model Orientation নিয়ে কাজ করার সময় decision log-এ লিখে রাখলে পরবর্তী print বা production batch-এ একই ভুল পুনরাবৃত্তি হওয়ার ঝুঁকি কমে।
শেষ কথা
Resin orientation হলো geometry, machine physics এবং finishing priority-এর যৌথ সিদ্ধান্ত। একটি fixed angle মুখস্থ করার বদলে critical face, layer area, drainage ও dimension systematically review করা বেশি নির্ভরযোগ্য।
Validated orientation save করলে repeat order দ্রুত হয় এবং support labour predict করা যায়—এটি professional resin workflow-এর গুরুত্বপূর্ণ asset।
আপনার model, sample, measurement বা project requirement পাঠালে Artin3D team printability, material, orientation এবং finishing requirement review করে উপযুক্ত solution প্রস্তাব করতে পারে। Artin3D-এর সঙ্গে যোগাযোগ করুন।
Artin3D – Where ideas take shape.


