
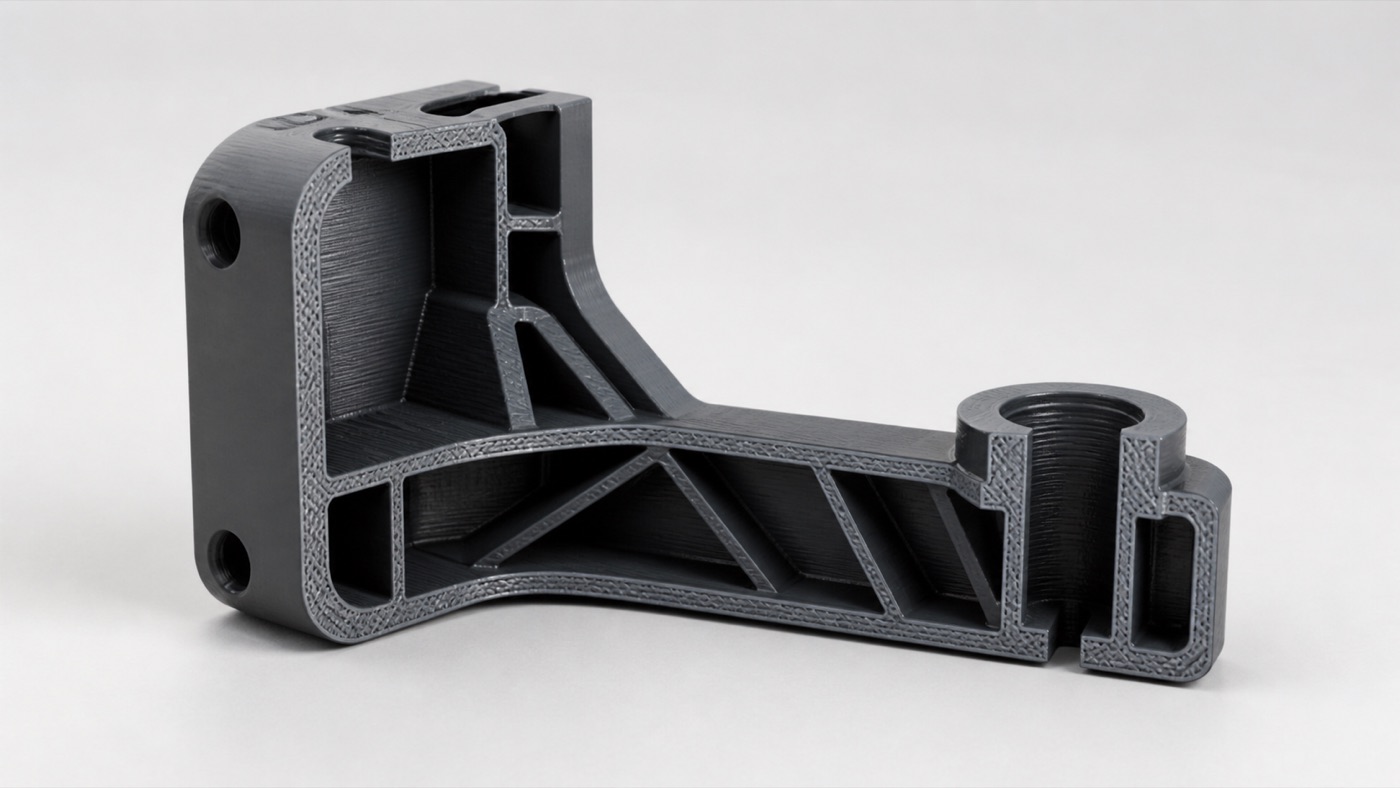
কোনো plastic part ভেঙে গেছে, বাজারে আর পাওয়া যাচ্ছে না, অথবা existing product-এর মতো কিন্তু কিছু modificationসহ নতুন part দরকার—এই ধরনের project-এ sample product থেকে reverse engineering করা হয়। এটি শুধু copy করা নয়; sample-এর geometry, function, tolerance এবং manufacturing limitation বুঝে নতুন print-ready CAD তৈরি করতে হয়।

১. Sample-এর Function বোঝা
Part কোথায় বসে, কী load নেয়, কোন surface অন্য component-এর সাথে fit করে এবং কোন জায়গা শুধু cosmetic—প্রথমে এগুলো identify করা হয়। Functional requirement না বুঝে geometry copy করলে printed replacement fit হলেও কাজ নাও করতে পারে।
২. Measurement
Caliper, ruler, gauge বা প্রয়োজন অনুযায়ী অন্য measuring tool ব্যবহার করে overall size, wall, hole, slot, radius এবং spacing নেওয়া হয়। Critical dimension আলাদা mark করা হয়।

৩. Broken Part হলে Missing Geometry Reconstruct
ভাঙা অংশের opposite side symmetrical হলে সেটি reference হিসেবে ব্যবহার করা যায়। পুরো feature missing হলে mating component, photo বা functional logic থেকে geometry reconstruct করতে হয়।
৪. CAD Model তৈরি
Measurement parametric CAD-এ নিয়ে base geometry তৈরি করা হয়। পরে fillet, boss, snap feature, screw hole এবং internal support structure যোগ করা হয়। Original injection-molded geometry 3D printing-এর জন্য সবসময় ideal নয়, তাই প্রয়োজন হলে design adapt করা হয়।

৫. Tolerance যোগ করা
Sample-এর measured hole 10.0 mm হলেও printed fit-এর জন্য CAD value process অনুযায়ী slightly adjust করতে হতে পারে। Shaft, bearing, screw, snap-fit এবং sliding joint-এর জন্য fit type বিবেচনা করা হয়।
৬. Material নির্বাচন
Original part কোন plastic তা সবসময় জানা যায় না। Replacement-এর environment—heat, sunlight, impact, flexibility, chemical exposure—দেখে material নির্বাচন করা উচিত।
৭. Prototype
প্রথম print final production নয়; fit test-এর জন্য prototype হিসেবে দেখা ভালো। Hole alignment, mating surface, hand feel এবং mechanical movement test করা হয়।

৮. Revision
Prototype tight বা loose হলে dimension update করা হয়। Weak area-তে rib যোগ করা, wall বাড়ানো বা print orientation change করা যায়। এই iteration-ই 3D printing-এর বড় সুবিধা।
৯. Final Production
Fit approve হলে final material ও settings-এ required quantity print করা হয়। প্রয়োজন হলে insert, screw, bearing বা other component assembly করা হয়।
কোন ধরনের Sample Reverse Engineer করা যায়?
- Plastic cover
- Knob
- Bracket
- Electronics case
- Machine spacer
- Remote housing
- Mount
- Custom holder

কখন Reverse Engineering কঠিন?
Highly organic freeform surface, internal hidden channel, flexible molded component বা extremely tight precision part advanced scanning/testing চাইতে পারে। 3D printed replacement সব application-এ injection molded original-এর exact mechanical equivalent নয়—এটি project-specificভাবে evaluate করা উচিত।
Client কী দেবেন?
- Physical sample
- Broken pieces থাকলে সব অংশ
- Mating component
- Use-case photo
- Expected quantity
- Known problem ও desired modification
শেষ কথা
Sample product থেকে custom part তৈরি করার মূল বিষয় হলো accurate measurement + functional understanding + prototype testing। Artin3D client-এর existing component থেকে reverse engineering করে print-ready CAD ও replacement/custom part তৈরির service দেয়।
Artin3D — আপনার আইডিয়া, আমাদের নিখুঁত বাস্তবতা।


