
You downloaded a model, designed a part in CAD or received an STL file from a designer. Now you want to turn that digital file into a real object. What happens next?
Getting an STL file 3D printed in Bangladesh is straightforward once you understand a few important details: scale, geometry, material, strength, orientation and intended use. This guide walks through the complete process from file to finished part.
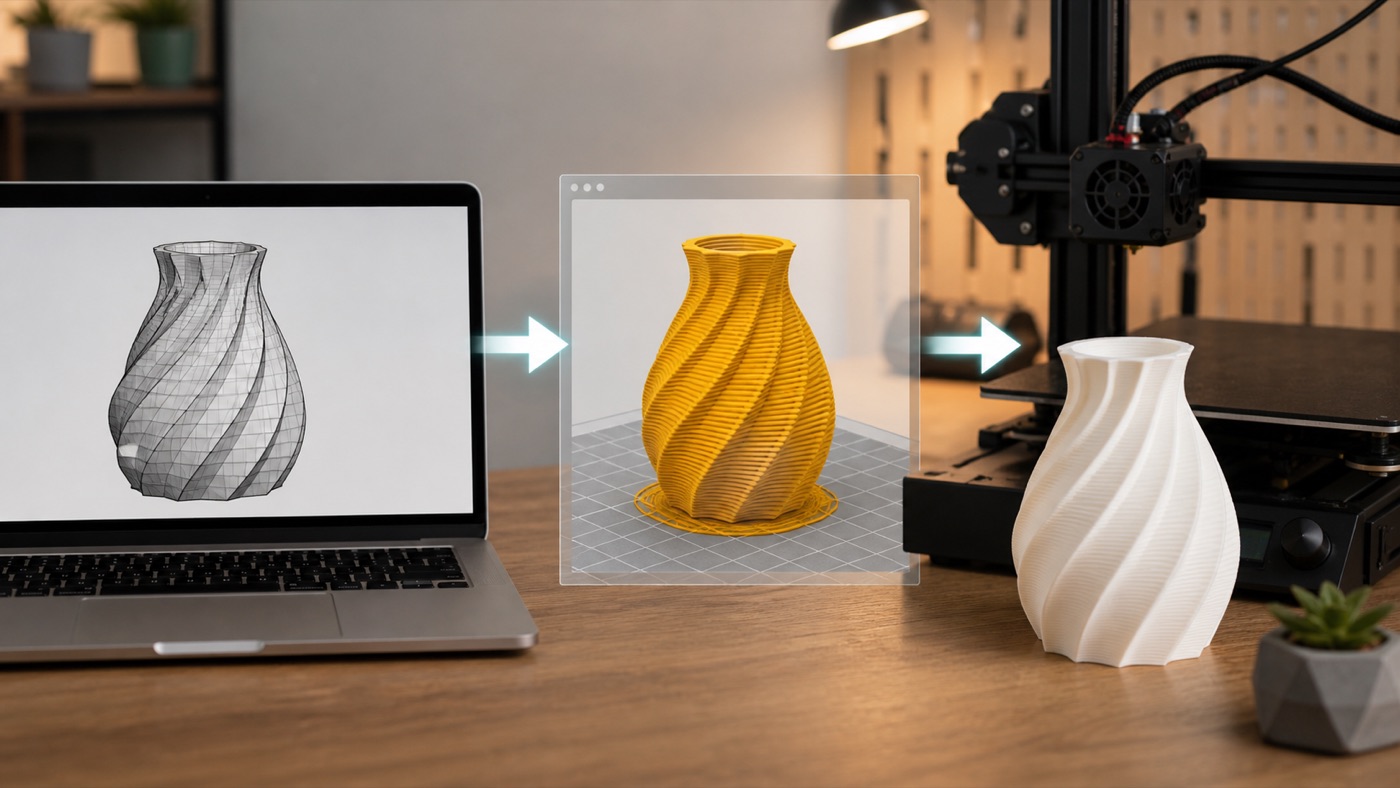
What Is an STL File?
STL is one of the most common file formats used for 3D printing. It describes the outer surface of a 3D object using a mesh made of triangles. An STL generally contains the geometry needed to reproduce the shape, but it does not automatically tell a printing service everything about how the final object should be manufactured.
For example, the service still needs to know the desired physical size, material, quantity, color and purpose of the part.
Step 1: Check the Model Before Sending It
Open the STL in a 3D viewer or slicer and inspect it. Does the model look complete? Are any pieces missing? Is it one object or several separate shells? A broken mesh may create problems during slicing.
Also check whether the file is actually intended for 3D printing. Models created only for games, animation or rendering can contain extremely thin surfaces or non-manifold geometry that does not translate cleanly into a physical object.
Step 2: Confirm the Scale
STL files do not always communicate units reliably between applications. A designer may have intended a dimension in millimeters while another program interprets it differently. Always tell the printing service at least one known measurement, such as “the total height should be 150 mm.”
This simple check can prevent a surprisingly common problem: receiving a beautifully printed object at the wrong size.
Step 3: Decide What the Part Needs to Do
A visual display model and a working mechanical part need different decisions. If the print is functional, explain the loads, temperature, flexibility and assembly requirements. If it must fit another component, provide the critical dimensions.
This information helps determine whether the model needs thicker walls, more infill, a particular orientation or a different material.
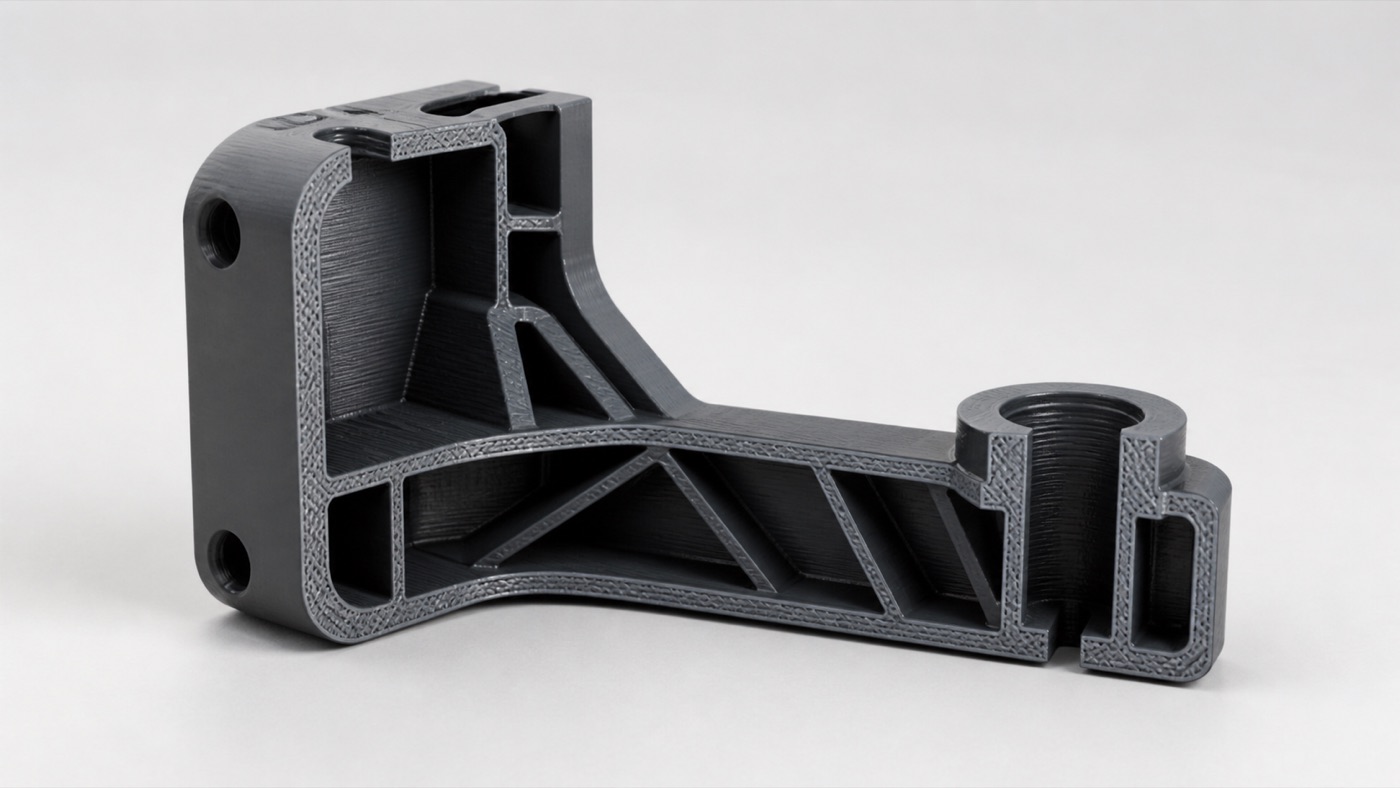
Step 4: Choose the Printing Technology
For many STL files, FDM is a practical option. It is suitable for functional prototypes, brackets, enclosures, larger models and general-purpose products. FDM builds the object from thermoplastic filament.
For miniatures and models with very small details, SLA resin printing may be more appropriate. Resin can reproduce fine features and smooth-looking surfaces, although the right choice always depends on the project.
Step 5: Choose the Material
PLA is common for visual models, prototypes and many indoor objects. PETG is useful for a wide range of functional parts. TPU is flexible and can be used when the object needs to bend or absorb movement. ABS, ASA and other materials can be considered for projects with different performance requirements.
If you do not know which material to choose, describe the application rather than guessing. “This holder will stay inside a car” is more useful information than simply asking for the “strongest material.”
Step 6: Slicing the STL
Before a printer can manufacture your model, slicing software converts the geometry into machine instructions. This is where layer height, wall count, infill, support structures, orientation and other settings are chosen.
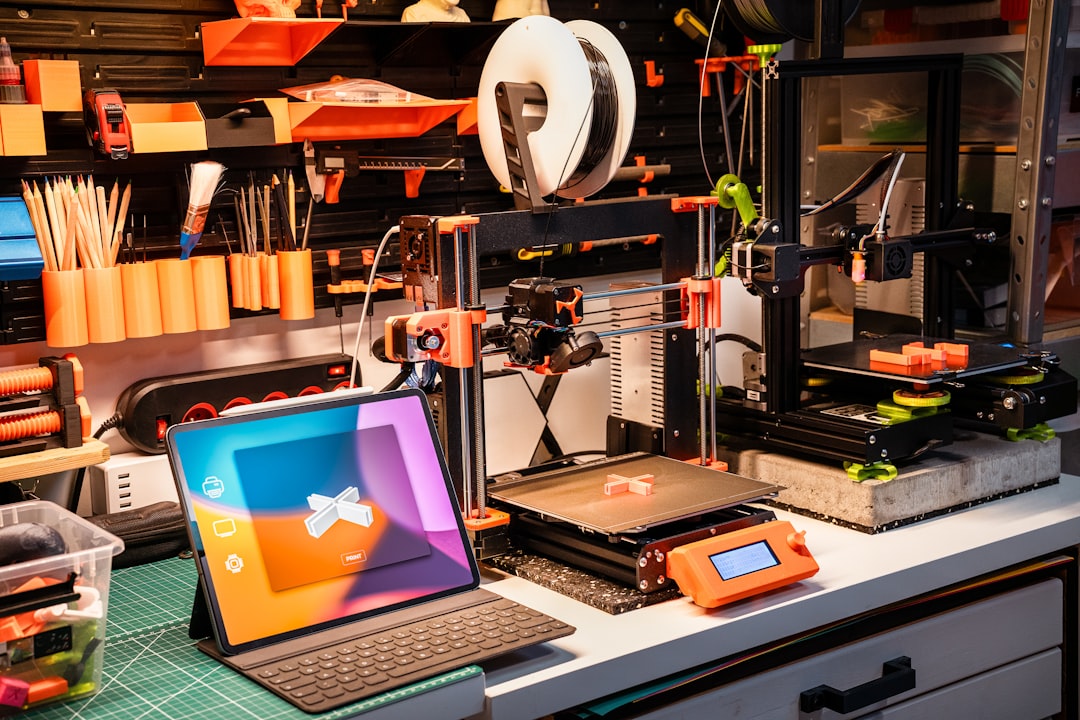
Orientation can affect both appearance and strength. A part that experiences force in one direction may need to be positioned differently from a decorative model. Supports may be added under overhangs, but unnecessary supports increase material, time and cleanup.
Step 7: Get an Accurate Quote
The most useful way to quote an STL is to slice the actual file. The printing service can estimate material consumption and machine time and review any difficult geometry.
When requesting a quotation, send the STL plus quantity, dimensions, intended use, material or color preference and deadline. A screenshot alone is rarely enough for an accurate production estimate.
Step 8: Print a Test When Necessary
If the model is large or must fit expensive hardware, consider a test print. Sometimes only the critical section needs to be printed first. For example, an enclosure may be tested around the connector area before manufacturing the complete body.
This approach can save time and material when tolerances are uncertain.
Step 9: Inspect the Finished Print
Check important dimensions and test the object in its real environment. FDM parts naturally show layer lines, although their visibility depends on layer height, geometry, material and finishing. Resin prints require their own post-processing workflow.
If something needs adjustment, update the model rather than forcing a poor fit. The ability to revise the STL and print another iteration is one of additive manufacturing’s biggest strengths.
What If the STL Needs Editing?
Simple scaling is different from redesign. If you need to move holes, change dimensions, add mounting points or reshape the product, the original editable CAD file is often better than an STL. Mesh editing is possible, but a STEP or native CAD file may make engineering changes easier.
Send Your STL to Artin3D
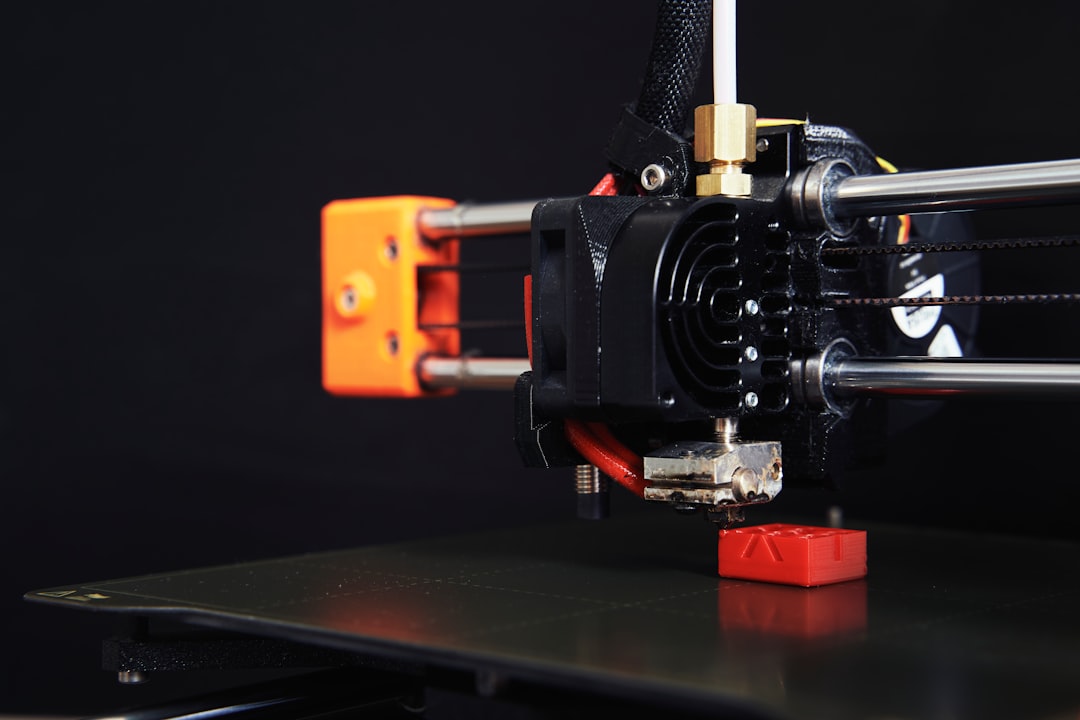
If you already have an STL, STEP or OBJ file, Artin3D can review the project for FDM or SLA printing. Tell us the intended size, quantity and use so the print can be planned around the actual requirement.
If you do not have a printable model yet, custom 3D design can also be part of the workflow.
Artin3D – Where ideas take shape.


