
Resin print হাতে rigid লাগলেই সেটি high-load part নয়। Strength বুঝতে material type, orientation, cure, temperature, notch এবং load-এর ধরন জানতে হয়।
Resin miniature ও prototype দেখতে injection-moulded part-এর মতো smooth হতে পারে, তাই অনেকে এটিকে একইভাবে durable ধরে নেন। বাস্তবে standard photopolymer rigid হলেও sudden impact, thin corner বা screw stress-এ brittle fracture হতে পারে। Engineering resin এই সীমা উন্নত করে, কিন্তু প্রতিটি application-এর জন্য test প্রয়োজন।
“কত kilogram নিতে পারবে” প্রশ্নের একক উত্তর নেই। একই material-এর short thick block এবং long thin arm সম্পূর্ণ ভিন্ন load বহন করে। Static compression, bending, tension, impact, fatigue ও heat—প্রতিটি failure mode আলাদা। Safe decision-এর জন্য geometry ও environmentসহ whole system দেখতে হয়।
সংক্ষিপ্ত উত্তর
Display model ও light-duty prototype-এ resin যথেষ্ট শক্ত হতে পারে। Standard resin-কে repeated impact, structural safety part, high heat, দীর্ঘ outdoor UV, pressurized/food-contact component বা unvalidated medical use-এ ব্যবহার করা উচিত নয়। Tough বা specialty resin হলেও বাস্তব load test এবং safety factor দরকার।
Strength একটি নয়—কয়েকটি Property
Tensile strength টানে failure, flexural strength বাঁকে, impact resistance sudden hit, modulus stiffness এবং elongation ভাঙার আগে stretch বোঝায়। Data sheet-এ একটি বড় number দেখে material strong ঘোষণা করা ভুল। Part কী load নেবে সেটির সঙ্গে relevant property মিলান। Repeated load হলে fatigue data এবং দীর্ঘ সময় load থাকলে creep behaviour গুরুত্বপূর্ণ।
Professional result-এর জন্য “আরও বেশি” সবসময় “আরও ভালো” নয়। বেশি exposure fine gap বন্ধ করতে পারে, বেশি support surface নষ্ট করতে পারে, বেশি cure brittleness বাড়াতে পারে এবং aggressive washing সূক্ষ্ম অংশ ভেঙে দিতে পারে। লক্ষ্য হলো model ও resin অনুযায়ী balanced setting, সর্বোচ্চ setting নয়।
Standard Resin কেন Brittle হতে পারে
Highly cross-linked cured polymer rigid ও dimensionally stable হলেও crack শুরু হলে energy absorb কম করতে পারে। Sharp internal corner, support nick, hole edge বা over-tightened screw stress concentration তৈরি করে। Part মোটা করলেই সবসময় সমাধান নয়; transition-এ fillet, load path এবং uniform section গুরুত্বপূর্ণ। Tough formulation crack resistance বাড়াতে পারে।
Batch production-এর আগে একটি approved master sample রাখা কার্যকর। সেই sample-এর dimensions, surface, support marks ও colour দেখে পরবর্তী batch তুলনা করা যায়। একই model আবার print করতে হলে resin ভালোভাবে mix করা, tank inspect করা এবং validated file ব্যবহার করা consistency বাড়ায়।
Orientation ও Layer Bonding
Resin process-এর layer interface FDM-এর মতো দৃশ্যমান না হলেও orientation mechanical result-এ প্রভাব ফেলে। Support side defect, cure depth, peel-induced stress ও geometry direction failure location বদলায়। Critical tensile arm বা snap feature এক orientation-এ pass এবং অন্যটিতে fail করতে পারে। Production-এর আগে intended orientation-এ test coupon বা actual part test করুন।
Cost হিসাবেও failed print-এর প্রভাব বড়। শুধু model-এর resin নয়, support, wash liquid, gloves, machine time এবং finishing labour যোগ হয়। তাই preparation-এ কয়েক মিনিট বেশি ব্যয় করে orientation ও support review করা প্রায়ই দ্রুত print শুরু করার চেয়ে লাভজনক।
Wash ও Cure Strength বদলায়
Unwashed residue ও incomplete cure final property কমায়। আবার excessive solvent soak swelling বা micro-crack আনতে পারে; অতিরিক্ত cure কিছু resin brittle করে। Data sheet value যে exact machine, layer ও cure condition-এ পাওয়া, আপনার process তার থেকে ভিন্ন হতে পারে। তাই validated post-cure ছাড়া published number সরাসরি design allowable হিসেবে নেওয়া ঠিক নয়।
Resin printing-এ কোনো setting আলাদাভাবে কাজ করে না। Layer height, exposure, lift movement, support এবং model geometry একে অন্যকে প্রভাবিত করে। তাই production model-এ যাওয়ার আগে একই resin, একই room condition এবং একই profile দিয়ে ছোট validation print করা ভালো। এতে failure হলে কারণ চিহ্নিত করা সহজ হয় এবং অপ্রয়োজনীয় resin নষ্ট কমে।
Heat, Sunlight ও Environment
অনেক standard resin উষ্ণ গাড়ি, motor-এর পাশে বা direct sunlight-এ soften, creep, colour change বা embrittle করতে পারে। Heat Deflection Temperature load-dependent; glass transition-এর কাছাকাছি part shape হারাতে পারে। Outdoor use-এ UV, rain ও thermal cycle একসঙ্গে কাজ করে। এই environment-এর জন্য heat-resistant বা weather-capable material এবং accelerated test প্রয়োজন।
প্র্যাকটিক্যাল সিদ্ধান্ত নেওয়ার সময় শুধু screen preview দেখে থেমে গেলে চলবে না। Model-এর visible face, load direction, trapped resin, suction force এবং পরে support removal—সবগুলো ধাপ একসঙ্গে কল্পনা করতে হবে। যে orientation print সফল করে কিন্তু গুরুত্বপূর্ণ face-এ গভীর mark রেখে দেয়, সেটিকে ভালো orientation বলা যায় না।
Screw, Insert ও Snap-fit Design
Directly printed thread ছোট prototype-এ চললেও বারবার tighten করলে wear/crack হতে পারে। Screw clearance, pilot hole, washer, generous boss এবং controlled torque দরকার। Heat-set insert FDM thermoplastic-এর মতো resin-এ সবসময় একইভাবে বসে না; material-specific insert method ব্যবহার করুন। Snap-fit-এর strain calculation এবং resin elongation match না হলে প্রথম assembly-তেই arm ভেঙে যেতে পারে।
একটি নির্ভরযোগ্য workflow হলো একবারে একটি variable পরিবর্তন করা। প্রথম test-এর ছবি, resin batch, temperature, layer height ও exposure লিখে রাখুন। পরের test-এ শুধু একটি parameter বদলান। এতে improvement কোন পরিবর্তনের কারণে হয়েছে বোঝা যায়; একই সঙ্গে ভবিষ্যতের repeat order-এ consistent result পাওয়া সহজ হয়।
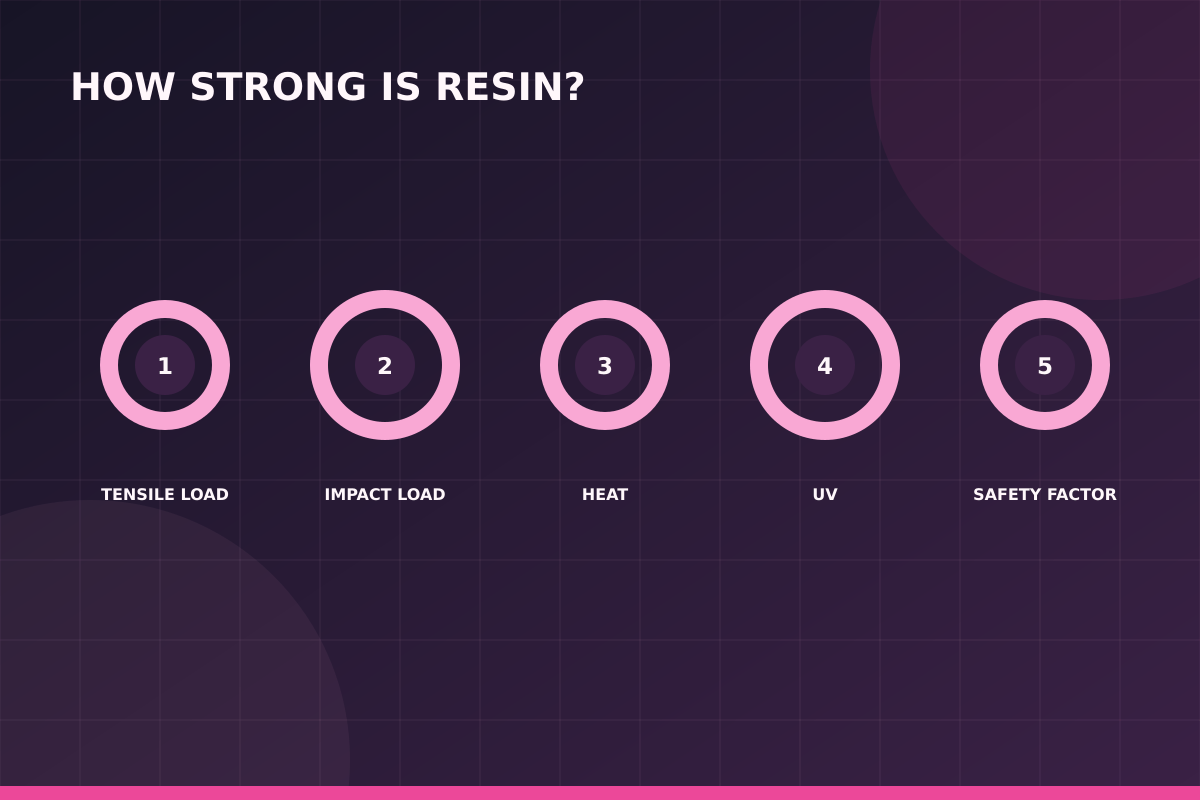
যেসব কাজে Standard Resin এড়িয়ে চলুন
মানুষের weight বহনকারী bracket, vehicle safety component, pressure vessel, mains electricity insulation without rating, high-temperature fixture, long-term food-contact item, child safety product বা critical medical device—এসব কাজে সাধারণ model resin ব্যবহার করা উচিত নয়। Failure-এর consequence বড় হলে certified material, traceable process, engineering calculation ও regulatory validation প্রয়োজন। Decorative prototype আর certified end-use part এক জিনিস নয়।
ছোট feature-এর ক্ষেত্রে digital model-এর detail থাকাই যথেষ্ট নয়; printer-এর XY resolution, layer height, resin behavior এবং cleaning method সেই detail বাঁচাতে পারছে কি না সেটিও জরুরি। Design-এর সবচেয়ে পাতলা অংশ printer-এর practical limit-এর কাছাকাছি হলে সামান্য scale increase বা controlled thickening অনেক সময় দৃশ্যমান পার্থক্য তৈরি করে।
Strength বাড়ানোর Practical উপায়
Appropriate tough/rigid/heat-resistant resin বাছাই, wall ও rib ঠিক করা, sharp corner fillet করা, load direction অনুযায়ী orientation, hollow part-এ drainসহ balanced shell এবং correct cure—এসব strength উন্নত করে। Vulnerable pin বা shaft metal component দিয়ে hybrid assembly করা যেতে পারে। সবচেয়ে গুরুত্বপূর্ণ হলো representative test: actual screw torque, drop height, temperature ও cycle count দিয়ে acceptance criteria নির্ধারণ।
Safety-কে finishing-এর আলাদা বিষয় ভাবা ঠিক নয়। Uncured resin skin contact এড়াতে উপযুক্ত nitrile glove, eye protection ও পরিষ্কার work area দরকার। Resin এবং contaminated cleaning liquid স্থানীয় নিয়ম মেনে dispose করতে হবে; sink বা খোলা জায়গায় ফেলা উচিত নয়। নির্দিষ্ট wash ও cure time সবসময় resin manufacturer-এর নির্দেশনা অনুযায়ী ঠিক করুন।
ধাপে ধাপে Practical Workflow
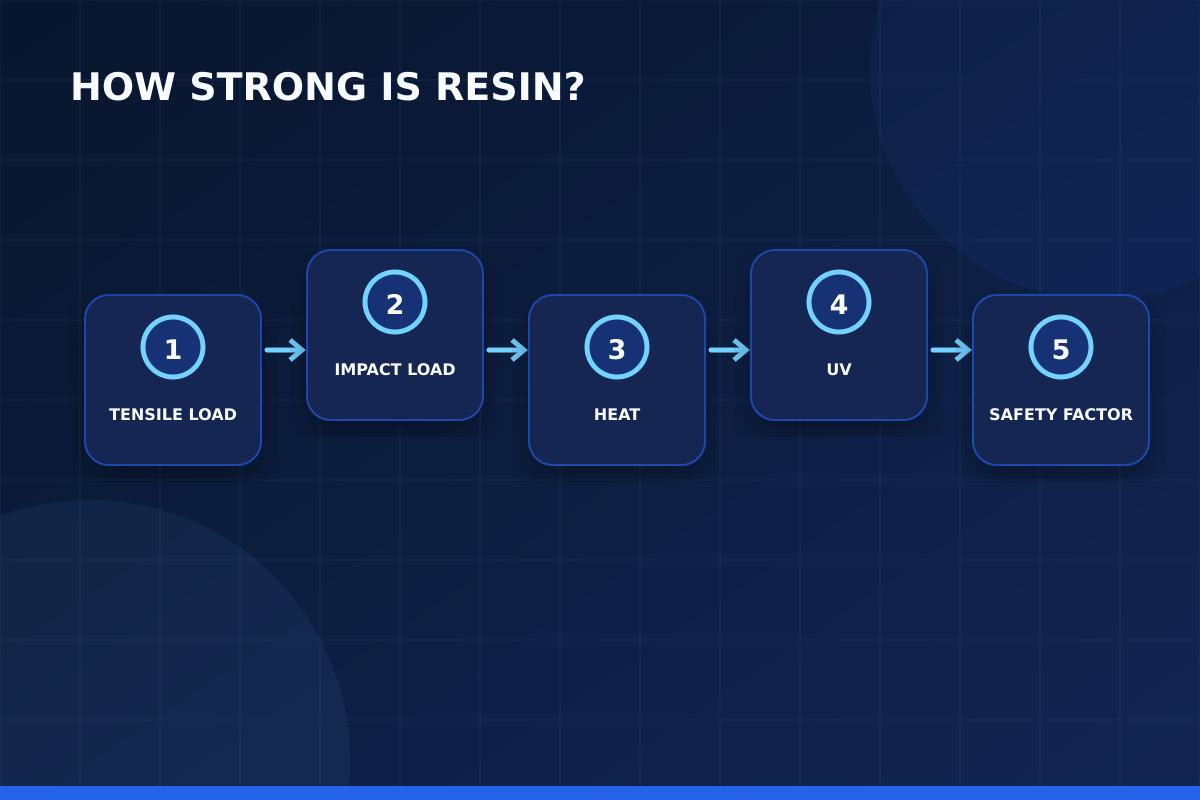
- Expected load ও failure consequence লিখুন।
- Static, impact, heat নাকি fatigue—load type চিহ্নিত করুন।
- Relevant data sheet property নির্বাচন করুন।
- Geometry-তে stress concentration review করুন।
- Intended orientation-এ sample print করুন।
- Correct wash/cure-এর পরে test করুন।
- Safety factor ও environmental ageing বিবেচনা করুন।
- Pass criteria পূরণ না হলে process/material বদলান।
দ্রুত সিদ্ধান্তের Checklist
- Failure হলে মানুষ বা equipment ক্ষতি হবে?
- Temperature ও sunlight exposure কত?
- Repeated screw বা bending আছে?
- Thin notch বা sharp corner আছে?
- Material batch ও cure traceable?
- Actual-use test করা হয়েছে?
Common Mistakes
- Rigid মানেই tough ধরে নেওয়া।
- Green part হাতে বাঁকিয়ে final strength বিচার করা।
- Data sheet maximum value সরাসরি design load ধরা।
- Heat ও UV উপেক্ষা করা।
- Safety-critical part test ছাড়া ব্যবহার করা।
প্রায় জিজ্ঞাসিত প্রশ্ন
Resin print কি হাত দিয়ে সহজে ভাঙে?
Geometry ও resinভেদে বদলায়। Thick standard part rigid হতে পারে, কিন্তু thin pin বা sharp notch impact-এ সহজে snap করতে পারে।
Tough Resin কি structural part-এর জন্য নিরাপদ?
শুধু category name দিয়ে বলা যায় না। Load calculation, printed-property data, orientation, cure, fatigue ও safety factor verify করতে হবে।
Resin part গাড়ির ভেতরে রাখা যাবে?
Cabin temperature অনেক বাড়তে পারে। Material-এর heat deflection ও long-term creep data না থাকলে standard resin deform হওয়ার ঝুঁকি থাকে।
Outdoor miniature কতদিন টিকবে?
UV stability, coating, colour ও climate-এর ওপর নির্ভর করে। Standard resin long-term outdoor exposure-এর জন্য ধরে নেওয়া উচিত নয়।
Resin দিয়ে food mould বানানো যাবে?
শুধু নির্দিষ্ট food-contact compliant material ও validated finishing থাকলে। সাধারণ resin বা coating দিয়ে compliance অনুমান করা নিরাপদ নয়।
Strength test কীভাবে শুরু করব?
Final geometry-এর critical section print করে intended load, temperature ও cycle simulate করুন। Failure mode record করে design বা material iterate করুন।
বাস্তব প্রয়োগের নোট 1: Strength একটি নয়—কয়েকটি Property
Tensile strength টানে failure, flexural strength বাঁকে, impact resistance sudden hit, modulus stiffness এবং elongation ভাঙার আগে stretch বোঝায়। Data sheet-এ একটি বড় number দেখে material strong ঘোষণা করা ভুল। Part কী load নেবে সেটির সঙ্গে relevant property মিলান। Repeated load হলে fatigue data এবং দীর্ঘ সময় load থাকলে creep behaviour গুরুত্বপূর্ণ। Resin printing-এ কোনো setting আলাদাভাবে কাজ করে না। Layer height, exposure, lift movement, support এবং model geometry একে অন্যকে প্রভাবিত করে। তাই production model-এ যাওয়ার আগে একই resin, একই room condition এবং একই profile দিয়ে ছোট validation print করা ভালো। এতে failure হলে কারণ চিহ্নিত করা সহজ হয় এবং অপ্রয়োজনীয় resin নষ্ট কমে। এই পর্যবেক্ষণটি Resin 3D Print Strength নিয়ে কাজ করার সময় decision log-এ লিখে রাখলে পরবর্তী print বা production batch-এ একই ভুল পুনরাবৃত্তি হওয়ার ঝুঁকি কমে।
বাস্তব প্রয়োগের নোট 2: Standard Resin কেন Brittle হতে পারে
Highly cross-linked cured polymer rigid ও dimensionally stable হলেও crack শুরু হলে energy absorb কম করতে পারে। Sharp internal corner, support nick, hole edge বা over-tightened screw stress concentration তৈরি করে। Part মোটা করলেই সবসময় সমাধান নয়; transition-এ fillet, load path এবং uniform section গুরুত্বপূর্ণ। Tough formulation crack resistance বাড়াতে পারে। প্র্যাকটিক্যাল সিদ্ধান্ত নেওয়ার সময় শুধু screen preview দেখে থেমে গেলে চলবে না। Model-এর visible face, load direction, trapped resin, suction force এবং পরে support removal—সবগুলো ধাপ একসঙ্গে কল্পনা করতে হবে। যে orientation print সফল করে কিন্তু গুরুত্বপূর্ণ face-এ গভীর mark রেখে দেয়, সেটিকে ভালো orientation বলা যায় না। এই পর্যবেক্ষণটি Resin 3D Print Strength নিয়ে কাজ করার সময় decision log-এ লিখে রাখলে পরবর্তী print বা production batch-এ একই ভুল পুনরাবৃত্তি হওয়ার ঝুঁকি কমে।
বাস্তব প্রয়োগের নোট 3: Orientation ও Layer Bonding
Resin process-এর layer interface FDM-এর মতো দৃশ্যমান না হলেও orientation mechanical result-এ প্রভাব ফেলে। Support side defect, cure depth, peel-induced stress ও geometry direction failure location বদলায়। Critical tensile arm বা snap feature এক orientation-এ pass এবং অন্যটিতে fail করতে পারে। Production-এর আগে intended orientation-এ test coupon বা actual part test করুন। একটি নির্ভরযোগ্য workflow হলো একবারে একটি variable পরিবর্তন করা। প্রথম test-এর ছবি, resin batch, temperature, layer height ও exposure লিখে রাখুন। পরের test-এ শুধু একটি parameter বদলান। এতে improvement কোন পরিবর্তনের কারণে হয়েছে বোঝা যায়; একই সঙ্গে ভবিষ্যতের repeat order-এ consistent result পাওয়া সহজ হয়। এই পর্যবেক্ষণটি Resin 3D Print Strength নিয়ে কাজ করার সময় decision log-এ লিখে রাখলে পরবর্তী print বা production batch-এ একই ভুল পুনরাবৃত্তি হওয়ার ঝুঁকি কমে।
বাস্তব প্রয়োগের নোট 4: Wash ও Cure Strength বদলায়
Unwashed residue ও incomplete cure final property কমায়। আবার excessive solvent soak swelling বা micro-crack আনতে পারে; অতিরিক্ত cure কিছু resin brittle করে। Data sheet value যে exact machine, layer ও cure condition-এ পাওয়া, আপনার process তার থেকে ভিন্ন হতে পারে। তাই validated post-cure ছাড়া published number সরাসরি design allowable হিসেবে নেওয়া ঠিক নয়। ছোট feature-এর ক্ষেত্রে digital model-এর detail থাকাই যথেষ্ট নয়; printer-এর XY resolution, layer height, resin behavior এবং cleaning method সেই detail বাঁচাতে পারছে কি না সেটিও জরুরি। Design-এর সবচেয়ে পাতলা অংশ printer-এর practical limit-এর কাছাকাছি হলে সামান্য scale increase বা controlled thickening অনেক সময় দৃশ্যমান পার্থক্য তৈরি করে। এই পর্যবেক্ষণটি Resin 3D Print Strength নিয়ে কাজ করার সময় decision log-এ লিখে রাখলে পরবর্তী print বা production batch-এ একই ভুল পুনরাবৃত্তি হওয়ার ঝুঁকি কমে।
বাস্তব প্রয়োগের নোট 5: Heat, Sunlight ও Environment
অনেক standard resin উষ্ণ গাড়ি, motor-এর পাশে বা direct sunlight-এ soften, creep, colour change বা embrittle করতে পারে। Heat Deflection Temperature load-dependent; glass transition-এর কাছাকাছি part shape হারাতে পারে। Outdoor use-এ UV, rain ও thermal cycle একসঙ্গে কাজ করে। এই environment-এর জন্য heat-resistant বা weather-capable material এবং accelerated test প্রয়োজন। Safety-কে finishing-এর আলাদা বিষয় ভাবা ঠিক নয়। Uncured resin skin contact এড়াতে উপযুক্ত nitrile glove, eye protection ও পরিষ্কার work area দরকার। Resin এবং contaminated cleaning liquid স্থানীয় নিয়ম মেনে dispose করতে হবে; sink বা খোলা জায়গায় ফেলা উচিত নয়। নির্দিষ্ট wash ও cure time সবসময় resin manufacturer-এর নির্দেশনা অনুযায়ী ঠিক করুন। এই পর্যবেক্ষণটি Resin 3D Print Strength নিয়ে কাজ করার সময় decision log-এ লিখে রাখলে পরবর্তী print বা production batch-এ একই ভুল পুনরাবৃত্তি হওয়ার ঝুঁকি কমে।
শেষ কথা
Resin 3D Print-এর strength project-specific। Visual quality দেখে mechanical safety অনুমান করা যাবে না। Standard, tough, rigid ও high-temperature resin-এর উদ্দেশ্য আলাদা এবং printed property workflow-এর ওপর নির্ভরশীল।
Low-risk prototype-এ resin অসাধারণ; high-consequence end-use-এ calculation, validation এবং কখনও অন্য manufacturing process বেছে নেওয়াই সঠিক সিদ্ধান্ত।
আপনার model, sample, measurement বা project requirement পাঠালে Artin3D team printability, material, orientation এবং finishing requirement review করে উপযুক্ত solution প্রস্তাব করতে পারে। Artin3D-এর সঙ্গে যোগাযোগ করুন।
Artin3D – Where ideas take shape.


