
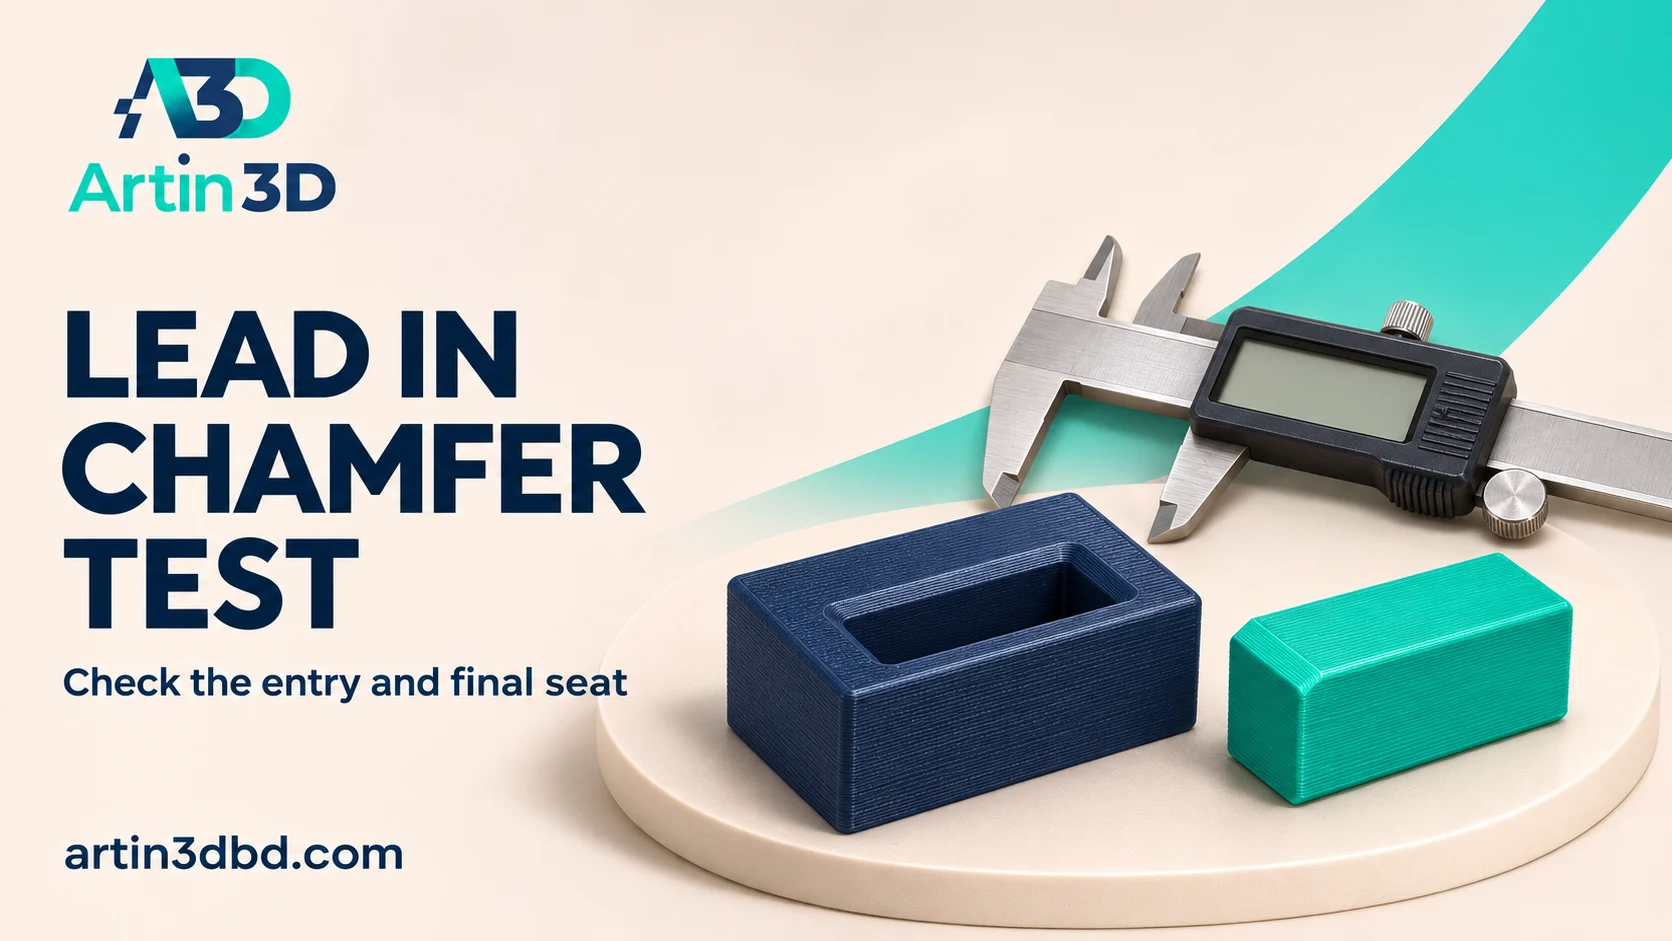
Plug সহজে socket এ শুরু হওয়ার জন্য lead in chamfer পরীক্ষা করতে পারেন। Entry সহজ হলেও final locating surface ও fit ঠিক আছে কি না দেখুন।
A plug that catches at the mouth of a socket may benefit from a deliberate lead in feature. A chamfer changes that entry geometry, but it should not accidentally remove the surface needed to locate the final assembly. A short plug and socket pair makes both conditions easy to inspect. Keep the intended fit and seating depth clear before making the design change.
Separate entry guidance from final location
Identify the surface that guides the plug during insertion and the surface that locates it once seated. Record the intended insertion direction, engagement length and stop face. Inspect whether the observed problem is only at the opening or extends through the whole socket. A lead in is a geometry choice to evaluate, rather than a substitute for the allowance needed along the mating surfaces.
If the obstruction is limited to the bottom edge, compare Test Elephant Foot Compensation With a Sliding Fit Coupon.
Add a controlled chamfer to the intended edge
Autodesk Fusion provides chamfer options defined by distances or by distance and angle. Select the entry edge carefully and record the chosen parameters. Keep the original unmodified model for comparison. Inspect the remaining locating length and nearby wall thickness. Do not assume an attractive bevel is harmless if it removes too much engagement surface or changes the stop position in the finished assembly.
Inspect the generated entry layers
Slice both sample versions using the same printer, nozzle and material profile. Move through the entry and final locating region, checking that the bevel has meaningful paths at the actual size. Record first layer edges or support residue that could affect the entry. Keep the intended orientation in the sample, since changing which face rests on the plate can change the physical condition you are evaluating.
Compare the complete insertion route
Print the short pairs and let them cool. Photograph the unmodified entries, then assemble each gently using the intended direction. Record whether the plug starts squarely, passes through the locating region and reaches its stop without unwanted play. Check accessible dimensions consistently. An easier first movement is only one part of acceptance, so do not stop the test before the pair is fully seated.
Revise the source of remaining resistance
If the plug still binds along the full engagement, inspect the mating dimensions and printed surface rather than repeatedly enlarging the bevel. If it starts easily but sits loosely, check whether the locating geometry was changed too much. Revise one relevant parameter and repeat the short sample. Keep the same material and orientation so the reason for the result remains traceable.
Record the accepted entry and seat
Save the chamfer dimensions, locating length and a photograph of the seated pair with the design revision. Include the accepted insertion method and any normal finishing step. When transferring the feature to a larger assembly, inspect nearby obstacles that may change how the plug approaches the socket. Preserve the reference surfaces as explicit requirements for future revisions.
To evaluate bore size separately from entry shape, use Check Hole Compensation With a Separate Pin and Hole Coupon.
Relevant products from Artin3D
SUNLU PLA Filament 1.75mm
SUNLU PLA can be evaluated for a PLA plug and socket sample on a compatible printer. Validate final fit using the intended final material.
Digital Vernier Caliper
The Digital Vernier Caliper supports accessible plug, socket and engagement length measurements. Confirm its specification and reference locations.
Quick questions
Can a chamfer fix a socket that is undersized all the way through?
Inspect the full mating region. Entry geometry and the working fit allowance are different requirements.
Should I keep increasing the bevel until insertion feels easy?
Check the remaining locating surface and final seat, and revise the cause of interference deliberately.
Confirm the exact product variant, printer compatibility, current price and availability on the linked product page before ordering.
Need help preparing a representative sample? Explore Artin3D’s 3D design service or upload your STL file for a 3D printing quote. Include the mating part dimensions, intended material and assembly requirements.



Comments (2)