
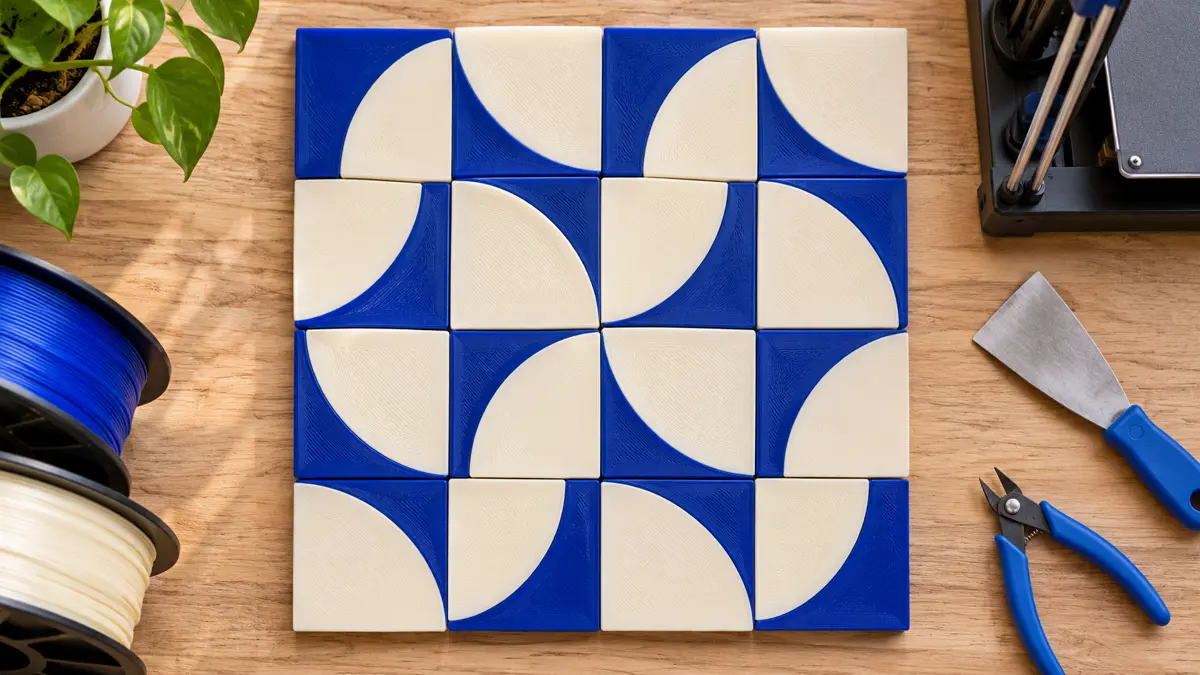
একই টাইল ঘুরিয়ে কীভাবে কয়েক রকম প্যাটার্ন সাজাবেন এবং ফাঁক ঠিক রাখবেন। চারটি টাইল পাশাপাশি বসালে মাঝখানে ফাঁক হয় তিনটি। ব্যাকিং কাটার আগে সেই তিনটি ফাঁক ও বাইরের বর্ডার আলাদা করে মেপে নিন।
A single square tile with a quarter circle in one corner can produce loops, waves or a pattern that appears to wander across a panel. The difference is rotation. A set of 3D printed mosaic tiles is therefore a useful project for the Creality K2 Plus Combo. You can compare several arrangements using one design, then decide how many pieces and colour changes the final indoor display actually needs.
এই Blog এর Product
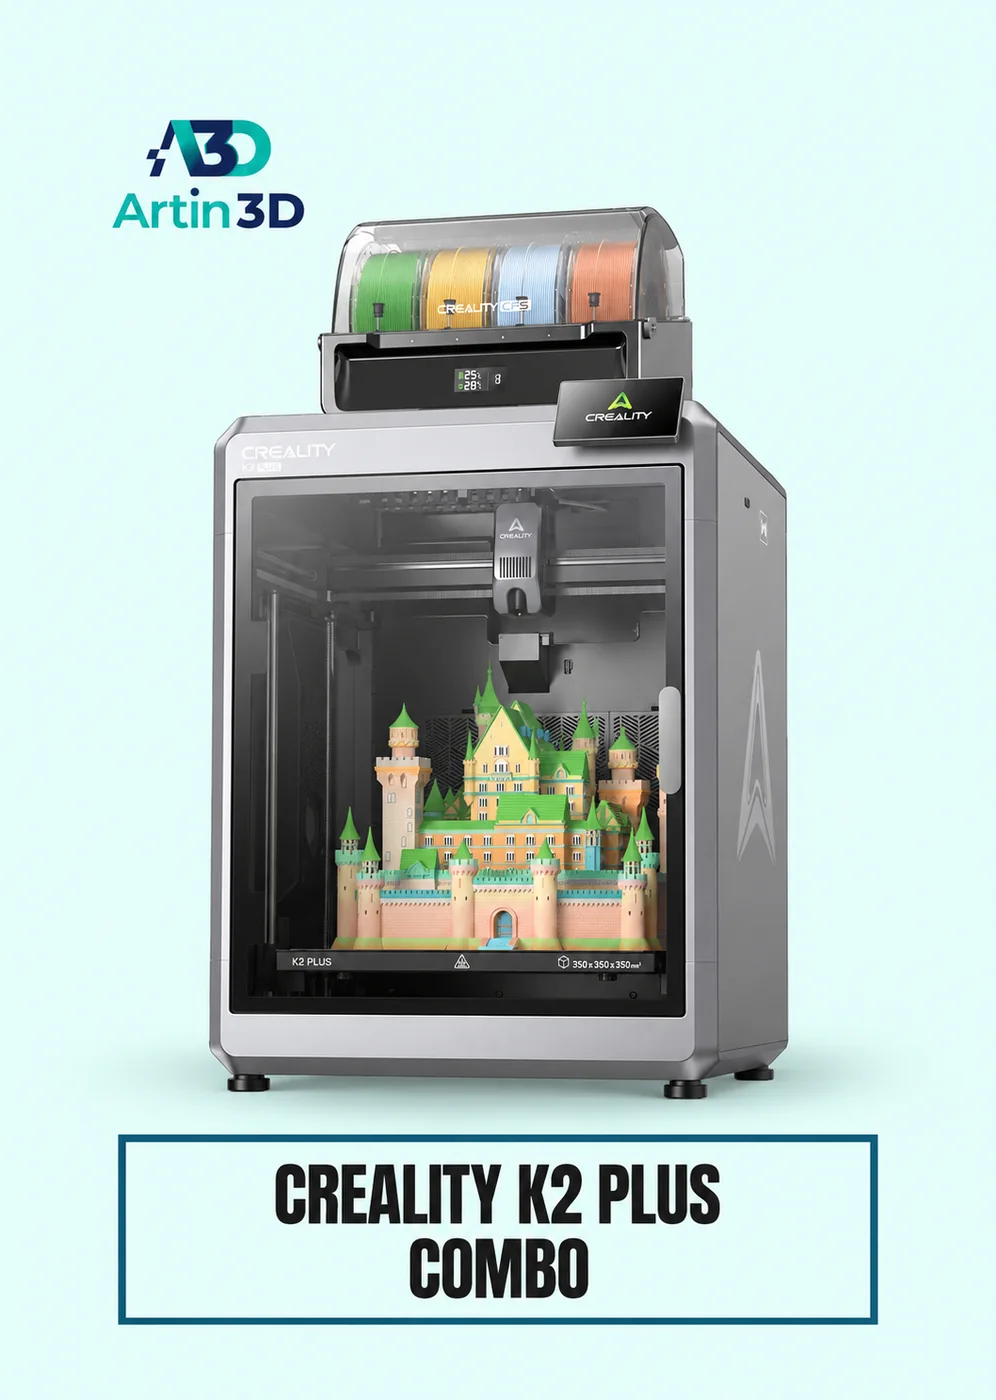
Creality K2 Plus Combo 3D Printer
বর্তমান মূল্য, specification ও availability দেখতে সরাসরি product page খুলুন।
Plan the repeat with paper squares
Cut sixteen equal paper squares and draw the same curve on each one. Set them in four rows, then turn individual squares until neighbouring curves meet. Photograph two versions from directly above. Choose a reference corner and mark its direction on a sketch of each row. When you move the printed pieces onto a backing panel, that sketch will be easier to follow than a close photograph of one attractive junction.
Give the pattern consistent edges
Draw the first tile in CAD with its curve entering and leaving at known positions on the outer edges. Rotate a copy beside it in the drawing. Zoom in on the join to see whether the coloured band keeps the same width. A tiny mismatch on one pair can form a conspicuous zigzag across a row. Keep the underside flat and add any orientation mark on the back where it will be hidden.
Choose where the colour change happens
One option is a raised coloured motif that begins above a plain base. Another is a flush motif with two colours present in the same layers. Slice both options with the intended filament assignments and compare the predicted time and discarded material. For a panel that will be seen from across a room, a slight relief can give the boundary enough definition to justify the simpler print. Inspect the preview around the curved ends.
Account for gaps before sizing the backing
Suppose each tile measures 40 mm across and you want a 2 mm space between neighbours. Four tiles occupy 160 mm and the three internal gaps add 6 mm. The row therefore measures 166 mm before any border. A 5 mm margin at each end brings the backing width to 176 mm. Measure a printed row before cutting the final panel because slight differences in tile width accumulate.
Print the smallest useful repeat
Four tiles are enough to test a closed loop. Place them on a neutral backing and compare the curves under the light where the panel will hang. Look along the surface from the side. A lifted corner casts a shadow that can make a consistent gap look uneven. Check the tiles individually on a flat surface before changing the gap across the whole design.
Assemble from a straight reference
Mark one horizontal guide and one perpendicular guide on the backing. Lay the full pattern out dry, using identical scrap spacers between tiles. Work out from the reference intersection and check the far edge periodically. Test your chosen adhesive on a spare tile and a scrap of the backing. Once the bond has set according to its instructions, inspect the front for marks. Keep a few unmounted tiles so the pattern can be repaired or extended later.
আরও পড়ুন K2 Plus Multicolor Sign: Logo, Nameplate ও Purge Cost পরিকল্পনা
Artin3D | Where Ideas Take Shape.
WhatsApp or Call +880 1845 348757
Website www.artin3dbd.com
South Banasree Dhaka 1219


