

একই পার্টে মসৃণ ও টেক্সচার্ড ফিনিশ তুলনা নিয়ে এই গাইড। আপনার প্রিন্টারের মডেল ও প্লেটের ধরন মিলিয়ে নিতে নিচে সংশ্লিষ্ট পণ্যের লিংক দেওয়া আছে।
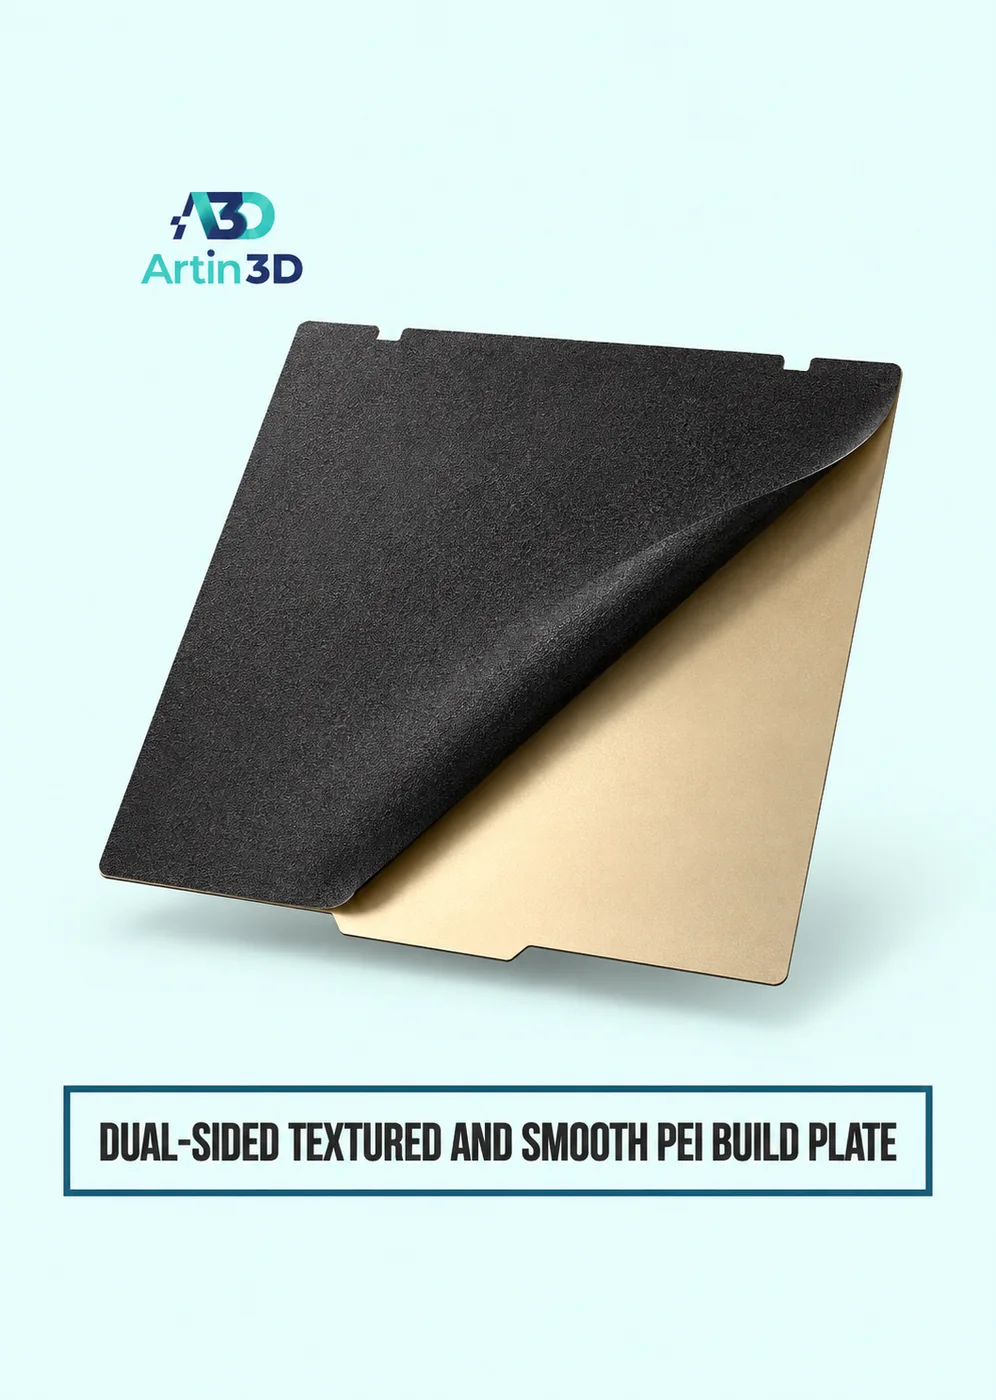
A customer orders a desktop clock with a broad face and asks for a finish that looks good beside a window. On a dual sided PEI build plate, you can print the same face against two different surfaces. The useful comparison is what happens to the clock’s lettering, edges and reflections when somebody reads it from a chair. A little square of plain filament will show the texture, but a sample that includes the actual artwork will answer the customer’s question.
View Product · Dual Sided PEI Plate
Choose the smallest meaningful piece of the model
Open the clock design and select a section containing one curved digit, a sharp corner and some plain background. Cut a small sample from that area while preserving the intended thickness. Include the boundary between the lettering and the surrounding material. If the original design uses a separate insert, include the insert joint as well. Save the sample as its own file so both prints will use exactly the same geometry.
Make sure the visible face touches the sheet
The face resting on the build surface picks up its finish. In the slicer, look at the underside and inspect the first layer. A raised number may touch the plate while the background floats above it. If so, a single print will not transfer the same texture across the whole face. A flush insert or a separately printed background may suit the design better. Check that the lettering reads correctly on the finished object.
Keep a useful record of the two sides
Identify the plate, printer and filament spool. Note which side faces upward and which surface profile is selected for each trial. Use the maker’s guidance for that side and material. The aim is to compare each surface under its intended conditions. Copying a setting that belongs to the other face can create a difference unrelated to the finish you are trying to choose.
Compare the samples beside the real product
Let both samples cool and remove them according to the sheet instructions. Set them upright at the same angle as the clock. View them by a window, under a ceiling light and from the usual reading distance. Move both together as you change position. Watch the boundary around the curved digit. Sometimes a broad reflection catches the eye before the number does, even though the lettering looks sharp in a close photograph.
Include a handling trial
Pick up each sample as you would when setting the time. Look again under the same lighting. Note where fingerprints show, whether the edge feels comfortable and whether either finish changes the visibility of a seam. Record a short description in everyday language, such as “numbers clear from the sofa” or “window reflection crosses the centre.” Those notes are easier to use than an unexplained score.
Keep the chosen sample with the order
Mark the reverse of the approved piece with the job reference and plate side. Photograph it next to the clock drawing, using the same direction of light as the comparison. When another clock is ordered, print a small reference before the full face. A different colour, spool or sheet can change the appearance. The approved piece gives you a physical acceptance check when the original customer is not in the workshop.
Artin3D | Where Ideas Take Shape.
WhatsApp or Call +880 1845 348757
www.artin3dbd.com
South Banasree Dhaka 1219


