
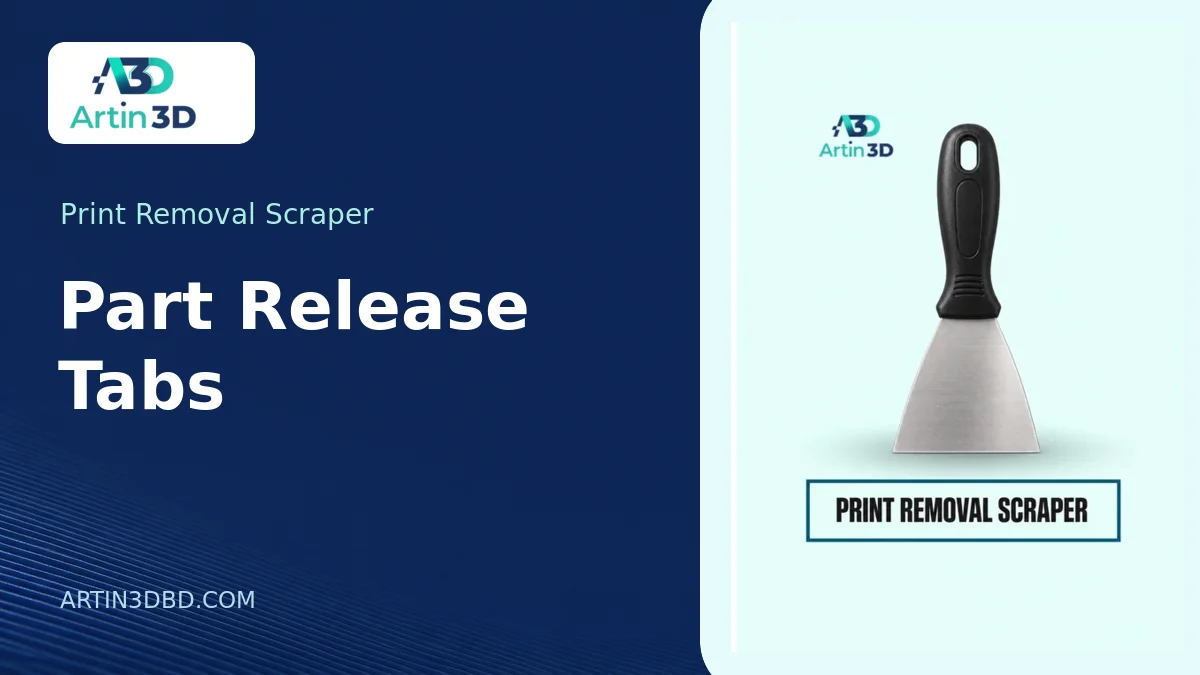
পাতলা প্রিন্ট তোলার জন্য ধরার জায়গা রাখা নিয়ে এই গাইড। আপনার প্রিন্টারের মডেল ও প্লেটের ধরন মিলিয়ে নিতে নিচে সংশ্লিষ্ট পণ্যের লিংক দেওয়া আছে।
Thin prints are easy to damage at the moment of removal. A bookmark, stencil or flat badge can crease if the only available grip is one delicate corner. Before reaching for a print removal scraper, design a place where release can begin. A small removable handling tab outside the finished outline may save more parts than trying to get a tool under every edge. First check whether your plate manufacturer permits that scraper material on the surface.
View Product · Print Removal Scraper
Find the section that can carry the load
Look at the model from above and mark areas that will be visible or functional. The corner of a narrow stencil opening is a poor lifting point. A wide unused margin is a better candidate for a sacrificial tab. Decide how the tab will join the outline and where its removal mark will end up. A tab next to a customer’s printed name may leave a distracting mark even if it works mechanically.
Model a short trial edge
Cut a small piece of the real outline from the file and add a tab to that piece. Make one trial with a broad junction and another with a narrower connection. Keep the rest of the geometry identical. View the join in the sliced layers. A junction too thin to appear in the toolpath cannot carry the tab. A thick junction may leave a larger mark than the original removal problem.
Separate the job of release from the job of trimming
A release tab gives fingers or a permitted tool an accessible starting point. The tab can be trimmed later on a stable work surface using a method suitable for the material. It need not snap off while the part is still on the bed. Try trimming a fully released sample and examine the resulting edge. If a crack travels into the finished face, change the junction location or shape before making a batch.
Let the plate do its part
Follow the approved cooldown and removal process for the sheet. On a flexible sheet, use only the gentle flexing described by its maker. On a rigid surface, follow its specific release instructions. If a scraper is permitted, approach an existing released edge with controlled movement away from your hand and body. Stop if the edge does not open easily. Driving a blade into the coating risks damage to the surface and to the print.
Compare where the part bends
Place the released pieces on a flat background and look along the edges. If both trials bow in the same place, check whether the curl began during printing or appeared during removal. A photo before release can settle that question. If only the more rigid tab causes a crease, its join may transfer too much force into the thin panel. A broader handling area with a different junction can be worth a second trial.
Pack and label the approved method
Keep a sample with the tab still attached and one after finishing. Write down the sheet, material and permitted removal method. Show the next operator which edge to start from and what the final edge should look like. For small production batches, a few seconds spent identifying the planned release point can prevent a whole row of otherwise acceptable parts from picking up the same damaged corner.
Artin3D | Where Ideas Take Shape.
WhatsApp or Call +880 1845 348757
www.artin3dbd.com
South Banasree Dhaka 1219


