

সামনে থেকে দেখা গ্রিডে প্রতিটি টাইলের সারি, কলাম ও ওপরের দিক চিহ্নিত করুন। একটি টাইল নষ্ট হলে নতুন করে পুরো সেট সাজানো ছাড়াই ঠিক জায়গাটির পিস প্রিন্ট করা যাবে।
A twelve tile mural is easy to scramble when several tiles contain the same curve or background colour. The installer needs to know which tile belongs in each position and which edge faces up. A row and column map gives every tile a permanent address even when the pieces come from different print runs. Use the map from the first paper sketch through the final dry assembly on the customer’s wall template.
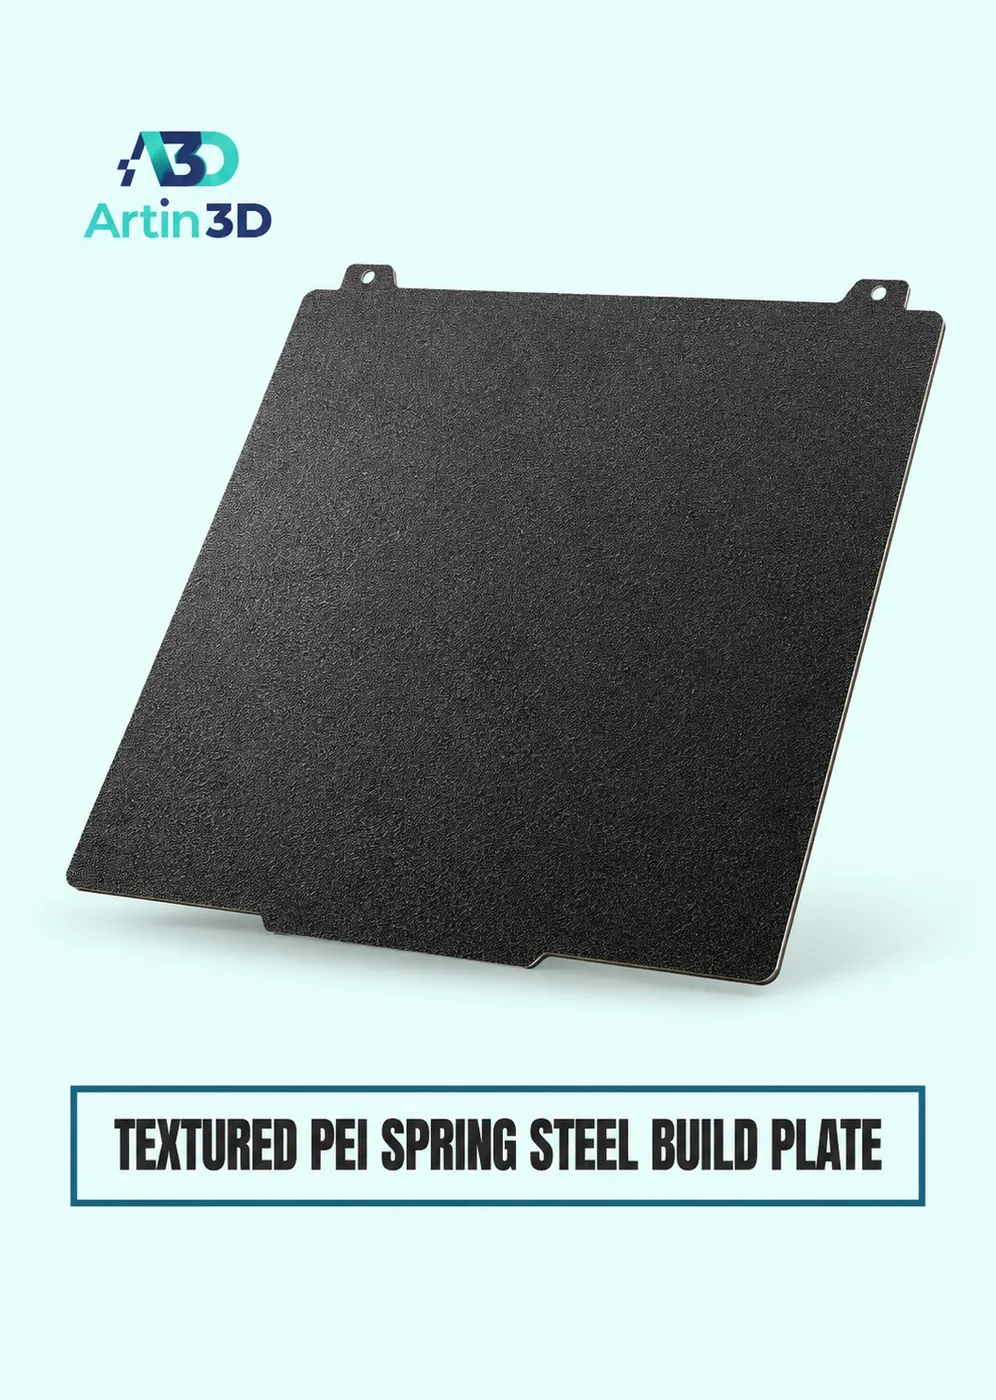
View Product · Textured PEI Plate
Give the grid a viewing direction
Draw the mural as the viewer will see it. Mark the top and choose a starting corner. For three rows and four columns, call the rows A through C and the columns one through four. The tile at the top left is A1 if that is the agreed starting point. If you turn the drawing over to mark the backs of tiles, remember that the order appears reversed. Keep one drawing labelled front view.
Include gaps when sizing the layout
For four tiles each 80 mm wide and three internal gaps of 2 mm, the row occupies 326 mm before the outer border. Three rows of the same tiles with two 2 mm gaps occupy 244 mm. Add the chosen margins separately. Measure a printed test pair and its actual spacer before cutting the backing board. A gap that looks elegant on a monitor can be hard to maintain by hand over several rows.
Mark identity without changing the show face
Decide whether the back can carry a recessed code, a removable paper label or an individual bag label. Keep marks away from surfaces that must sit flat or receive adhesive. Include an orientation arrow for any nearly symmetrical tile. If the design relies on the finish left by a textured PEI plate, make sure the right face touches the approved sheet and check its appearance under the intended lighting.
Plan plates around the map
A plate could contain one complete row or several similar colours from different rows. Either approach works if the job sheet lists the exact addresses produced. Before starting a run, compare its plate preview with the master map. Cross out a tile as printed only after it has passed inspection. A failed A3 cannot be replaced by an attractive spare B3 when the visible curve continues in a different direction.
Dry assemble from reference lines
Lay the tiles loose on a flat template with the prescribed spacers. Begin at a perpendicular pair of guide lines and check the far edge after each row. Look for three different errors: a wrong address, a rotated tile and a drifting gap. Change only the suspected feature and check the pattern again. A correctly numbered tile can still be upside down.
Pack in an order that assists installation
Photograph the approved front arrangement, then pack by row with a matching paper map. Identify any spare as a spare and state exactly which position it can replace. Record the backing dimensions and gap allowance beside the photograph. If the customer sends a picture of a discontinuity later, ask for the row and column. One address makes the support conversation far easier than trying to identify a tile by colour alone.
আরও পড়ুন একই রকম দেখতে বাম ও ডান পার্ট ঠিক ট্রেতে রাখা
Artin3D | Where Ideas Take Shape.
WhatsApp or Call +880 1845 348757
www.artin3dbd.com
South Banasree Dhaka 1219


