

বাম আর ডান বলতে ক্রেতার সামনে থেকে দেখা দিকটি আগে ঠিক করুন। প্রিন্টের পর একই রঙের ব্র্যাকেট মিশে গেলে কোন খাঁজ দেখে আলাদা করবেন, ছবিতে তা চিহ্নিত করে রাখুন।
Two mounting brackets can have the same colour, the same textured underside and almost the same silhouette. If one is left handed and the other right handed, mixing them across multiple plates turns a simple assembly job into a sorting exercise. The answer starts in the model and ends in the packing tray. Set up a way to identify the parts that still works after they leave the slicer, the printer and the person who designed them.
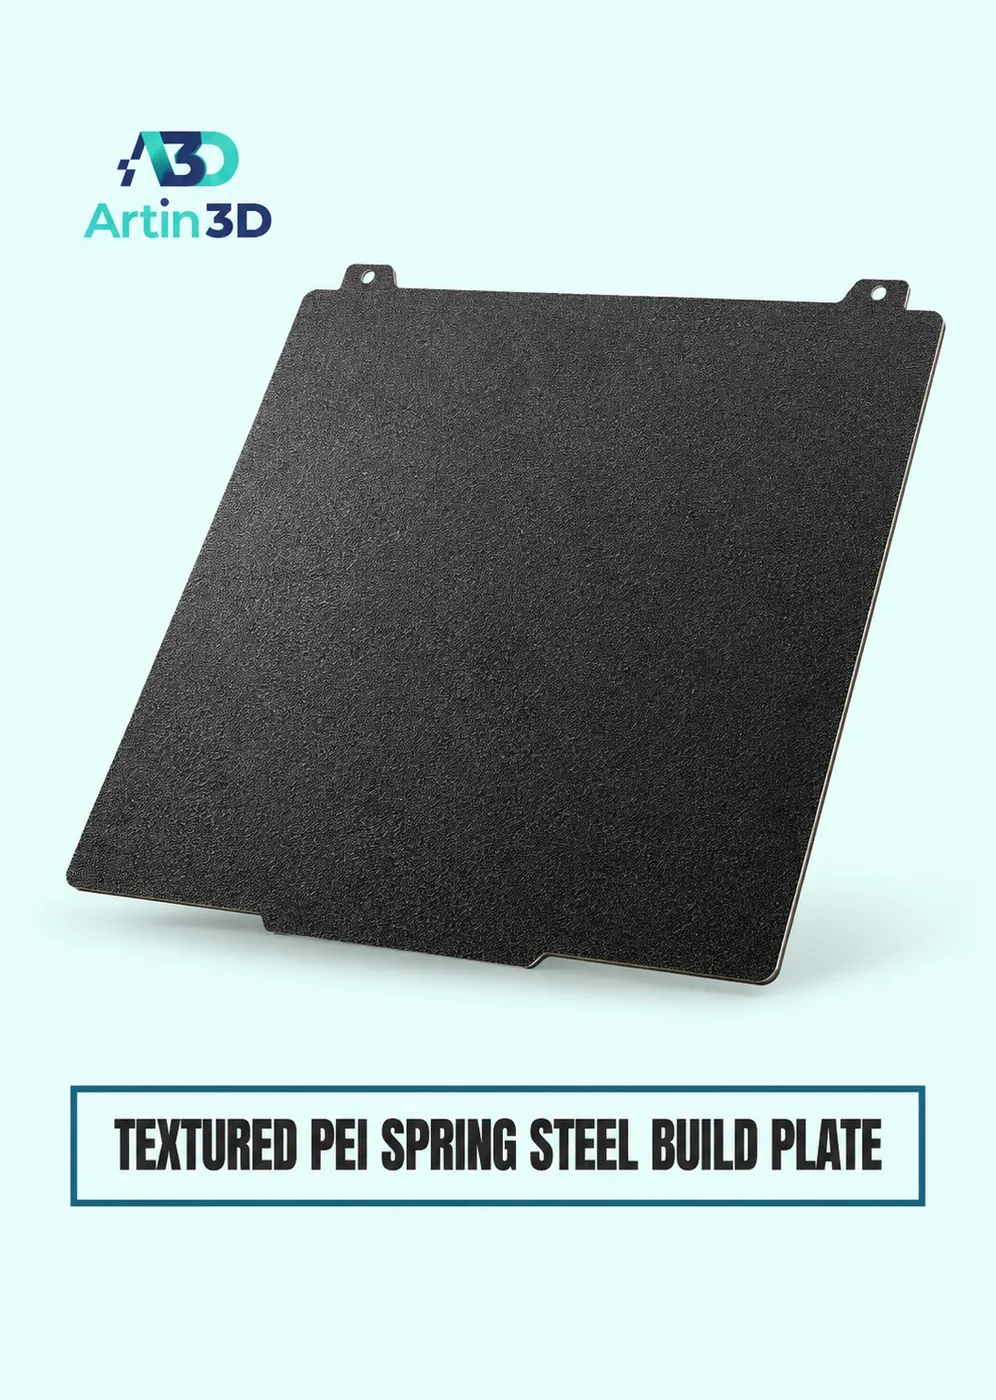
View Product · Textured PEI Plate
Define left and right from a fixed view
Look at the assembled item from the position a customer will use it. Draw a simple front view with a clear top edge. Label the customer’s left and right on that drawing. A technician working from behind the assembly sees the opposite arrangement. Put the drawing beside the packing list so the team has one reference view whenever somebody says the hole should be on the left.
Find an identifying feature on the real part
Look for a difference that survives printing, such as a cable notch or an offset locating boss. Photograph both brackets from the same direction and circle that feature. If the existing parts have no easily visible distinction, consider an approved recessed L or R on a hidden face. Check in the layer preview that the mark exists at printed size and that it does not weaken or obstruct a fitting surface.
Choose how to divide the plates
Printing left and right together can yield matched pairs from every completed run. Separate layouts can be useful when the two shapes need different orientations. For an order of ten pairs, a layout with four of each produces eight pairs in two full runs. The final run needs two of each. A layout that holds five left brackets and three right brackets requires another plan for the missing right parts, even if the total piece count looks sufficient.
Keep a diagram for unloading
Draw the front of the plate on a sheet of paper and mark the position of each bracket. Put labelled trays on the bench before unloading. Use the textured plate and material profile approved for the printer, and follow the sheet instructions for cooling and release. Move one recognised group at a time. Once the pieces are loose in a bag, their former coordinates are no longer available to identify them.
Use a fit check when labels disagree
Keep a sample mating part or a simple assembly reference that clearly distinguishes both orientations. If a piece from the left tray does not fit the left reference, compare its notch position with the photograph before changing the file. One tray mix up can look like a whole plate printed in reverse. A dimensional failure affecting both sides deserves a different investigation from a correct bracket placed in the wrong compartment.
Give the customer one complete pair
Pack left and right together and include the assembly picture when orientation matters. Record accepted pair counts and keep an unmatched spare in a separately labelled location. When one piece later needs replacement, the customer can identify it from the same view used in production. That small shared reference prevents a second shipment of a technically correct part for the wrong side.
Artin3D | Where Ideas Take Shape.
WhatsApp or Call +880 1845 348757
www.artin3dbd.com
South Banasree Dhaka 1219


