

Logo box এর সামনে seam পড়ছে কি না, print দেওয়ার আগে Preview তে দেখুন। একটি ছোট test section দিয়ে নির্ধারিত display face এবং seam position মিলিয়ে নিন।
The front of a logo box may be the face a customer sees in every photograph. A seam placed on that surface can become part of the visible finish. Before printing the full enclosure, use a short test section and slicer Preview to decide where the layer transitions should sit. This workflow concentrates on the relationship between the chosen display face and the actual sliced seam.
Mark the display face in your project notes
Open the model and identify the logo face, the rear face and any corners that are less visible in use. Save a screenshot with those faces marked in a separate note. Include the intended assembled position of the lid if there is one. The physical front of a product should be defined before you compare slicer options or rotate the model on the build plate.
For a curved seam or small lettering on the same display face, also review Compare a Scarf Seam on a Short Cylindrical Cover and Test Editable Text on a Curved Product Label Sample.
Compare the available seam strategies in Preview
Prusa documents aligned and rear seam behaviours, including how the rear option relates to the back of the print bed. Find the equivalent controls in your slicer and inspect the resulting seam markers. Rotate the model if needed, then reslice and check the markers again. Record the chosen setting together with the model’s orientation, because that orientation is part of the setup being evaluated.
Create a short wall section with the real corners
Make a small test section that preserves the logo face and the corner shape you want to evaluate. Keep the same wall settings, layer height, nozzle and filament as the proposed full job. Avoid changing the corners simply to make the sample easier to print. Your aim is to inspect the seam in geometry that resembles the intended display surface.
Photograph the sample in normal presentation lighting
View the sample from the front and from the angle used in product photographs. Take a second image with light coming from the side so you can locate the seam consistently. Record whether the visible transition interferes with the logo or the corner. Keep notes about small surface marks separately from the seam’s chosen location so later tuning decisions stay specific.
Check the full sliced box before committing
Restore the full model and apply the accepted orientation and seam strategy. Inspect the seam markers through the height of the box and around changes in shape. Save the project and a Preview screenshot with the order or design revision. When the finished box is inspected, compare it with the same views used for the test section and record any geometry dependent differences.
Relevant products from Artin3D
SUNLU PLA Matte Filament 1.75mm
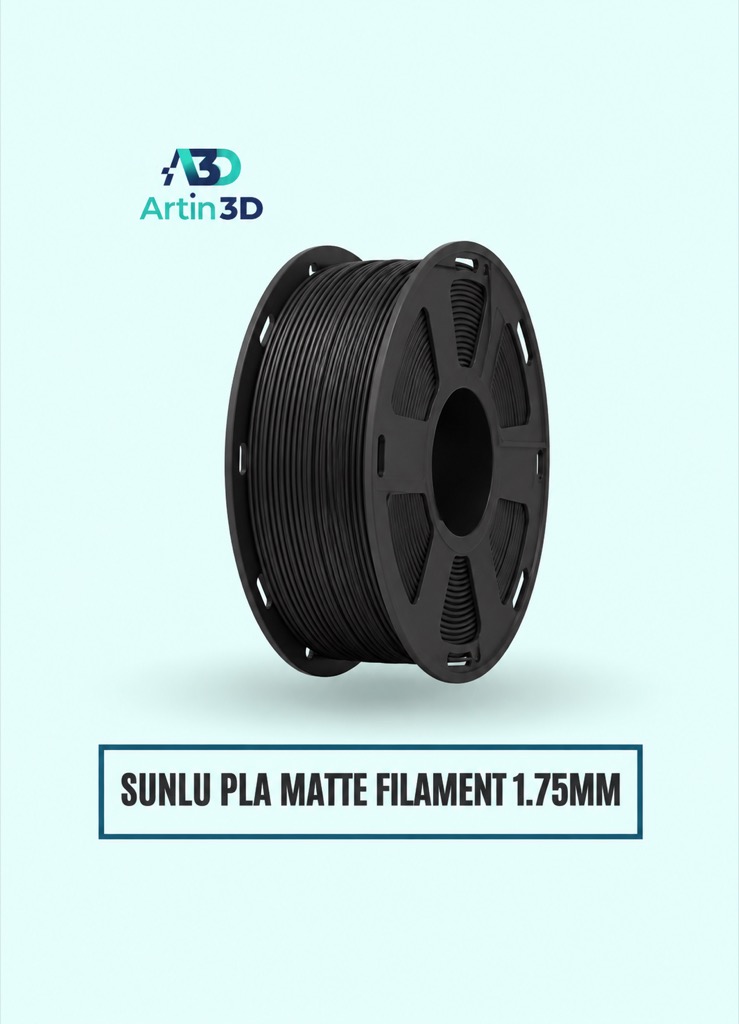
SUNLU PLA Matte is relevant when the planned finish is matte. Confirm the selected colour and grade and use a compatible profile for your printer.
n
SUNLU PLA Filament 1.75mm
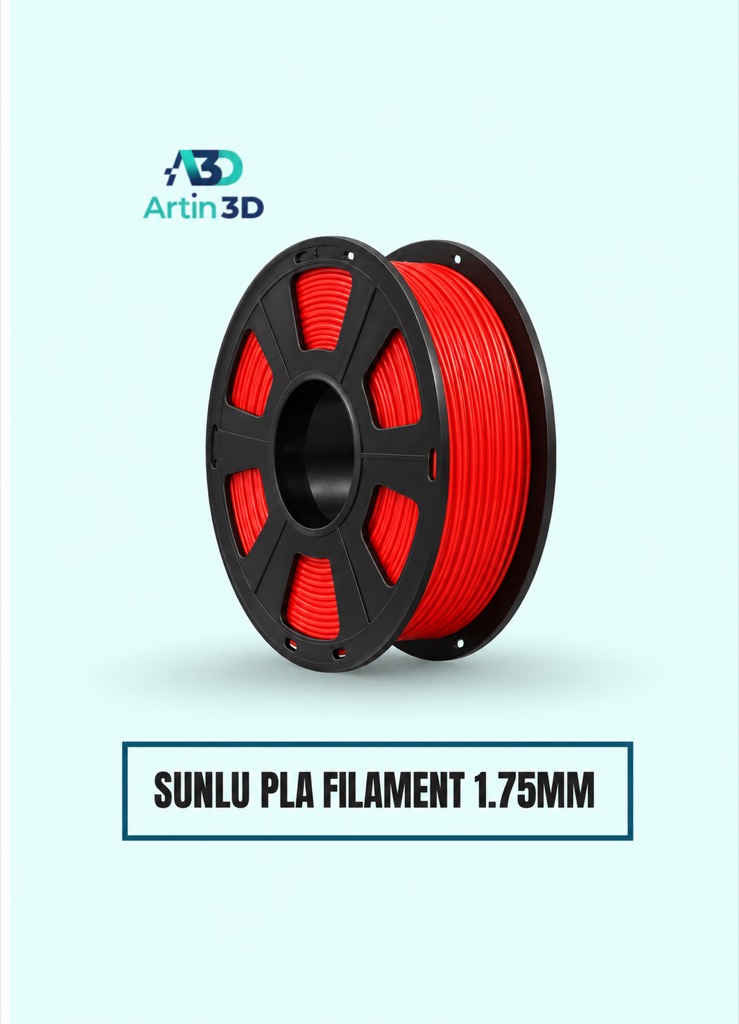
SUNLU PLA offers another material option for a separate finish comparison. Run seam location tests on one identified spool at a time so the material change remains visible in your records.
n
Quick questions
Does the rear seam option always mean the product’s back?
In the documented Prusa setting, rear refers to the print bed direction. Confirm the model orientation and inspect Preview.
Does matte filament remove the seam?
Evaluate the sliced seam location and printed sample for the chosen filament and lighting.
Keep a useful test record
Save the sample identifier, model revision, printer and nozzle, material, changed setting and inspection result with the project. When enquiring about a suggested product, send Artin3D the exact printer model and required size or material grade, then confirm current price and availability on the linked product page.
Need help preparing a representative sample? Explore Artin3D’s 3D design service or upload your STL file for a 3D printing quote. Include the mating dimensions, intended material and acceptance requirements.


