
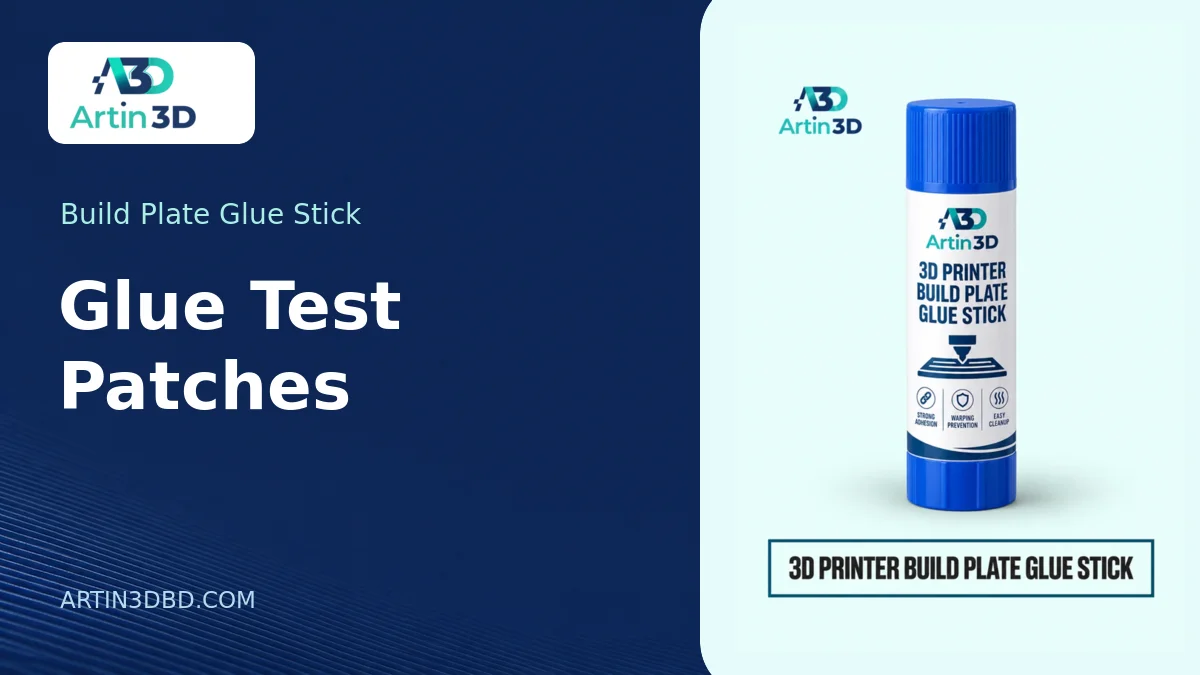
গ্লু স্টিকের ছোট নমুনায় আটকে থাকা ও ছাড়ানো পরীক্ষা নিয়ে এই গাইড। আপনার প্রিন্টারের মডেল ও প্লেটের ধরন মিলিয়ে নিতে নিচে সংশ্লিষ্ট পণ্যের লিংক দেওয়া আছে।
A build plate glue stick may be used for different reasons depending on the material and surface. In one approved combination the maker may call for an adhesion aid. In another, a separation layer can help a strongly bonded print release. Those goals need different observations. Before coating a whole plate, find the instructions for the exact sheet and filament and define what a successful result will look like during printing and after cooling.
View Product · Build Plate Glue Stick
Write down the question you want to answer
For a small box that lifts at the corners, success might mean that every foot remains flat through the print. For a part that holds too strongly, success might mean that it releases by the advised method without marking the surface. Record both outcomes if they matter. A part staying attached during the job answers only half the question if removal then damages the plate or distorts the finished object.
Use a coupon that resembles the real footprint
A tiny cube is a poor stand in for a wide panel with a thin corner. Crop a representative corner from the model and preserve the shape and thickness of its contact face. For an item with separated feet, test at least one foot and its surrounding geometry. Save the same file for future comparisons. Keep the coupon small enough that a failed test costs little filament and very little machine time.
Plan only combinations the maker permits
Some surfaces require a release layer for particular materials. Never omit a required layer merely to create a control sample. Instead compare two applications that are both allowed, or compare the result with an earlier approved sample. Other plates may prohibit adhesives altogether. Keep the glue product, sheet variant and material identity in the trial notes. The word PEI by itself does not define the preparation requirements of every sheet.
Observe application and first contact
Prepare the surface and apply the glue as directed for that product. Note the area covered and whether you can see obvious ridges or missed strips. Start with the recommended printer profile. Observe the initial contact without touching the running machine. If gaps follow a repeating path across both treated and untreated regions of a permitted comparison, investigate the normal first layer setup before deciding that more glue is needed.
Inspect after the approved release process
Allow the print and sheet to reach the removal condition specified by the manufacturer. Note where release begins, whether the part bends and what is left on the surface. Photograph the underside in side lighting. A glue ridge can be cosmetically important on a display face even when the part prints and releases successfully. Check that residue can be removed from both the part and sheet by methods allowed for each.
Turn the test into an order note
Record which face of the plate you used, the glue product, the material and the result for the chosen model. Keep a photograph of the finished coupon with the customer’s job. If the next project changes from hidden mounting feet to a visible front panel, run another sample. The best preparation is the one that meets the new part’s holding, release and appearance requirements together.
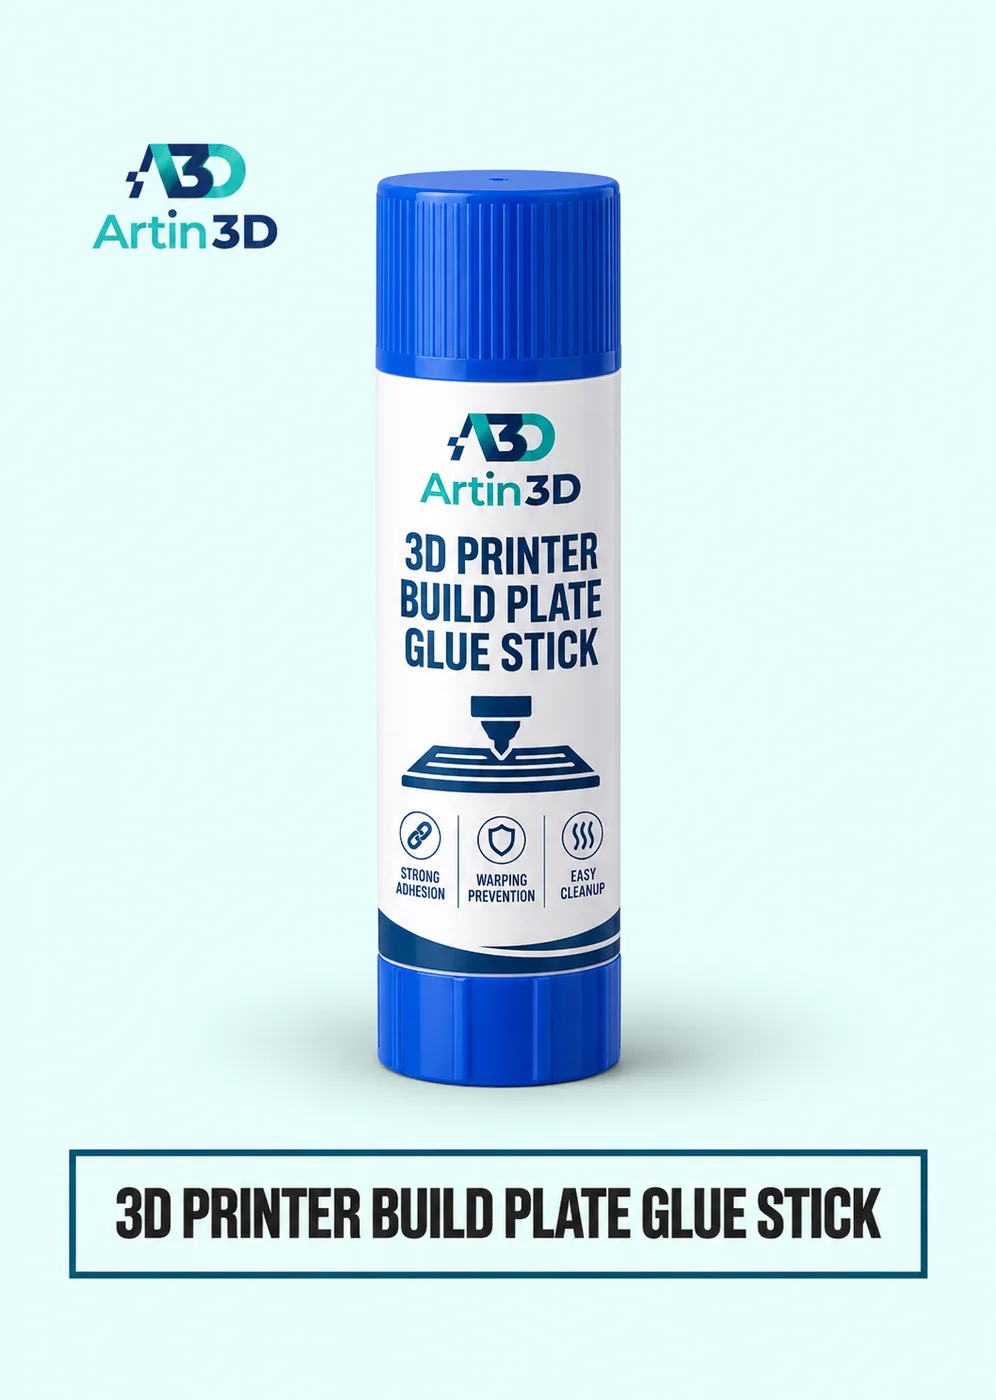
Artin3D | Where Ideas Take Shape.
WhatsApp or Call +880 1845 348757
www.artin3dbd.com
South Banasree Dhaka 1219


