
পুরোনো K1 লেআউট নতুন শিটে চালানোর আগে সামনে, মাঝখানে ও পেছনে একটি করে নমুনা রাখুন। কোন নমুনাটি কোথায় ছিল লিখে রাখলে ফিনিশ বা মাপের পার্থক্য খুঁজে পাওয়া সহজ হয়।
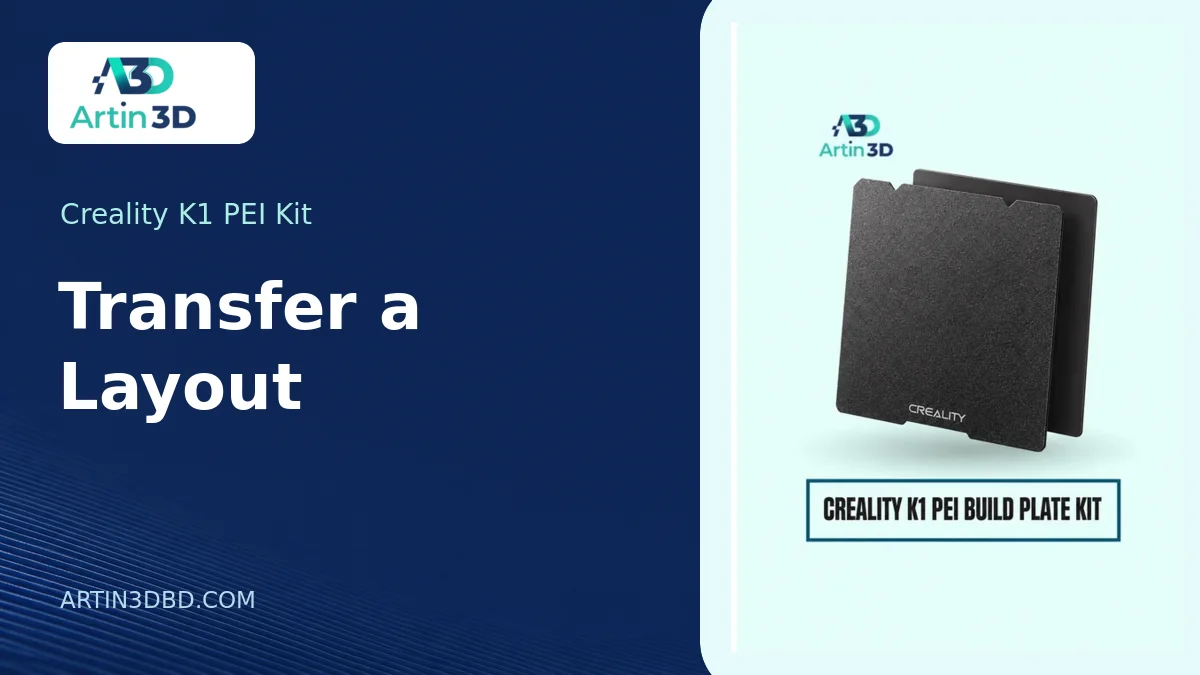
A saved tray of parts that printed well last month can be a useful starting point for a replacement Creality K1 PEI build plate kit. The risk is assuming that a saved layout proves the physical setup is still correct. Before running a full tray, check the replacement against the exact printer and verify a few representative positions. You want to know whether the next batch will arrive in the packing tray with the same quantity, fit and finish.
View Product · Creality K1 PEI Kit
Preserve the original job file
Save a copy of the successful project with the date and the previous plate reference. Keep a photograph of the underside of an accepted part. If the original record contains only a machine file, locate the editable project before adjusting the layout. The plate selection, brim settings and object spacing are much easier to inspect in a slicer than by looking at a photograph of the finished tray.
Compare the actual kit to the machine
Read the K1 variant name on the machine and compare it with the product listing. Check the new sheet outline and its locating features against the manual and your existing assembly. Confirm whether the package includes only the removable surface or other components. Fit and commission it using the applicable instructions. A shared family name between two Creality printers is not enough to establish accessory compatibility.
Select three informative positions
Choose a sample from near the front, another from the middle and a third from near the back of the existing layout. Keep their original orientations. For a tray containing different parts, include the item with the most demanding contact face. Label each piece on its upper surface or keep a tray diagram. A front corner problem is difficult to investigate once three identical loose samples have been mixed together.
Inspect the toolpaths and the result
Preview the complete first layer, including any brim and separate structures. Select the appropriate plate and filament profile. Follow the printer maker’s required setup checks for a plate change. After the trial print and normal removal, compare the samples side by side with the original reference. Check dimensions where parts mate and look along the bottom edge under the lighting used for packing inspection.
Identify what changed before editing the layout
If all samples show the same new surface finish but still fit, decide whether the change matters to the customer. If only one position gives an uneven result, inspect seating and compare a repeat at that location. If one model fails in several positions, look at its geometry and orientation. A targeted second trial is more informative than moving every item and changing several profile settings at once.
Release the layout for production
Record the approved quantity per plate and the positions tested. Keep a separate revision of the job if the new finish or spacing becomes part of the accepted specification. Run the first full tray with its own job reference and count accepted pieces after removal. That final count confirms the actual layout transfer and gives the next operator a tested file to open when the order repeats.
Artin3D | Where Ideas Take Shape.
WhatsApp or Call +880 1845 348757
www.artin3dbd.com
South Banasree Dhaka 1219


