

শুধু দৈর্ঘ্য আর প্রস্থ মিলে গেলেই গ্লাস প্লেট বসবে ধরে নেওয়া যায় না। পুরোনো শিট সরালে মোট উচ্চতা কতটা বদলাবে, সেন্সর কীভাবে কাজ করে আর ক্লিপের জায়গা কোথায়, এই তিনটি তথ্য আগে মিলিয়ে নিন।
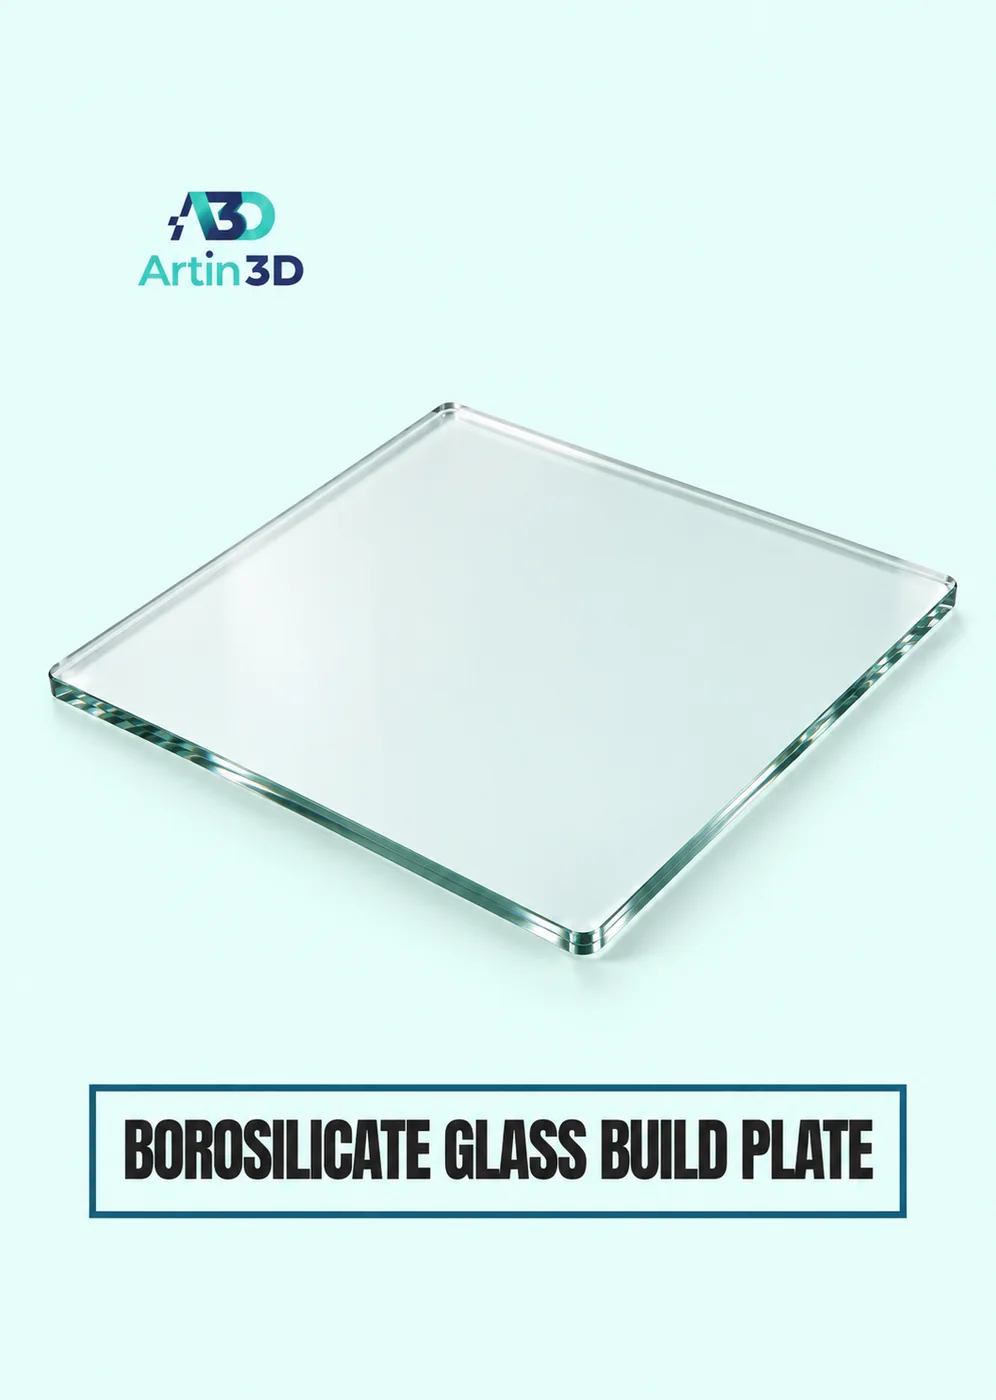
A glass sheet is easy to measure on a shop counter and surprisingly difficult to evaluate from width alone. It becomes part of a stack on the printer. Its edges must clear the hardware, its thickness must fit the supported setup, and the printer must be able to establish the correct first layer. If you are considering a borosilicate glass build plate, begin with the model manual and a sketch of the existing assembly.
View Product · Borosilicate Glass Plate
Identify what would come off
Look at the printer when it is cool and idle. Write down which parts the manufacturer intends the user to remove. A removable steel sheet, a bonded magnetic layer and the heated bed are separate components. Photograph the stack from the side. Never infer that a rigid glass plate should be added on top of every existing layer simply because its outline fits inside the printer.
Measure the edge as well as the middle
Record width, depth and thickness in millimetres. Draw any cut corners, front tabs and locating features. Look for hardware that sits just outside the existing sheet. A rectangle can clear the front of the machine and still interfere near a rear corner. Put the measurements on the photograph, then ask the supplier to identify the exact variant that matches the documented glass setup for your machine.
Use a simple stack calculation
Suppose an approved conversion replaces a removable sheet measuring 1 mm with a plate measuring 3 mm. The upper face would move by 2 mm if the rest of the stack stayed identical. That arithmetic describes a physical change only. It does not tell you to enter a 2 mm offset. The printer’s sensing method, starting position and manufacturer procedure determine how a supported setup must be commissioned.
Account for holding hardware
Find out how the maker specifies that the rigid plate is held. The thickness of the glass matters at the retainer, and the position of any retainer affects the space available above the surface. Compare the proposed assembly with the machine’s documented travel and sensing arrangement. A bed that locates a metal surface using a particular sensor cannot be assumed to detect glass in the same way. Ask for model specific confirmation.
Choose a useful first inspection
After any approved installation and setup, start with a small reference print using a permitted material and preparation method. Observe the first layer and let the assembly reach the specified removal condition before handling it. Glass cannot release an object by flexing like a spring steel sheet. Evaluate both the finished underside and the removal process before committing a large, flat customer part to the new surface.
Keep the purchasing record
File the printer revision, original measurements, confirmed glass specification and retention method together. Add a photograph of the accepted first layer and a note describing how the test piece released. If another operator later asks for a spare, they will have an exact model and thickness to order. That record is particularly valuable in a shared workshop where several machines have beds that look alike.
Artin3D | Where Ideas Take Shape.
WhatsApp or Call +880 1845 348757
www.artin3dbd.com
South Banasree Dhaka 1219


