
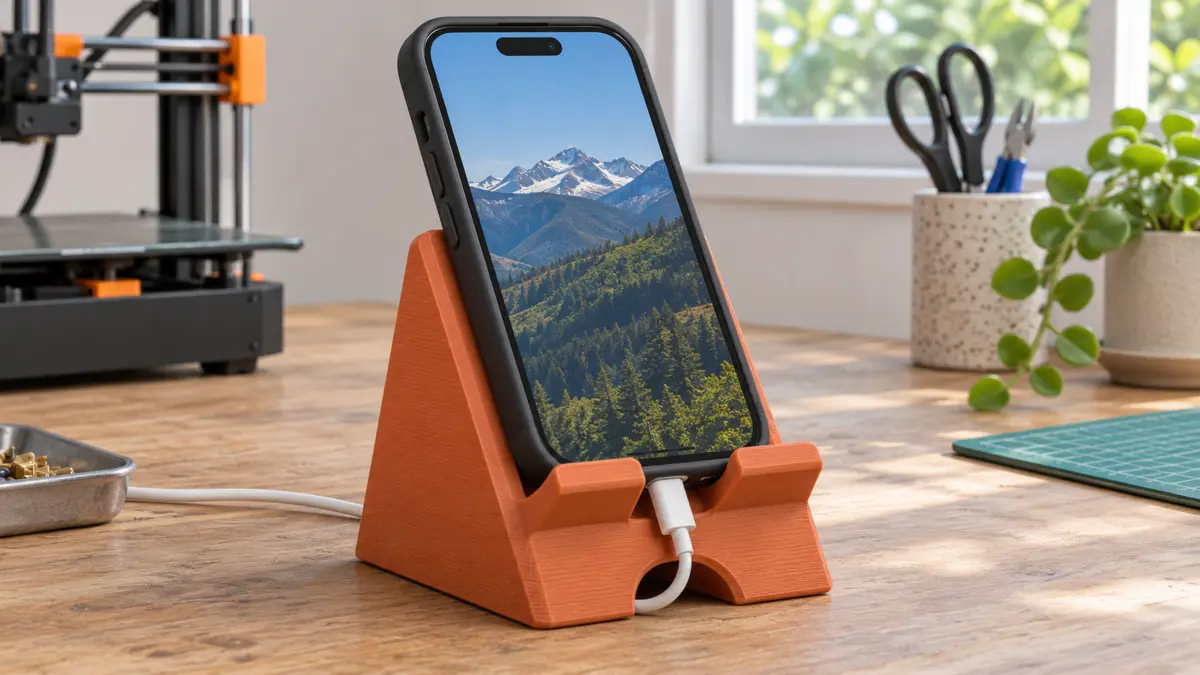
ফোনের কভার, চার্জারের মাথা ও হাত দিয়ে স্ক্রল করার জায়গা ধরে স্ট্যান্ড ডিজাইন করুন। চার্জারের মাথাটি লাগিয়ে ফোন রাখুন। ফোন যদি সামনের ঠোঁট থেকে উঠে যায়, কেবলের বাঁকের জায়গা বাড়ান। স্ক্রল করলে শুধু ফোন দুললে আগে কভারের পেছনের স্পর্শবিন্দুগুলো দেখুন।
A desk stand can look perfect with a bare phone and become useless the moment you plug in the charger. The connector pushes against the desk, lifts the phone off its ledge and leaves the screen rocking under your finger. Design your 3D printed phone stand around the phone, case and cable you use together. A Creality K1C can produce a narrow cross section to test that arrangement before printing the whole stand.
এই Blog এর Product
Creality K1C 3D Printer
বর্তমান মূল্য, specification ও availability দেখতে সরাসরি product page খুলুন।
Draw the side view on paper
Put your phone on a folded piece of cardboard and adjust the slope until you can read it from your usual chair. Trace the side of the cardboard. Now place the phone in landscape orientation and check the view again. A camera bump that misses a narrow backrest in portrait mode can become a pivot point in landscape mode. Mark the area that touches solid case material in both positions.
Measure the connector with the cable attached
Measure the width of the plug housing, the length of its stiff section and the space the cable naturally occupies as it curves away. Slide the housing through a slot cut in paper. If it only goes through diagonally, decide whether threading it that way every day is acceptable. An open channel that runs to the rear edge lets you lift the cable out without feeding the entire lead through the stand.
Test the lip with a thumb
Print a short slice of the ledge and backrest. Place the cased phone against the slice while holding both securely over the desk. Look straight at the screen and swipe up from its lower edge. A tall lip can cover the gesture area. A short lip may lose contact with a heavily rounded case. Move the retaining surface sideways into two small supports if the middle of the phone needs clear access for charging.
Choose a footprint by trying to tip it
Tape together a cardboard mockup of the full base and place the phone on it over a soft surface. Use a light tap near each upper corner as you would when dismissing a notification. If the rear edge becomes a pivot, extend the base behind the backrest. If the phone rocks while the base stays still, address the contact points first. More weight in the base will do little for a phone perched on a camera bump.
Inspect the cable tunnel in the slicer
Look through the layers above the cable opening. A long flat ceiling may leave drooping strands inside the passage. Try an arched opening or split the base so you can print and inspect the passage more easily. Preserve space around the connector when changing its shape. Print the tunnel section and insert the actual plug before using the design for a second phone.
Check the finished stand on its intended desk
Connect and disconnect the cable several times while the stand rests on the surface where it will be used. Watch whether the plug, case or stand carries the force. Set the screen at normal brightness and take a video call or read a page. If the viewing angle works but the stand slides during a swipe, try a small removable grip pad underneath before redrawing the backrest.

আরও পড়ুন K1C TPU Printing: Flexible Cable Sleeve ও Grip তৈরির Practical Guide
Artin3D | Where Ideas Take Shape.
WhatsApp or Call +880 1845 348757
Website www.artin3dbd.com
South Banasree Dhaka 1219


