

মানচিত্রে রং ও প্রতীক বোঝানোর টাইল নিয়ে এই গাইডে Creality K2 Plus Combo প্রিন্টারের জন্য একটি ছোট নমুনা থেকে পুরো প্রজেক্ট তৈরির পদ্ধতি পাবেন।
On a classroom map, two similar colours can mean completely different things. A set of 3D printed map legend tiles can pair each colour with a distinct shape and a label. With the Creality K2 Plus Combo, design the symbols first and plan filament changes after the shapes read clearly. Use a small sample map as the test. A legend succeeds when someone can find the matching feature without your explanation.
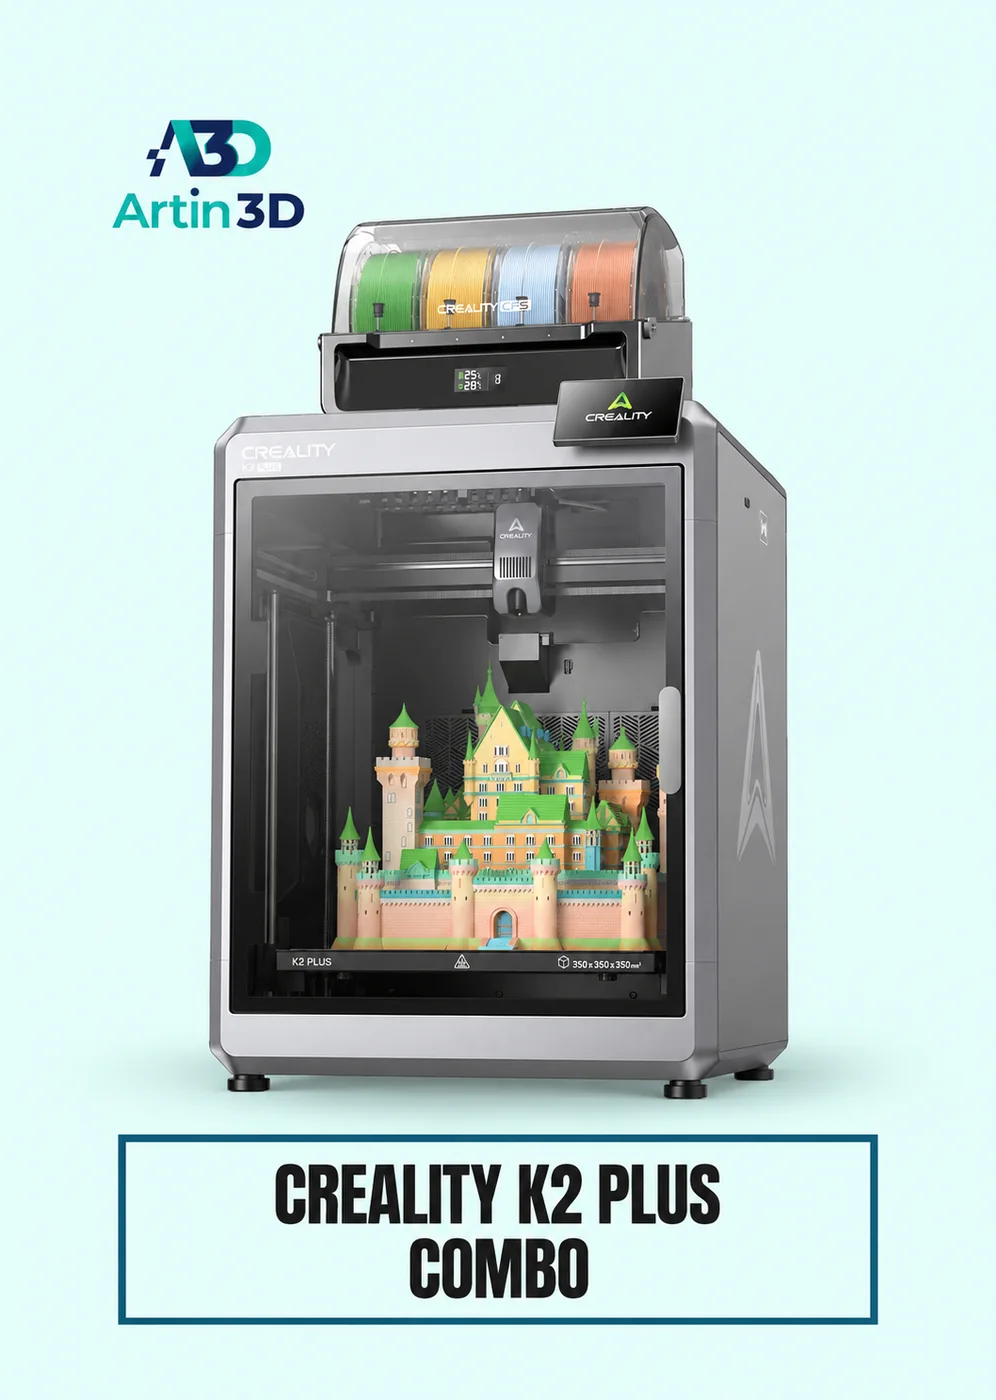
View Product · Creality K2 Plus Combo
Start with one map and a short vocabulary
Choose four features the map actually uses. A school campus might need buildings, paths, planted areas and entrances. Draw a symbol for each on paper and put it directly beside its name. Use a line for a route, a filled area for a zone and a point symbol for an entrance. These relationships help the reader predict what the same symbol will look like when it appears elsewhere on the map.
Separate similar colours with different shapes
Lay the paper symbols side by side and photograph them in greyscale. If two patches look alike, add a distinct outline, stripe or dot arrangement to one. Keep the change consistent between legend and map. A patterned legend tile cannot explain a map feature drawn as an unmarked patch. Ask a second person to match the paper samples while you keep the labels covered.
Design a repeatable tile body
Use one base outline so replacement symbols fit the same display. Leave a clear space between the symbol and the label. If the map will change each term, put a replaceable paper label in a shallow pocket. Check how a fingertip can remove it. A long printed caption may look attractive in a large preview while becoming unreadable on a physical tile viewed from across a table.
Preview the colour sequence
A raised symbol on a single colour base can begin above the last base layer. A flush design can require several colours in the same layer. Slice one tile each way and compare the preview, estimated filament use and predicted changes. Include any purge material when comparing options. A small colour patch may occupy little space in the finished piece but still require repeated changes during the print.
Test from the intended reading distance
Stand the sample map where learners will use it. Pick one feature and time how long it takes a new reader to identify it on the map. Ask them to describe what they used, such as the stripe direction, edge shape or word. If they rely only on colour, try a bolder pattern on the next sample. Do another trial under the room’s usual lighting because reflections can hide shallow detail.
Keep the legend and map in step
Give the complete set a version date on the back. When a route changes, update its labels and replace any obsolete tiles together. Keep a one page record of the symbol, colour assignment and map layer it represents. Someone preparing the next edition can then reuse the established meanings. Print one spare of frequently handled pieces and store it with that record so a missing entrance marker does not interrupt the next class.
Artin3D | Where Ideas Take Shape.
WhatsApp or Call +880 1845 348757
www.artin3dbd.com
South Banasree Dhaka 1219


