

চাবির মতো জোড় আটকে গেলে শুধু প্রস্থ বাড়ালে সব সমস্যার সমাধান হয় না। ছোট নমুনা দিয়ে দেখুন সমস্যা পকেটের মুখে, গভীরতায় নাকি দুই পাশ বসার জায়গায়।
An architectural entrance canopy is too wide for one build plate, so the model needs a split. The expensive mistake is printing both full halves before discovering that their locating key binds or the seam opens on the visible face. Print the joint first. A small pair of samples on a compatible smooth PEI surface can tell you whether the halves locate correctly and whether the assembly order makes sense.
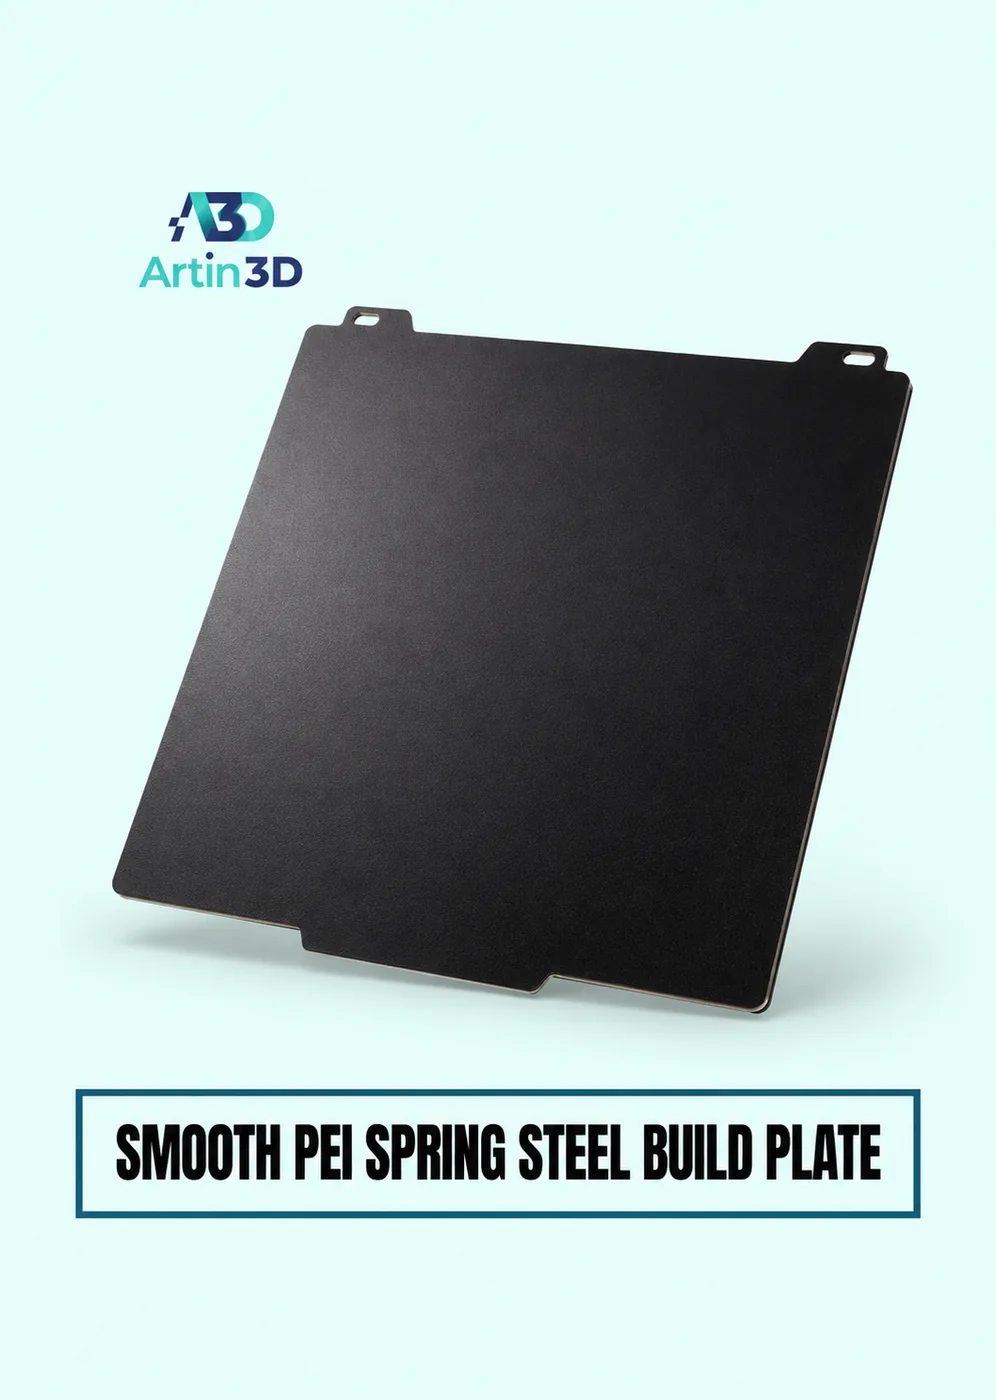
View Product · Smooth PEI Plate
Place the split with the final view in mind
Look at the model from the angle used in the presentation. A change in panel direction or an existing architectural joint may hide a seam. Also look from the back. There must be a practical route to bring the halves together once neighbouring details are attached. A key that slides sideways on the screen may be impossible to insert between two walls in the finished model.
Cut a real section from both halves
Duplicate the assembly and keep only the material near the proposed join. Include the key, its pocket, the visible lip and enough flat surface to reveal a height difference. Preserve the actual model scale. Enlarging the samples to make handling easier defeats a fit test. Add a small reference mark on the concealed side so you know which face touched the sheet on each half.
Vary one dimension you can measure
Draw a few pocket versions while keeping the key unchanged. Label each sample by its designed clearance. If you describe clearance as a difference between total widths, say so. A 10 mm key and a 10.4 mm pocket leave 0.4 mm total width difference, or 0.2 mm per side when centred. Neither value is a universal print setting. The materials, printer, orientation and required fit determine which sample succeeds.
Print as the final pieces will print
Use the same intended material, surface preparation, layer orientation and supported profile. Inspect the sliced pocket entrance and the first layer of the key. An edge that flares near the sheet can make insertion difficult even when the deeper pocket is wide enough. Let the samples reach their documented removal condition. Bring them together gently and note whether resistance occurs at entry, halfway along or only when fully seated.
Distinguish three different failures
If the key enters but the faces stop short, inspect pocket depth and any material at the end. If the faces meet but rock, inspect the seating surfaces. If the faces sit flat while a stripe appears under side lighting, examine the visible seam width and finish. Changing the key width for all three symptoms can turn a good locating feature into a loose one without improving the visible joint.
Approve the assembly before the long run
Choose the labelled pair that meets the job requirement. Dry fit it in the intended direction and photograph the visible face from the presentation angle. Record the joint revision and identify which plates contain each half. If adhesive or paint is part of the finished assembly, test that finishing sequence on a spare pair. A joint approved through the final finish is a much better basis for committing hours of printing to the full model.
আরও পড়ুন CAD বদলালে কোন প্লেটগুলো আবার স্লাইস করতে হবে
Artin3D | Where Ideas Take Shape.
WhatsApp or Call +880 1845 348757
www.artin3dbd.com
South Banasree Dhaka 1219


