

ডেস্ক সাইনের সামনে মসৃণ ফিনিশ আর পায়ে টেক্সচার চাইলে প্রজেক্টে আলাদা ভার্চুয়াল প্লেট রাখুন। একটি উপযুক্ত দুই পাশের PEI শিট দিয়েও কাজ দুটি পর্যায়ক্রমে করা যায়।
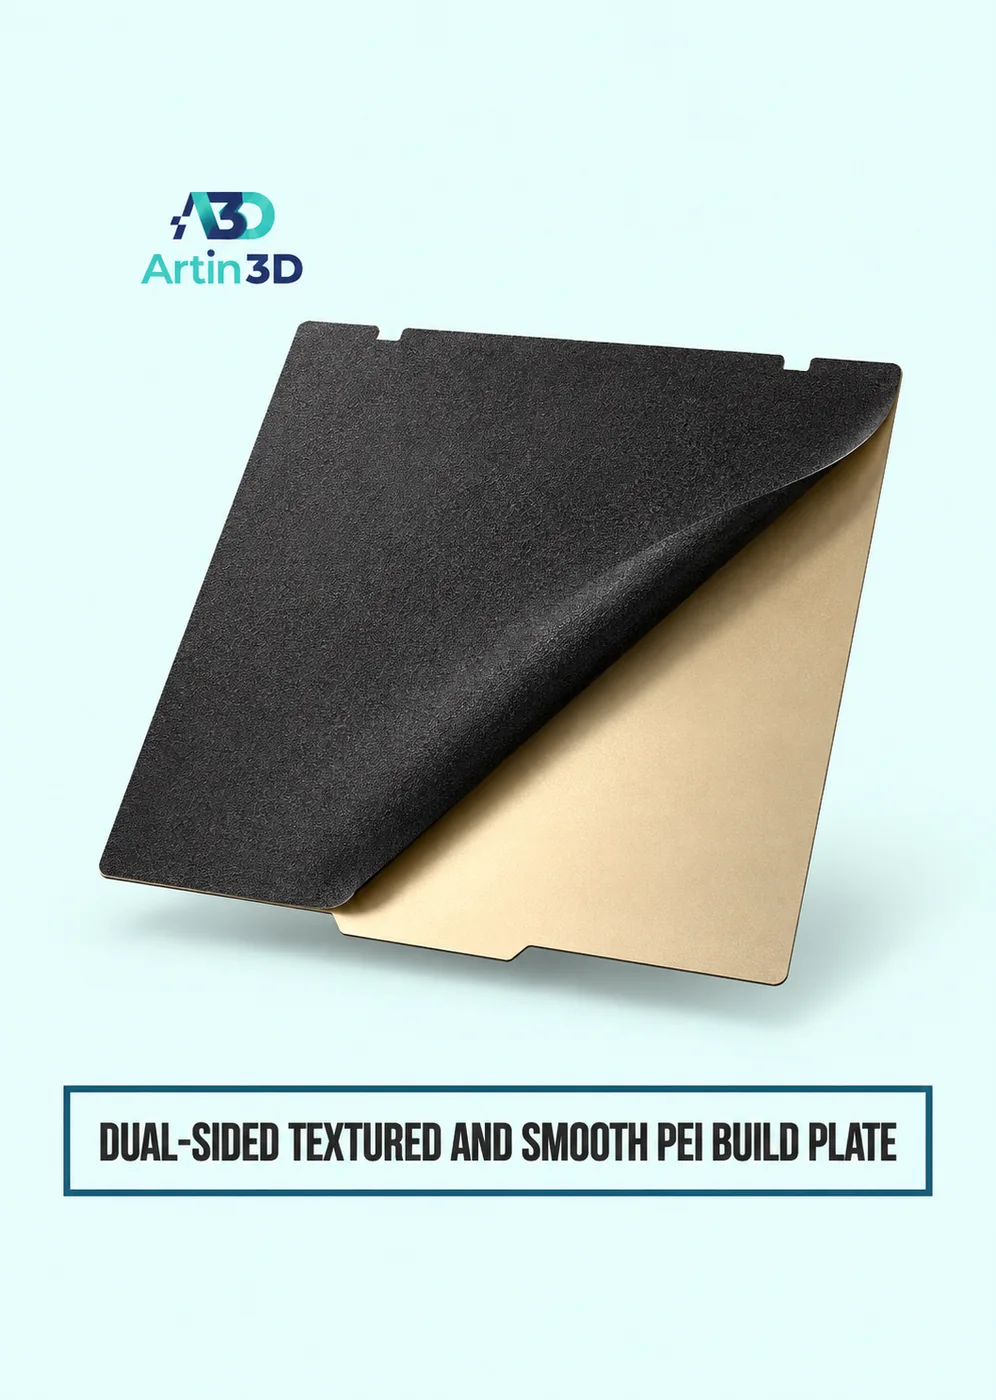
A customer wants a desk sign with a smooth front, a textured foot and two hidden clips. All four pieces fit on the bed together. The problem is that one physical surface cannot give the sign face and the foot two different contact finishes in the same run. A multi plate project lets you keep one assembly together in the file while separating the parts that need different surfaces. A dual sided PEI sheet can then serve those jobs in sequence on a compatible printer.
View Product · Dual Sided PEI Plate
Mark the surfaces on the assembly
Print a paper view of the assembled sign. Circle the front face, underline the foot and mark where each clip touches the frame. Beside each mark, write what the customer will see or feel. A surface requirement belongs to a particular face, not automatically to the whole component. If the front of a letter stands clear of the sheet, changing the plate texture will not give that raised face a new finish.
Turn the sketch into two work orders
Give the first virtual plate a name that describes its output, such as sign fronts with smooth contact face. Put the foot on another plate with its intended contact face down. Choose the location of the clips according to material, fit and available space. If the clips require another filament that is unsuitable for either selected surface, give them a separate job. Verify the approved material and settings for each actual plate side before slicing.
Preview what the first layer contains
Inspect the contact layer of each plate. Look for the outline of the sign, gaps in lettering and any support touching a visible area. A front and a back can look almost identical in a top view. Use the assembly sketch to check direction and confirm that lettering will read correctly after removal. Save an image of the underside next to the plate name so a second operator can recognise it.
Choose a sequence that answers a question
For a first order, make one front and one foot before printing multiples. Fit the clips and stand the sign in its normal position. Look at how the smooth face reflects a window and whether the foot sits level. If the front needs revision, you may still be able to retain the approved foot. Keeping the parts on separate virtual plates makes that decision easier to trace.
Match the physical side at the machine
Immediately before sending each run, read the plate name and check the upward facing surface on the printer. Use the documented change and setup procedure for that machine. A correctly named virtual plate is a planning aid. The operator still has to seat the matching physical sheet and use the right profile. Place finished pieces in trays labelled front, foot and clips.
Confirm that one order is complete
Count assembled signs before counting spare pieces. Twelve fronts, eleven feet and twenty four good clips make eleven complete signs if each needs two clips. The remaining front and two clips belong in a labelled reserve tray. Add the plate names and accepted finish sample to the job record. The next order can reuse the same assembly plan even if the customer changes the text.
Artin3D | Where Ideas Take Shape.
WhatsApp or Call +880 1845 348757
www.artin3dbd.com
South Banasree Dhaka 1219


