

১ অনুপাত ৫০ স্কেলে ২৪০০ মিমি খোলা জায়গা মডেলে ৪৮ মিমি হবে। আলাদা প্লেটের জানালা আর রেলিং বসানোর আগে একই ড্রয়িং ও স্কেলের মাপগুলো যাচাই করুন।
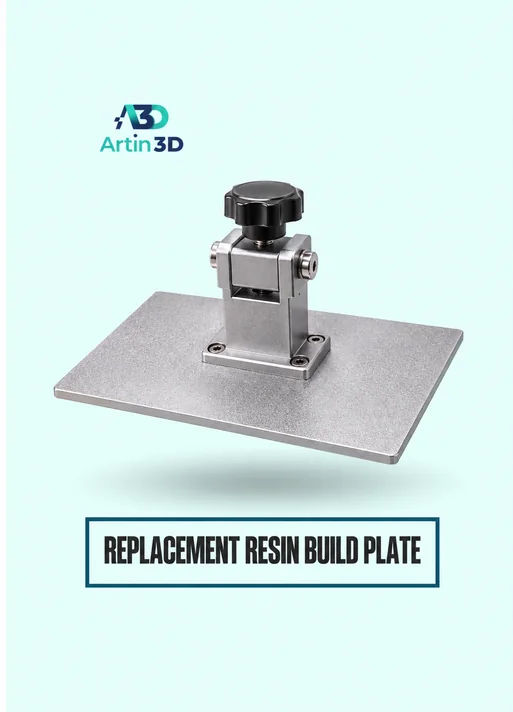
A presentation model arrives at assembly with railings from one resin plate and window frames from another. The details look sharp, but the frames seem too large beside the railings. Before changing resin settings, check that every source model, export and plate used the same drawing scale. A verified replacement resin build plate can support a second run, but a different physical plate cannot correct geometry exported in the wrong units.
View Product · Replacement Resin Plate
Establish one master dimension
Choose a feature whose real dimension is known from the same approved drawing revision, such as a 2400 mm opening. At a scale of one to fifty, that opening should measure 48 mm in the model. Write both numbers on the assembly drawing. Use a second reference in another direction. Two references help separate a broadly incorrect scale from a local feature that the designer intentionally exaggerated for visibility.
Read the imported size before arranging parts
Open the mesh or assembly in the slicer and inspect the displayed dimensions. Confirm the source units and any scale conversion already applied during export. If a designer has already converted the model to final presentation size, applying the scale again will shrink it a second time. Save a screenshot showing the reference dimension beside the intended plate layout before work proceeds to supports and orientation.
Give every plate the same revision reference
Name the job by building, drawing revision and model scale. Add a separate plate identifier for each run. If a second resin build plate is involved, verify the exact printer model, mounting compatibility and manufacturer’s setup procedure. Keep that hardware identity separate from the scale label. A mechanical setup change and a geometry revision are different events and deserve separate entries in the workshop record.
Check a coupon after full processing
Print a small representative section that includes a measurable opening or an identifiable distance between two features. Follow the resin manufacturer’s handling, washing and curing instructions and measure at the same finished stage each time. Compare against the master dimension and the corresponding physical opening in the building shell. An accurate window frame cannot fit a shell assembled from a different drawing revision without further design work.
Read the pattern of disagreement
If every imported dimension is wrong by the same large factor, investigate units or a repeated scale conversion before changing print compensation. If the imported dimensions are right and just one thin feature bends, investigate geometry, support and processing for that feature. If one whole plate differs from another, first verify that the job files and reference features really were the same. Change one suspected cause at a time.
Keep an assembly reference for later additions
Retain the approved coupon with its scale, drawing revision and processing notes. Dry fit detail parts around a shared reference opening before completing a whole elevation. Photograph the result beside a ruler and keep the actual measured figures in the job record. When the client adds another wing to the model, these details let a new operator match the existing building rather than estimating scale from a photograph of the previous delivery.
আরও পড়ুন একাধিক রেজিন প্লেটের ক্ষুদ্র পার্টের পরিচয় ধরে রাখা
Artin3D | Where Ideas Take Shape.
WhatsApp or Call +880 1845 348757
www.artin3dbd.com
South Banasree Dhaka 1219



Comment (1)