

মসৃণ ডিসপ্লে প্যানেলে দাগের উৎস খুঁজে দেখা নিয়ে এই গাইড। আপনার প্রিন্টারের মডেল ও প্লেটের ধরন মিলিয়ে নিতে নিচে সংশ্লিষ্ট পণ্যের লিংক দেওয়া আছে।
A glossy dark display panel can show a tiny mark that goes unnoticed on a light coloured prototype. If that panel was printed face down on smooth PEI, the mark could have come from the sheet, the model or the way you removed it. Before replacing a plate or changing an entire print profile, locate the mark in two coordinate systems. Where is it on the part, and where was that part on the plate?
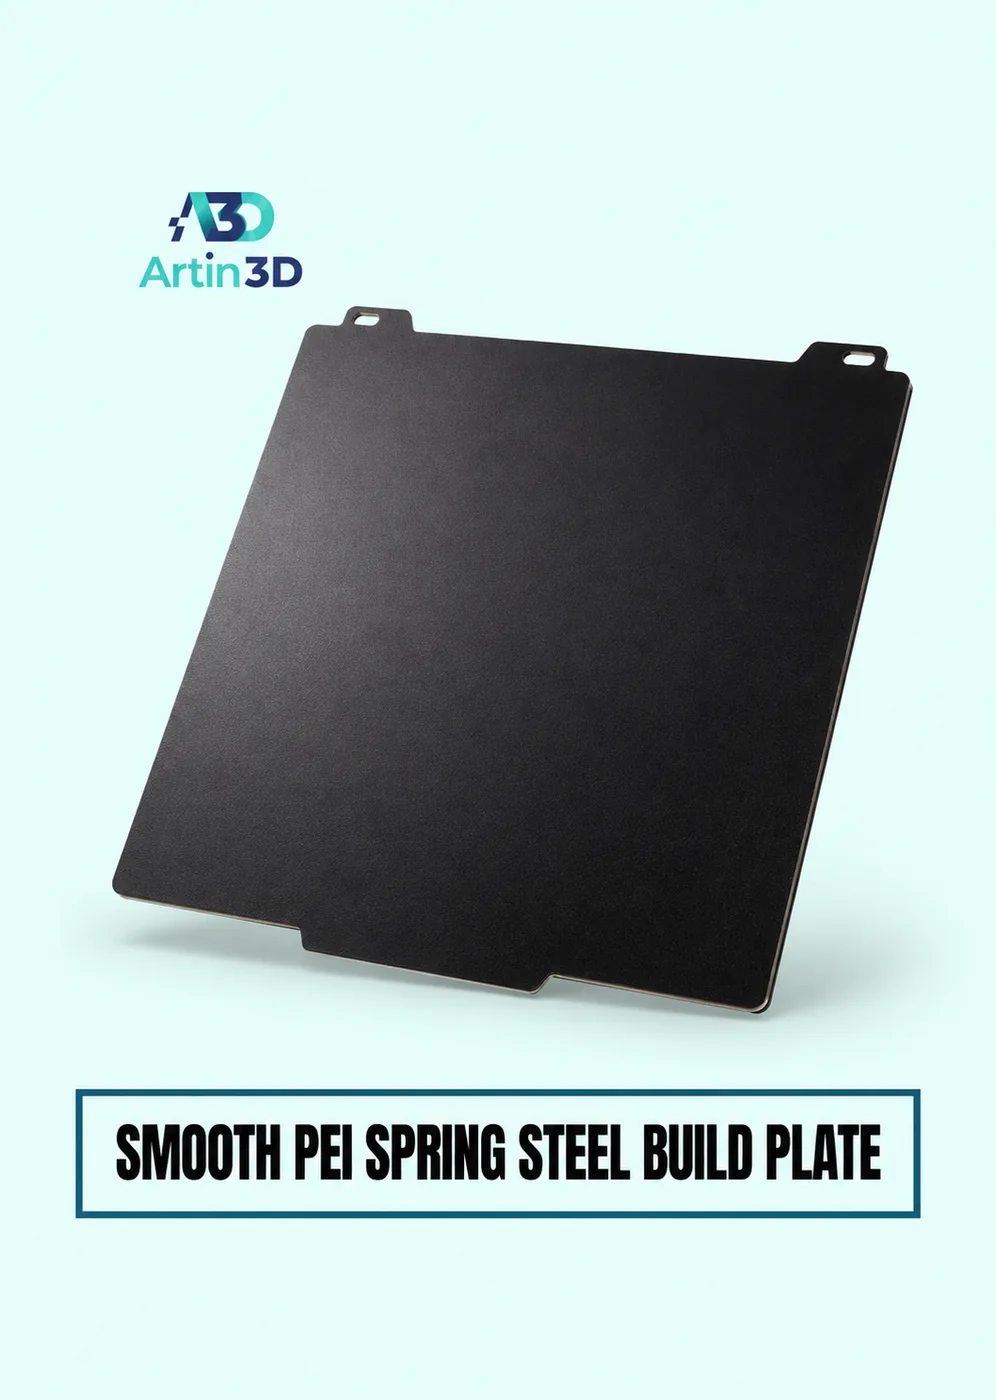
View Product · Smooth PEI Plate
Draw a location map before moving anything
Sketch the front edge of the build plate and the outline of the panel as it appeared in the slicer. Mark the blemish on the sketch and photograph the finished face under side lighting. Use an identifiable corner, such as a button opening, to keep track of orientation when turning the panel over. The left side in an underside view can become the right side in a photograph of the completed part.
Slice a small piece of the affected area
Make a coupon that includes the suspect region and a little surrounding background. Use the same filament, printing face and intended first layer. Print one coupon near the original position and another at a different position. Give them distinct marks on the upper face. This identifies them after removal without adding a feature to the smooth contact face you are trying to inspect.
Read the location of the repeat
If a line follows the same corner of the model to a new position, look at the design and the first layer toolpath near that corner. If a mark stays at one place on the plate while the model moves, inspect the sheet under angled light after it has cooled. A change seen only after removal deserves a separate trial using the maker’s removal method and a fully cooled part.
Separate shape from reflection
Set the two coupons against a dark background and move a broad light slowly across them. Next place them on a flat surface and inspect their outlines from the side. A reflection can make a shallow mark look deep. A lifted corner changes both the reflection and the way the panel sits against its mating part. Test the fit in the actual housing before rejecting a piece solely from an enlarged photograph.
Clean and retest one variable
Use only a cleaning method approved for that exact sheet. Check the chosen material against its compatibility instructions, particularly if it can bond strongly to a smooth surface. Make a second sample at the marked position after cleaning. Keep the same spool and orientation for this trial. If several settings change together, a clean result will leave you with little evidence about which change helped.
Set an inspection distance for the order
Agree on how the presentation face will be judged. An electronics display viewed upright at arm’s length has a different brief from a panel photographed close up for a product listing. Keep a reference image showing the panel in its intended position and one diagnostic photograph under side lighting. Save the plate map with them. The next operator can check the same area quickly and decide whether the sheet, the artwork or the removal step needs attention.
Artin3D | Where Ideas Take Shape.
WhatsApp or Call +880 1845 348757
www.artin3dbd.com
South Banasree Dhaka 1219


