
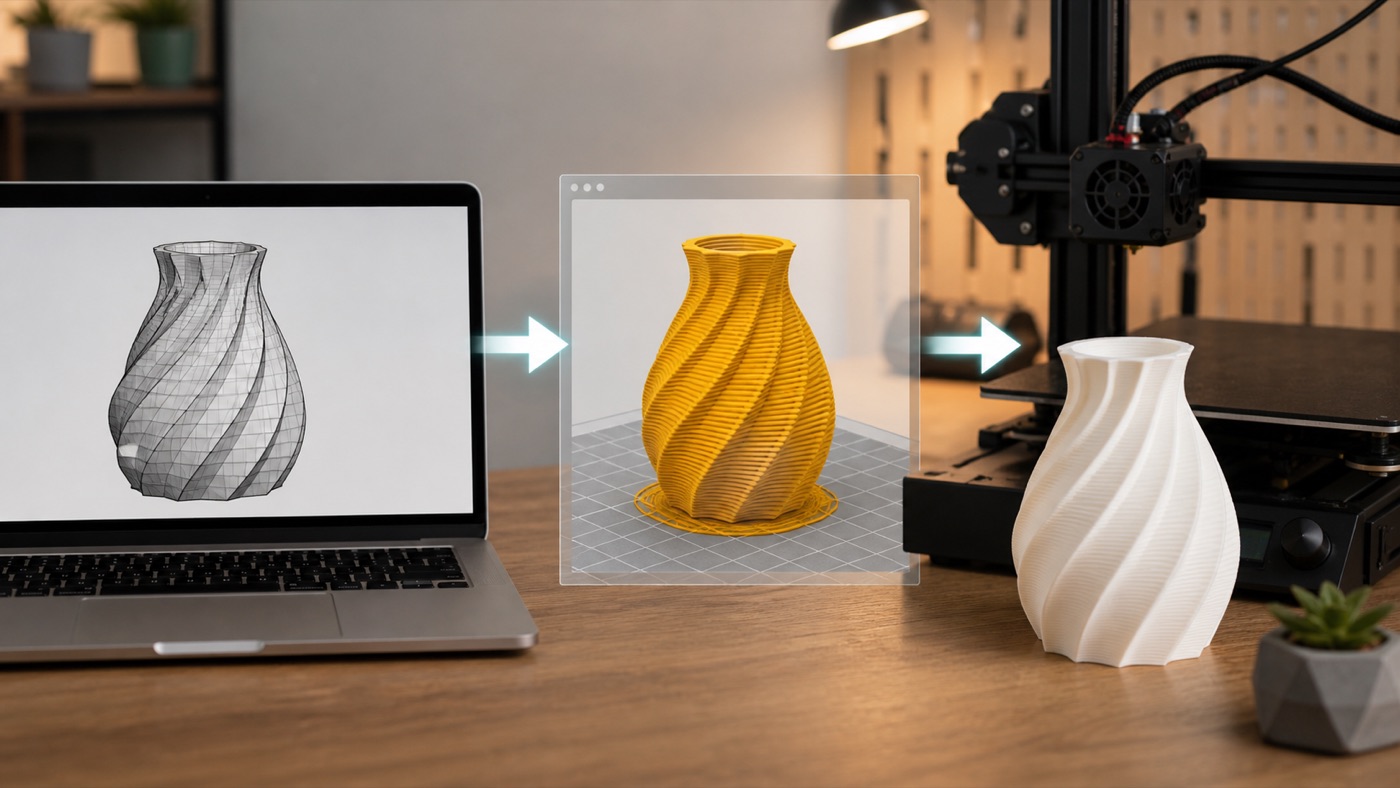
3D print order দেওয়া অনেকের কাছে শুধু একটি STL file পাঠানোর মতো মনে হয়। বাস্তবে সফল ফলের জন্য model-এর উদ্দেশ্য, মাপ, material, finish, tolerance ও deadline স্পষ্ট করা দরকার। service provider-এর কাছে যত ভালো তথ্য যাবে, ভুল অনুমান তত কম হবে। এই workflow অনুসরণ করলে hobby model থেকে functional prototype—দুই ক্ষেত্রেই quotation বোঝা, risk কমানো এবং final part যাচাই করা সহজ হয়।
ধাপ ১: প্রয়োজন লিখুন
Partটি কী কাজে লাগবে, কোনো load বহন করবে কি না, বাইরে থাকবে কি না, তাপ বা পানি পাবে কি না লিখুন। শুধু “strong চাই” বললে material ও setting ঠিক করা কঠিন। visible surface, critical hole, mating edge এবং যে মাপ বদলানো যাবে না সেগুলো আলাদা করে জানান। decorative model হলে colour ও finish-এর reference দিন।
ধাপ ২: সঠিক file তৈরি করুন
STL mesh বহুল ব্যবহৃত, 3MF unit ও অন্যান্য তথ্য সংরক্ষণে সুবিধাজনক হতে পারে; provider কোন format নেয় দেখুন। model closed solid কি না, inverted face, duplicate shell বা gap আছে কি না পরীক্ষা করুন। unit millimeter নাকি inch স্পষ্ট করুন। export resolution এত কম রাখবেন না যাতে curve খাঁজকাটা হয়, আবার অপ্রয়োজনীয় বিশাল file-ও তৈরি করবেন না।
ধাপ ৩: Printability যাচাই
খুব পাতলা wall, ক্ষুদ্র emboss, deep unsupported cavity, দীর্ঘ bridge ও floating island সমস্যা তৈরি করতে পারে। slicer preview থাকলে প্রতিটি layer দেখুন। assembly হলে part-এর মধ্যে clearance রাখুন। thread, bearing seat বা press-fit-এর মতো feature-এ tolerance coupon উপকারী। provider design review দিলে critical feature-এর তালিকা পাঠান।
ধাপ ৪: Technology ও material বাছুন
FDM বড় ও functional thermoplastic part-এর জন্য অর্থনৈতিক হতে পারে; resin process fine detail ও smooth surface দিতে পারে। material নির্বাচন environment-এর ওপর নির্ভর করে। PLA, PETG, ABS, ASA, TPU বা resin—প্রতিটির printability ও safety আলাদা। provider-কে শুধু পছন্দের material নয়, ব্যবহারের শর্ত জানান; তখন বিকল্প প্রস্তাব তুলনা করা যায়।
ধাপ ৫: Orientation ও finish
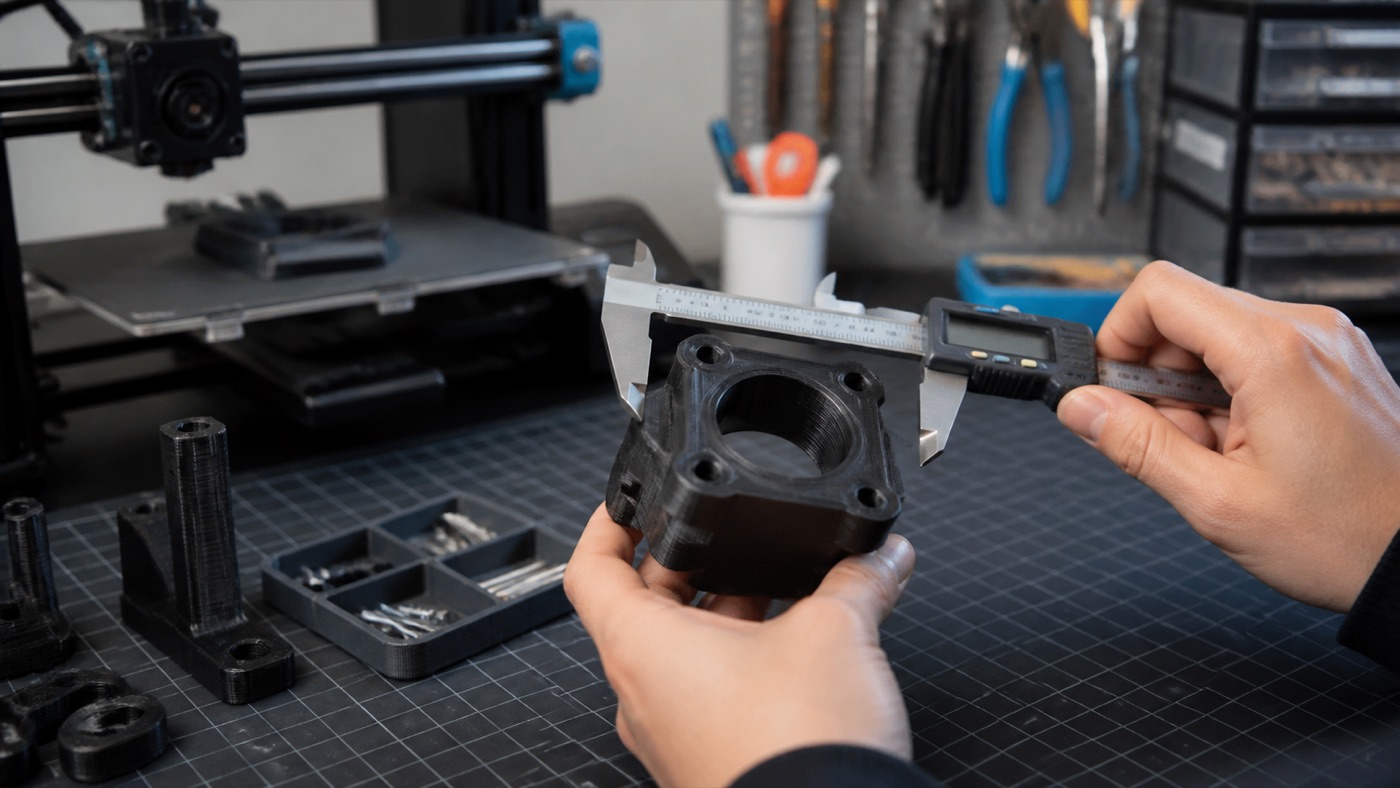
Orientation surface finish, support mark, strength ও সময় বদলায়। কোন face সবচেয়ে সুন্দর চাই এবং force কোন দিকে লাগবে বলুন। layer height কমালে detail বাড়তে পারে, কিন্তু সময়ও বাড়ে। sanding, primer, painting, support removal ও assembly quotation-এর অংশ কি না পরিষ্কার করুন। raw print ও finished product-এর দাম স্বাভাবিকভাবেই আলাদা।
ধাপ ৬: Quotation পড়ুন
দামে material weight ছাড়াও machine time, setup, support, failure risk, finishing ও design correction থাকতে পারে। quotation-এ quantity, material, colour, layer height, infill, wall, finish, lead time এবং delivery লেখা আছে কি না দেখুন। সবচেয়ে কম দাম সব সময় সেরা value নয়; critical project-এ quality control ও communication গুরুত্বপূর্ণ।
ধাপ ৭: Prototype অনুমোদন
বড় quantity-এর আগে এক বা কয়েকটি sample নিন। fit, screw alignment, surface, strength ও বাস্তব ব্যবহার পরীক্ষা করুন। সমস্যা হলে CAD version পরিবর্তন করে নতুন revision number দিন। পুরোনো ও নতুন file-এর নাম এক রাখলে ভুল production হতে পারে। approval লিখিতভাবে দিন এবং reference sample সংরক্ষণ করুন।
ধাপ ৮: Quality criteria
“ভালো print” একটি অস্পষ্ট কথা। গ্রহণযোগ্য dimension range, visible defect, colour variation, support mark, flatness ও moving fit আগে নির্ধারণ করুন। FDM part-এ layer line স্বাভাবিক; injection-moulded finish আশা করলে post-processing বা অন্য technology দরকার। functional test থাকলে কীভাবে করা হবে লিখুন।
ধাপ ৯: Packaging ও delivery
পাতলা pin, long arm বা painted surface পরিবহনে ক্ষতিগ্রস্ত হতে পারে। part কীভাবে wrap, orient ও label হবে জিজ্ঞেস করুন। heat-sensitive material গরম গাড়ি বা রোদে রাখা যাবে না। multiple component-এর checklist ও assembly instruction package-এ রাখুন। delivery পাওয়ার পর দ্রুত inspection করুন এবং সমস্যা হলে ছবি সহ report দিন।
ধাপ ১০: Reorder-এর প্রস্তুতি
Final CAD, exported file, approved setting summary, material, colour code ও supplier note সংরক্ষণ করুন। printed part-এর photo ও মাপের record রাখুন। পরের order-এ একই result পেতে machine বা material batch বদলালে sample প্রয়োজন হতে পারে। একটি পরিষ্কার digital record একবারের order-কে repeatable ছোট production workflow-এ রূপ দেয়।
শেষ checklist
File, unit, quantity, use, material, colour, critical dimension, visible side, finish, deadline ও delivery—এই এগারোটি তথ্য পাঠানোর আগে মিলিয়ে নিন। uncertainty থাকলে provider-এর সঙ্গে প্রথমেই আলোচনা করুন। সফল 3D print order-এর রহস্য শুধু printer setting নয়; পরিষ্কার উদ্দেশ্য, যাচাইকৃত design এবং দুই পক্ষের নির্ভুল communication।
Common communication mistakes
Screenshot পাঠিয়ে scale না বলা, file-এর নাম “final” রাখা, colour-এর শুধু সাধারণ নাম দেওয়া এবং critical surface না চিহ্নিত করা প্রচলিত ভুল। প্রতিটি revision-এ তারিখ বা version দিন। reference image থাকলে কোন বৈশিষ্ট্য অনুসরণ করতে হবে লিখুন—রঙ, texture নাকি shape। Voice message-এর গুরুত্বপূর্ণ সিদ্ধান্ত পরে text-এ নিশ্চিত করুন।
Multiple-part assembly
Assembly drawing, part list ও quantity দিন। Left/right part দেখতে কাছাকাছি হলে আলাদা file name ও ছোট identifier রাখুন। fastener কে দেবে, insert বসানো included কি না এবং adhesive cure time delivery-তে ধরা হয়েছে কি না জিজ্ঞেস করুন। fit test-এর জন্য mating component provider-কে দিলে loss ও damage policy ঠিক করুন।
Colour expectation
Screen-এর colour এবং physical filament এক নয়। একই নামের black বা blue supplierভেদে বদলায়, batchভেদেও সামান্য variation হতে পারে। গুরুত্বপূর্ণ brand colour হলে physical sample অনুমোদন করুন। painting চাইলে primer, paint system, gloss level ও acceptable mark লিখুন। photography lighting-এর ওপর নির্ভর করে colour approve করবেন না।
Production batch control
Quantity বাড়লে একাধিক machine বা spool ব্যবহার হতে পারে। Provider machine profile, material lot ও first-article approval কীভাবে নিয়ন্ত্রণ করে জিজ্ঞেস করুন। Batch-এর শুরু, মাঝ ও শেষ থেকে sample measure করা যায়। replacement part যেন approved revision থেকেই হয়, সে জন্য purchase order-এ file hash বা version উল্লেখ করুন।
Order শেষে শেখা সংরক্ষণ
Final dimension, fit note, successful orientation, surface photo ও change history project folder-এ রাখুন। কোন assumption ভুল ছিল এবং পরের version-এ কী বদলাবে লিখুন। এই ছোট post-project review ভবিষ্যৎ quotation দ্রুত করে এবং একই ভুল পুনরাবৃত্তি কমায়। একবারের print-কে repeatable process বানানোর এটিই শেষ ধাপ।


