
Printer থামলেই resin model finished হয় না। Build plate থেকে নামানো part-এর গায়ে uncured resin থাকে এবং polymer network তখনও final অবস্থায় পৌঁছায়নি—তাই controlled wash, সম্পূর্ণ drying এবং resin-specific UV cure জরুরি।
Resin print-এর post-processing শুধু cosmetic cleaning নয়; এটি part quality ও safe handling-এর অংশ। Surface-এ liquid resin থেকে গেলে model sticky, soft ও detail-clogged হতে পারে। Hollow cavity-তে resin আটকে থাকলে পরে leak, crack বা odour তৈরি হওয়ার ঝুঁকি থাকে।
Wash uncured resin সরায়, drying solvent evaporate করে, আর post-cure নির্দিষ্ট light ও কখনও heat ব্যবহার করে material-এর final mechanical ও thermal property develop করে। কিন্তু wash বা cure বেশি করাও ক্ষতিকর হতে পারে। তাই bottle-এর সাধারণ ধারণা নয়, manufacturer-এর exact schedule ব্যবহার করা উচিত।
সংক্ষিপ্ত উত্তর
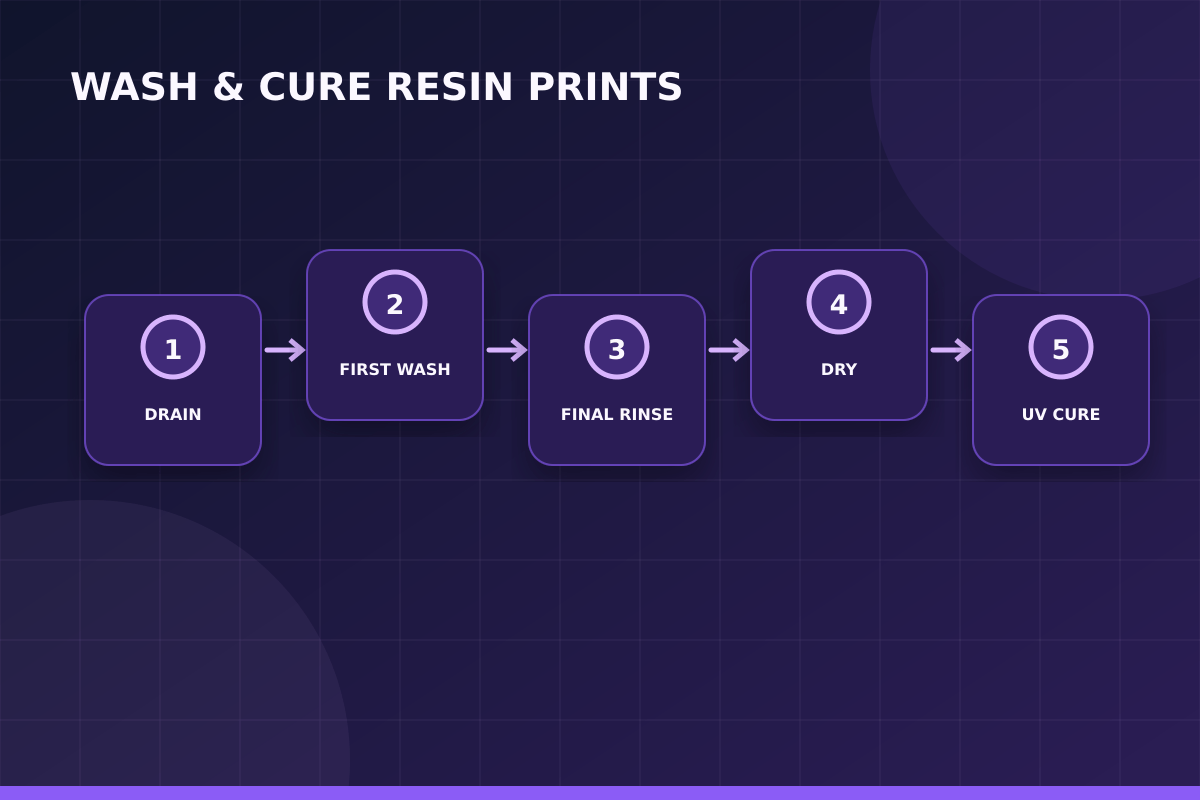
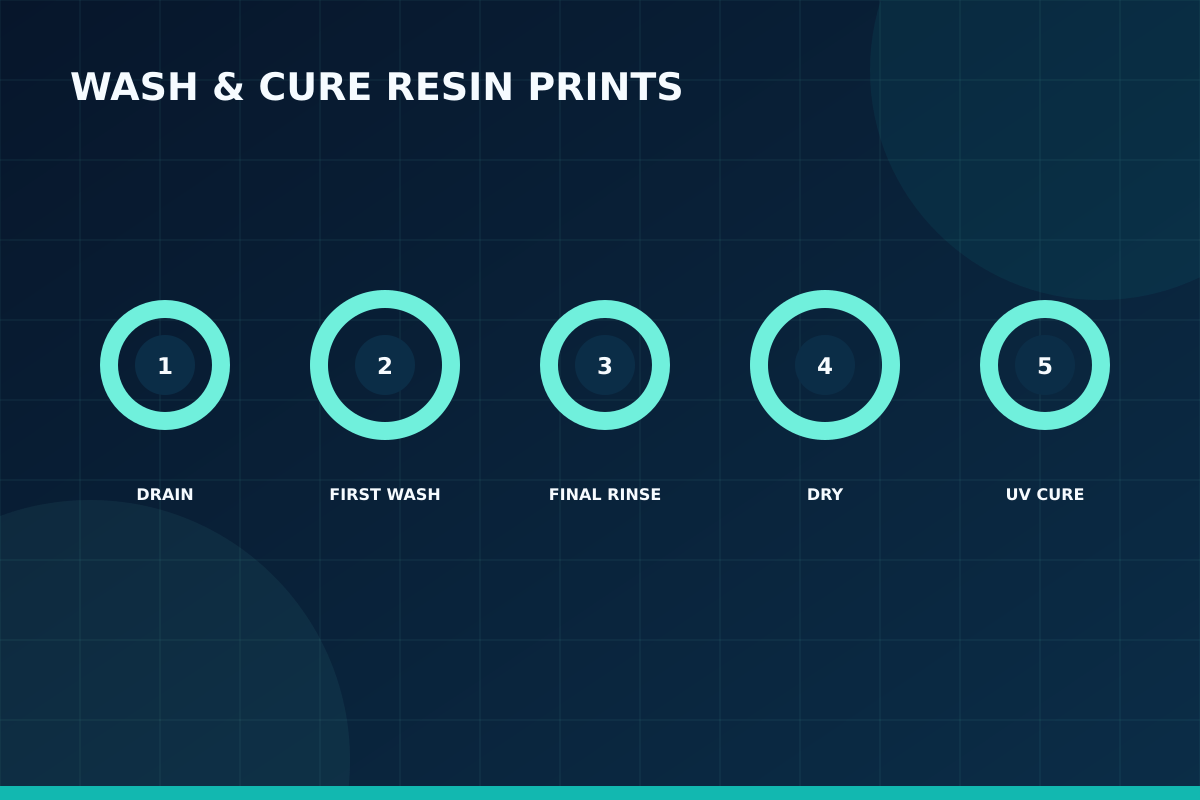
Wash surface ও cavity থেকে liquid resin সরায়; drying cleaning solvent পুরো evaporate হতে দেয়; post-cure remaining polymer reaction সম্পন্ন করে final strength, stiffness ও stability আনে। এই তিন ধাপ বাদ দিলে sticky surface, weak part, poor paint, trapped resin এবং unpredictable performance হতে পারে।
Printer থেকে বের হওয়া “Green Part” কী
Exposure চলাকালে প্রতিটি layer shape ধরে রাখার মতো cure হয়, কিন্তু পুরো material final conversion-এ পৌঁছায় না। এই অবস্থাকে green state বলা হয়। Part তখন কিছু resin-এ তুলনামূলক flexible এবং support removal সহজ হতে পারে, কিন্তু dimension ও mechanical test final নয়। Bare hand-এ ধরবেন না, কারণ surface-এ visible না হলেও uncured resin film থাকতে পারে।
Batch production-এর আগে একটি approved master sample রাখা কার্যকর। সেই sample-এর dimensions, surface, support marks ও colour দেখে পরবর্তী batch তুলনা করা যায়। একই model আবার print করতে হলে resin ভালোভাবে mix করা, tank inspect করা এবং validated file ব্যবহার করা consistency বাড়ায়।
Wash-এর আসল কাজ
Build plate থেকে নামানোর পর outer surface, recess, hole এবং support-এর ভেতরে liquid resin জমে থাকে। Approved solvent সেই resin dissolve করে আলাদা করে। একটি dirty bath দ্রুত bulk resin সরাতে এবং cleaner second bath final rinse দিতে পারে। তবে solvent choice ও wash time resin-specific; দীর্ঘ soak swelling, crack বা cloudy surface আনতে পারে।
Cost হিসাবেও failed print-এর প্রভাব বড়। শুধু model-এর resin নয়, support, wash liquid, gloves, machine time এবং finishing labour যোগ হয়। তাই preparation-এ কয়েক মিনিট বেশি ব্যয় করে orientation ও support review করা প্রায়ই দ্রুত print শুরু করার চেয়ে লাভজনক।
Hollow Model-এর ভেতর Cleaning
Hollow object-এ অন্তত কার্যকর inlet ও outlet path না থাকলে wash liquid circulation হয় না। Drain hole print orientation-এর lowest point এবং wash position—দুই অবস্থাতেই কাজ করছে কি না দেখুন। Narrow cavity-তে trapped resin পরে exothermic cure বা pressure তৈরি করে shell crack করতে পারে। শুধু বাইরের surface পরিষ্কার হলেই hollow model safe finished ধরে নেওয়া যাবে না।
Resin printing-এ কোনো setting আলাদাভাবে কাজ করে না। Layer height, exposure, lift movement, support এবং model geometry একে অন্যকে প্রভাবিত করে। তাই production model-এ যাওয়ার আগে একই resin, একই room condition এবং একই profile দিয়ে ছোট validation print করা ভালো। এতে failure হলে কারণ চিহ্নিত করা সহজ হয় এবং অপ্রয়োজনীয় resin নষ্ট কমে।
Drying বাদ দিলে কী হয়
Wash শেষে surface দেখতে clean হলেও micro recess-এ IPA বা অন্য solution থাকতে পারে। ভেজা part cure করলে white bloom, patchy gloss, tackiness বা uneven cure দেখা দিতে পারে। Clean compressed air ব্যবহার করলে manufacturer guidance ও eye protection মানুন; সাধারণভাবে ventilated, dust-free জায়গায় পুরো air-dry করা নিরাপদ। গন্ধ কমেছে মানেই solvent সম্পূর্ণ নেই—সময় ও visual inspection দুটোই প্রয়োজন।
প্র্যাকটিক্যাল সিদ্ধান্ত নেওয়ার সময় শুধু screen preview দেখে থেমে গেলে চলবে না। Model-এর visible face, load direction, trapped resin, suction force এবং পরে support removal—সবগুলো ধাপ একসঙ্গে কল্পনা করতে হবে। যে orientation print সফল করে কিন্তু গুরুত্বপূর্ণ face-এ গভীর mark রেখে দেয়, সেটিকে ভালো orientation বলা যায় না।
Post-cure-এর Chemistry ও Benefit
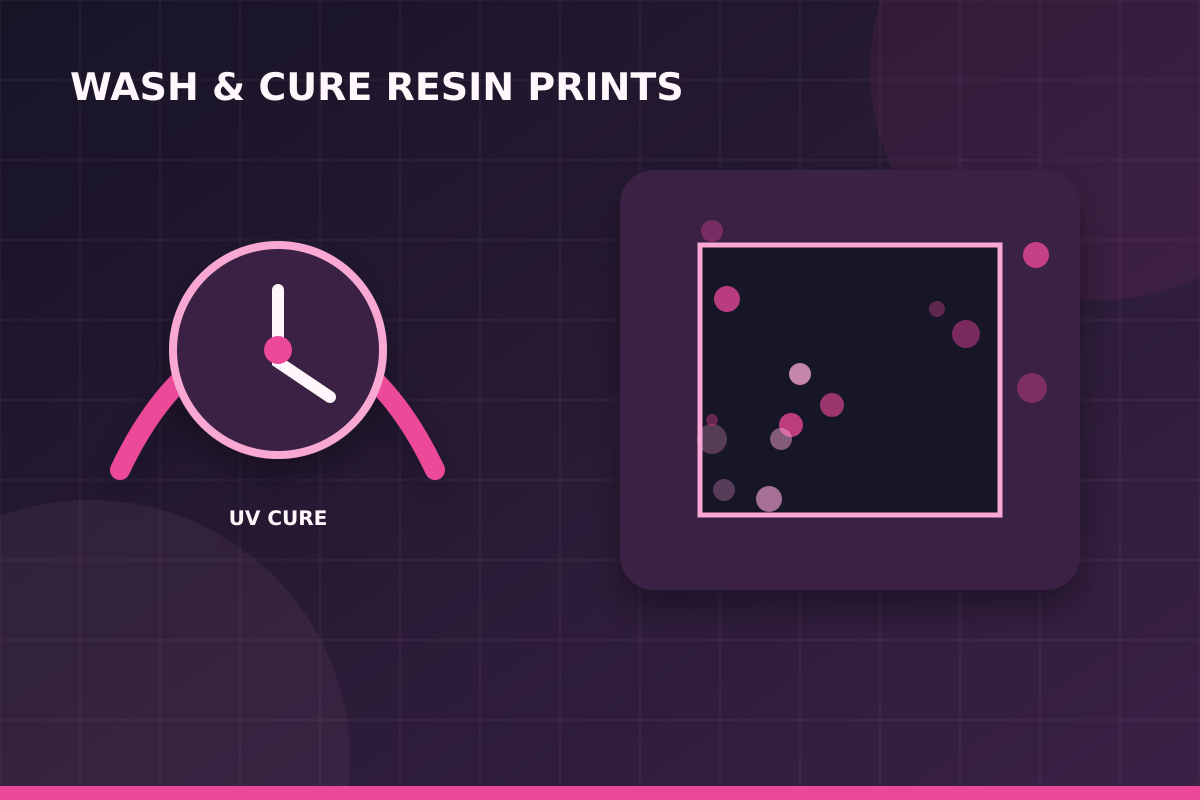
Controlled UV light polymerization আরও এগিয়ে নেয়। কিছু engineering resin specified heatসহ cure হলে target strength, heat resistance বা biocompatible workflow পায়। Cure device-এর wavelength, power, temperature এবং part thickness time প্রভাবিত করে। এক brand-এর 405 nm schedule অন্য resin-এ copy করবেন না। Data sheet property সাধারণত recommended post-cure-এর পরে প্রযোজ্য।
একটি নির্ভরযোগ্য workflow হলো একবারে একটি variable পরিবর্তন করা। প্রথম test-এর ছবি, resin batch, temperature, layer height ও exposure লিখে রাখুন। পরের test-এ শুধু একটি parameter বদলান। এতে improvement কোন পরিবর্তনের কারণে হয়েছে বোঝা যায়; একই সঙ্গে ভবিষ্যতের repeat order-এ consistent result পাওয়া সহজ হয়।
Under-cure ও Over-cure চেনার উপায়
Under-cured part soft, tacky, easily scratched বা mechanically weak থাকতে পারে। Over-cure কিছু formulation-এ colour yellowing, brittleness বা dimensional change বাড়াতে পারে। শুধু হাত দিয়ে শক্ত লাগছে কি না দিয়ে সিদ্ধান্ত নয়; surface, colour, fit ও application-specific test compare করুন। Cure chamber-এ part rotate বা reflective environment দরকার কি না device guidance অনুসরণ করুন।
ছোট feature-এর ক্ষেত্রে digital model-এর detail থাকাই যথেষ্ট নয়; printer-এর XY resolution, layer height, resin behavior এবং cleaning method সেই detail বাঁচাতে পারছে কি না সেটিও জরুরি। Design-এর সবচেয়ে পাতলা অংশ printer-এর practical limit-এর কাছাকাছি হলে সামান্য scale increase বা controlled thickening অনেক সময় দৃশ্যমান পার্থক্য তৈরি করে।
Support আগে না পরে সরাবেন
Green state-এ support tip কখনও পরিষ্কারভাবে কাটে এবং brittle fracture কম হয়। অন্যদিকে fragile part supportসহ wash/cure করলে handling নিরাপদ হতে পারে। Thick support cure-এর পরে কঠিন হয়ে removal mark বড় করতে পারে। Resin, geometry ও support location অনুযায়ী test করুন; hand দিয়ে টেনে ছিঁড়ার বদলে flush cutter এবং controlled direction ব্যবহার করুন।
Safety-কে finishing-এর আলাদা বিষয় ভাবা ঠিক নয়। Uncured resin skin contact এড়াতে উপযুক্ত nitrile glove, eye protection ও পরিষ্কার work area দরকার। Resin এবং contaminated cleaning liquid স্থানীয় নিয়ম মেনে dispose করতে হবে; sink বা খোলা জায়গায় ফেলা উচিত নয়। নির্দিষ্ট wash ও cure time সবসময় resin manufacturer-এর নির্দেশনা অনুযায়ী ঠিক করুন।
Safety, Solvent ও Waste Management
Nitrile glove, splash-resistant eye protection, washable work surface ও ventilation ব্যবহার করুন। Resin-contaminated paper, glove, support এবং dirty liquid স্থানীয় hazardous-waste নিয়ম অনুযায়ী manage করতে হবে। Liquid resin বা wash water drain-এ ফেলবেন না। UV cure-এর আগে waste fully contained রাখুন; curing waste disposal-এর সব requirement বদলে দেয় কি না স্থানীয় নিয়মে যাচাই করুন।
Professional result-এর জন্য “আরও বেশি” সবসময় “আরও ভালো” নয়। বেশি exposure fine gap বন্ধ করতে পারে, বেশি support surface নষ্ট করতে পারে, বেশি cure brittleness বাড়াতে পারে এবং aggressive washing সূক্ষ্ম অংশ ভেঙে দিতে পারে। লক্ষ্য হলো model ও resin অনুযায়ী balanced setting, সর্বোচ্চ setting নয়।
ধাপে ধাপে Practical Workflow
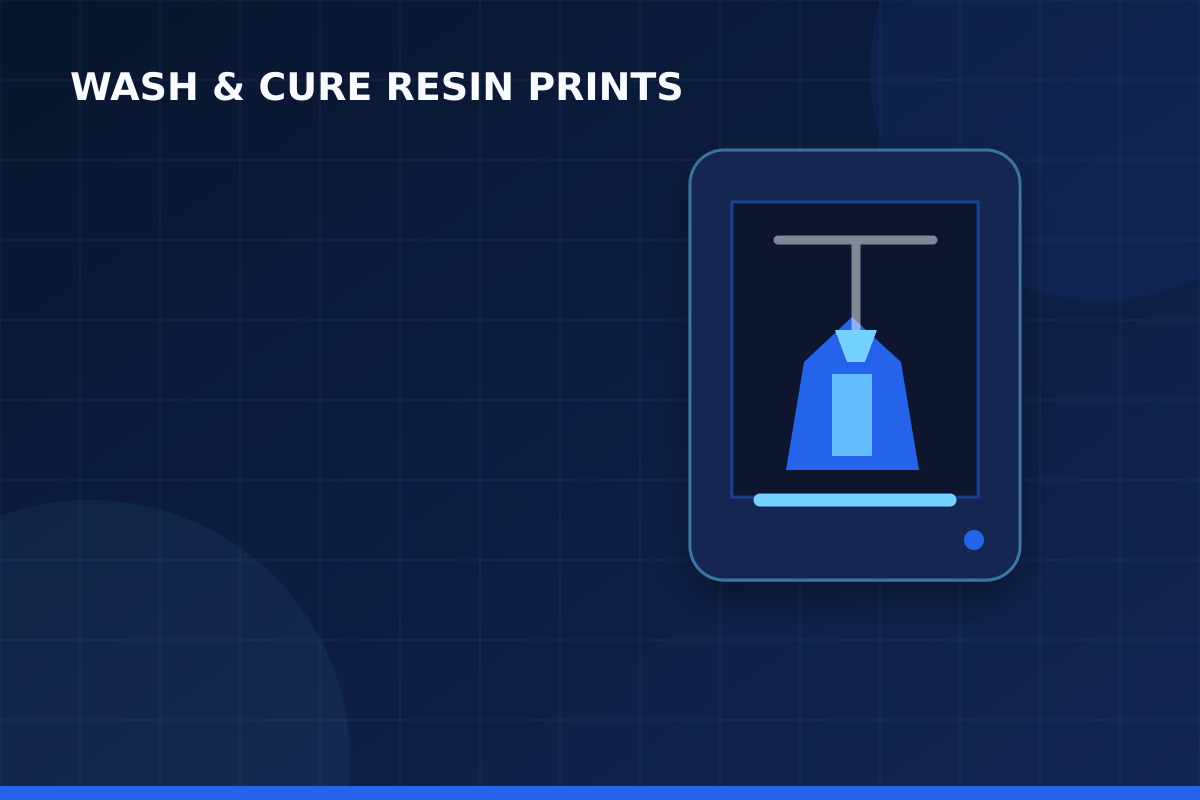
- Print drip করতে দিন এবং build plate safely সরান।
- PPE পরে part detach করুন।
- প্রয়োজনে supportসহ প্রথম dirty wash করুন।
- Cleaner second wash দিয়ে recess ও hole পরিষ্কার করুন।
- Hollow cavity flush ও drain verify করুন।
- Part পুরো air-dry করুন।
- Resin-specific time/temperature-এ UV cure করুন।
- Surface, hole, fit ও hardness final inspect করুন।
দ্রুত সিদ্ধান্তের Checklist
- Official wash solvent ও time জানা আছে?
- Two-stage bath-এর দ্বিতীয়টি পরিষ্কার?
- Hollow model-এ inlet/outlet কার্যকর?
- Part cure-এর আগে পুরো শুকিয়েছে?
- Cure device wavelength compatible?
- Contaminated waste-এর safe container আছে?
Common Mistakes
- এক bath অনেক দিন ব্যবহার করা।
- সময় না মেনে রাতভর solvent-এ রাখা।
- Wet surface সরাসরি cure করা।
- Hollow model শুধু বাইরে wash করা।
- সব resin-এ একই cure profile ব্যবহার করা।
প্রায় জিজ্ঞাসিত প্রশ্ন
IPA ছাড়া resin wash করা যায়?
কিছু resin approved alternative solvent বা পানি ব্যবহার করে। Bottle ও manufacturer guide অনুসরণ করুন; water-washable resin-এর contaminated water-ও drain-এ ফেলা যাবে না।
Wash station না থাকলে কী করব?
Compatible sealed container ও controlled agitation ব্যবহার করা যায়, তবে fire safety, splash control ও solvent compatibility মানতে হবে।
সূর্যের আলোতে cure করা যাবে?
হতে পারে, কিন্তু intensity, angle ও temperature নিয়ন্ত্রণহীন। Repeatable engineering result-এর জন্য controlled cure unit ও official schedule ভালো।
Part এখনও sticky কেন?
Dirty solvent, insufficient wash, trapped resin, incomplete drying বা under-cure কারণ হতে পারে। Clean rinse থেকে ধাপে ধাপে diagnosis করুন।
Support কখন কাটলে mark কম হবে?
অনেক resin green state-এ সহজে কাটে, তবে delicate feature deform হতে পারে। Sample-এ before/after cure removal compare করুন।
Cure বেশি করলে কি part বেশি strong হবে?
সীমা পর্যন্ত property develop হয়; তারপর বাড়তি cure benefit না দিয়ে brittleness বা colour change আনতে পারে। Official maximum মানুন।
বাস্তব প্রয়োগের নোট 1: Printer থেকে বের হওয়া “Green Part” কী
Exposure চলাকালে প্রতিটি layer shape ধরে রাখার মতো cure হয়, কিন্তু পুরো material final conversion-এ পৌঁছায় না। এই অবস্থাকে green state বলা হয়। Part তখন কিছু resin-এ তুলনামূলক flexible এবং support removal সহজ হতে পারে, কিন্তু dimension ও mechanical test final নয়। Bare hand-এ ধরবেন না, কারণ surface-এ visible না হলেও uncured resin film থাকতে পারে। প্র্যাকটিক্যাল সিদ্ধান্ত নেওয়ার সময় শুধু screen preview দেখে থেমে গেলে চলবে না। Model-এর visible face, load direction, trapped resin, suction force এবং পরে support removal—সবগুলো ধাপ একসঙ্গে কল্পনা করতে হবে। যে orientation print সফল করে কিন্তু গুরুত্বপূর্ণ face-এ গভীর mark রেখে দেয়, সেটিকে ভালো orientation বলা যায় না। এই পর্যবেক্ষণটি Resin Wash and Cure নিয়ে কাজ করার সময় decision log-এ লিখে রাখলে পরবর্তী print বা production batch-এ একই ভুল পুনরাবৃত্তি হওয়ার ঝুঁকি কমে।
বাস্তব প্রয়োগের নোট 2: Wash-এর আসল কাজ
Build plate থেকে নামানোর পর outer surface, recess, hole এবং support-এর ভেতরে liquid resin জমে থাকে। Approved solvent সেই resin dissolve করে আলাদা করে। একটি dirty bath দ্রুত bulk resin সরাতে এবং cleaner second bath final rinse দিতে পারে। তবে solvent choice ও wash time resin-specific; দীর্ঘ soak swelling, crack বা cloudy surface আনতে পারে। একটি নির্ভরযোগ্য workflow হলো একবারে একটি variable পরিবর্তন করা। প্রথম test-এর ছবি, resin batch, temperature, layer height ও exposure লিখে রাখুন। পরের test-এ শুধু একটি parameter বদলান। এতে improvement কোন পরিবর্তনের কারণে হয়েছে বোঝা যায়; একই সঙ্গে ভবিষ্যতের repeat order-এ consistent result পাওয়া সহজ হয়। এই পর্যবেক্ষণটি Resin Wash and Cure নিয়ে কাজ করার সময় decision log-এ লিখে রাখলে পরবর্তী print বা production batch-এ একই ভুল পুনরাবৃত্তি হওয়ার ঝুঁকি কমে।
বাস্তব প্রয়োগের নোট 3: Hollow Model-এর ভেতর Cleaning
Hollow object-এ অন্তত কার্যকর inlet ও outlet path না থাকলে wash liquid circulation হয় না। Drain hole print orientation-এর lowest point এবং wash position—দুই অবস্থাতেই কাজ করছে কি না দেখুন। Narrow cavity-তে trapped resin পরে exothermic cure বা pressure তৈরি করে shell crack করতে পারে। শুধু বাইরের surface পরিষ্কার হলেই hollow model safe finished ধরে নেওয়া যাবে না। ছোট feature-এর ক্ষেত্রে digital model-এর detail থাকাই যথেষ্ট নয়; printer-এর XY resolution, layer height, resin behavior এবং cleaning method সেই detail বাঁচাতে পারছে কি না সেটিও জরুরি। Design-এর সবচেয়ে পাতলা অংশ printer-এর practical limit-এর কাছাকাছি হলে সামান্য scale increase বা controlled thickening অনেক সময় দৃশ্যমান পার্থক্য তৈরি করে। এই পর্যবেক্ষণটি Resin Wash and Cure নিয়ে কাজ করার সময় decision log-এ লিখে রাখলে পরবর্তী print বা production batch-এ একই ভুল পুনরাবৃত্তি হওয়ার ঝুঁকি কমে।
বাস্তব প্রয়োগের নোট 4: Drying বাদ দিলে কী হয়
Wash শেষে surface দেখতে clean হলেও micro recess-এ IPA বা অন্য solution থাকতে পারে। ভেজা part cure করলে white bloom, patchy gloss, tackiness বা uneven cure দেখা দিতে পারে। Clean compressed air ব্যবহার করলে manufacturer guidance ও eye protection মানুন; সাধারণভাবে ventilated, dust-free জায়গায় পুরো air-dry করা নিরাপদ। গন্ধ কমেছে মানেই solvent সম্পূর্ণ নেই—সময় ও visual inspection দুটোই প্রয়োজন। Safety-কে finishing-এর আলাদা বিষয় ভাবা ঠিক নয়। Uncured resin skin contact এড়াতে উপযুক্ত nitrile glove, eye protection ও পরিষ্কার work area দরকার। Resin এবং contaminated cleaning liquid স্থানীয় নিয়ম মেনে dispose করতে হবে; sink বা খোলা জায়গায় ফেলা উচিত নয়। নির্দিষ্ট wash ও cure time সবসময় resin manufacturer-এর নির্দেশনা অনুযায়ী ঠিক করুন। এই পর্যবেক্ষণটি Resin Wash and Cure নিয়ে কাজ করার সময় decision log-এ লিখে রাখলে পরবর্তী print বা production batch-এ একই ভুল পুনরাবৃত্তি হওয়ার ঝুঁকি কমে।
শেষ কথা
Wash, dry এবং cure একটি ধারাবাহিক process; একটি ধাপ দুর্বল হলে পরের ধাপ পুরো সমস্যা ঠিক করতে পারে না। Clean bath, open drain path, complete drying ও correct cure schedule high-quality resin model-এর ভিত্তি।
Commercial project-এ resin batch, wash time ও cure record রাখলে repeat order-এর consistency এবং failure diagnosis দুটোই উন্নত হয়।
আপনার model, sample, measurement বা project requirement পাঠালে Artin3D team printability, material, orientation এবং finishing requirement review করে উপযুক্ত solution প্রস্তাব করতে পারে। Artin3D-এর সঙ্গে যোগাযোগ করুন।
Artin3D – Where ideas take shape.


