
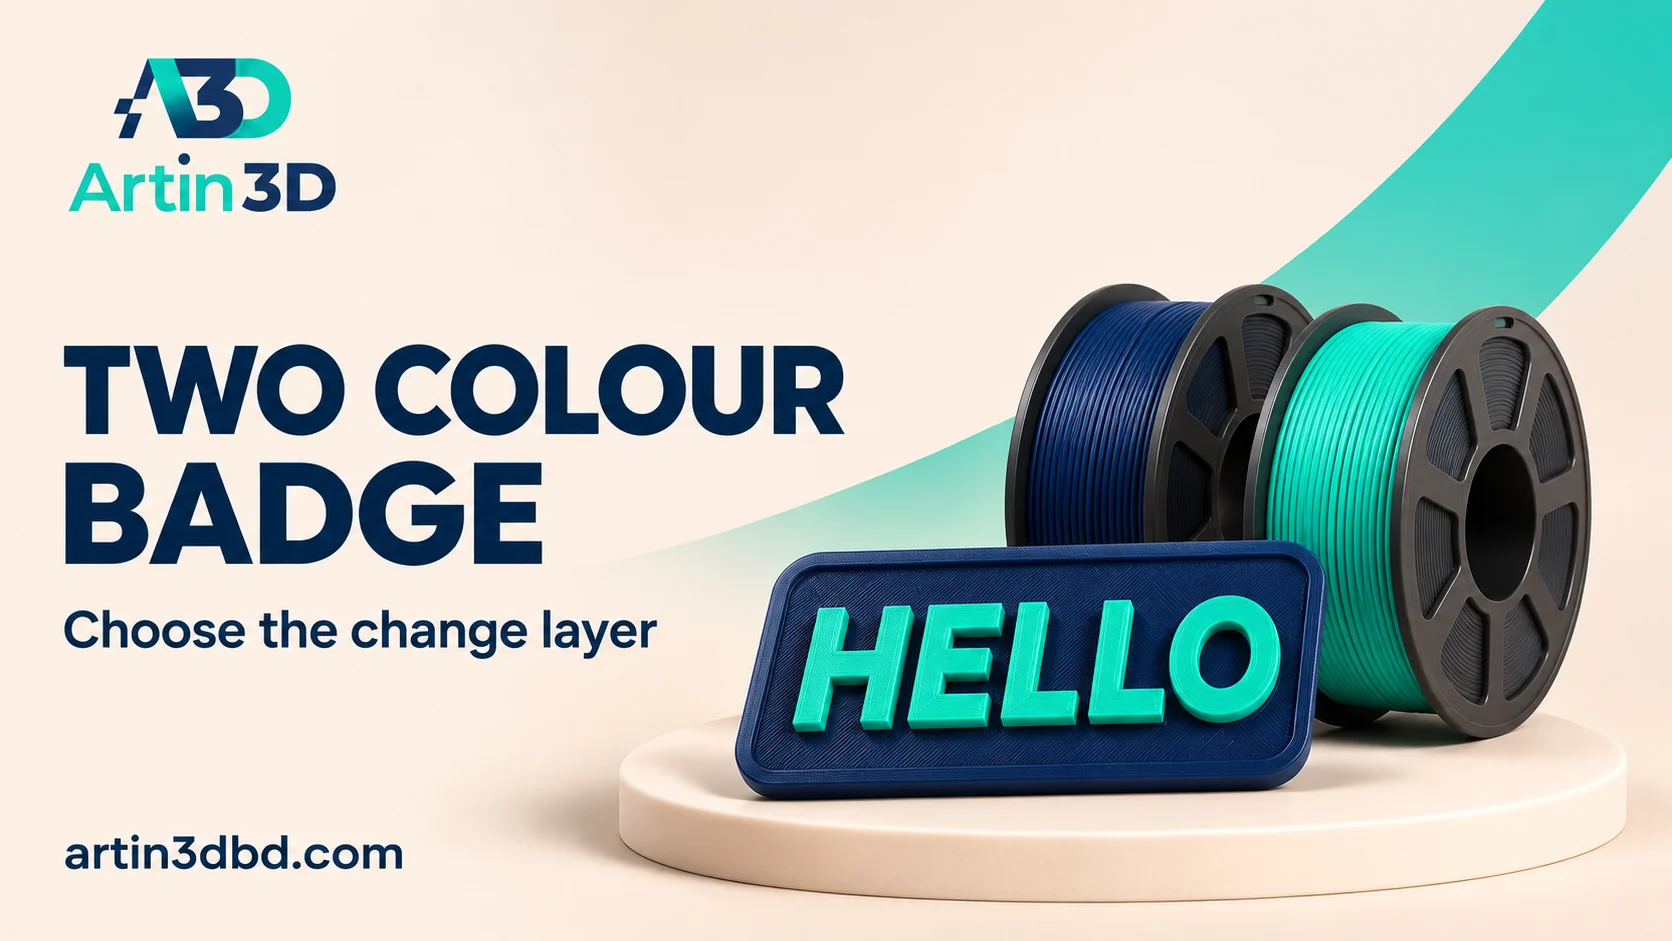
Raised letter badge এ সঠিক layer এ filament change পরিকল্পনা করুন। Printer এর pause ও resume পদ্ধতি যাচাই করে আগে ছোট sample প্রিন্ট করুন।
A badge with a flat base and raised lettering can be a useful first layer colour experiment. The base is printed in one colour and the raised region in another. Success depends on choosing the correct layer and using a filament change procedure supported by the printer. Start with a small badge sample, then transfer the accepted project to the final artwork.
Separate the base and raised letter heights
Inspect the design and identify where the top of the base ends and the raised lettering begins. Make a compact test using the actual letter depth and the thinnest important strokes. Keep the base thick enough for the intended sample handling. Record the model dimensions before slicing. Colour changes at a layer affect everything printed after that point until another change is scheduled.
Before approving the badge colours, check that the letters remain readable using Check Thin Letter Strokes in Preview Before Changing Nozzles and Test Editable Text on a Curved Product Label Sample.
Confirm the printer supports the chosen workflow
PrusaSlicer can insert a layer colour change and documents an M600 based workflow for supported printers. Do not assume every firmware interprets that instruction in the same way. Use your printer maker’s documented pause, unload, load and resume process. Confirm the selected printer profile and export format. Plan a supervised trial at a convenient time so the sample does not wait through an unexpected pause.
Inspect the exact transition in Preview
Slice the badge and move the layer slider through the end of the base and the beginning of the letters. Add the change at the boundary that produces the intended design, using the slicer’s preview colours as a planning aid. Examine all regions at that height. Save the layer view and estimated change time. Preview colours describe the plan and do not measure the final colour transition.
Run a short change and resume trial
Use compatible materials with an appropriate shared printing workflow. Follow the machine instructions to change filament and clear the previous colour. Keep hands away from moving and hot components during the automatic sequence. Observe whether the printer resumes cleanly and whether the first new colour lines show contamination. Record the exact material pair, change procedure and visible result for the next trial.
Approve contrast and lettering before a batch
Inspect the cooled badge in the lighting where it will be used. Check letter readability, the base surface and the transition around the first raised layer. Keep a photograph of the approved colour pair and save the project with its change marker. If the design height changes, revisit the transition in Preview. Confirm the plan again before producing personalised names or several badges together.
Keep a change checklist beside the printer
List the two material identities, the scheduled transition and the supported resume steps before starting. After the trial, note whether the change occurred at the intended height. Keep this checklist with the approved badge project when another operator will run it.
Relevant products from Artin3D
SUNLU PLA Filament 1.75mm
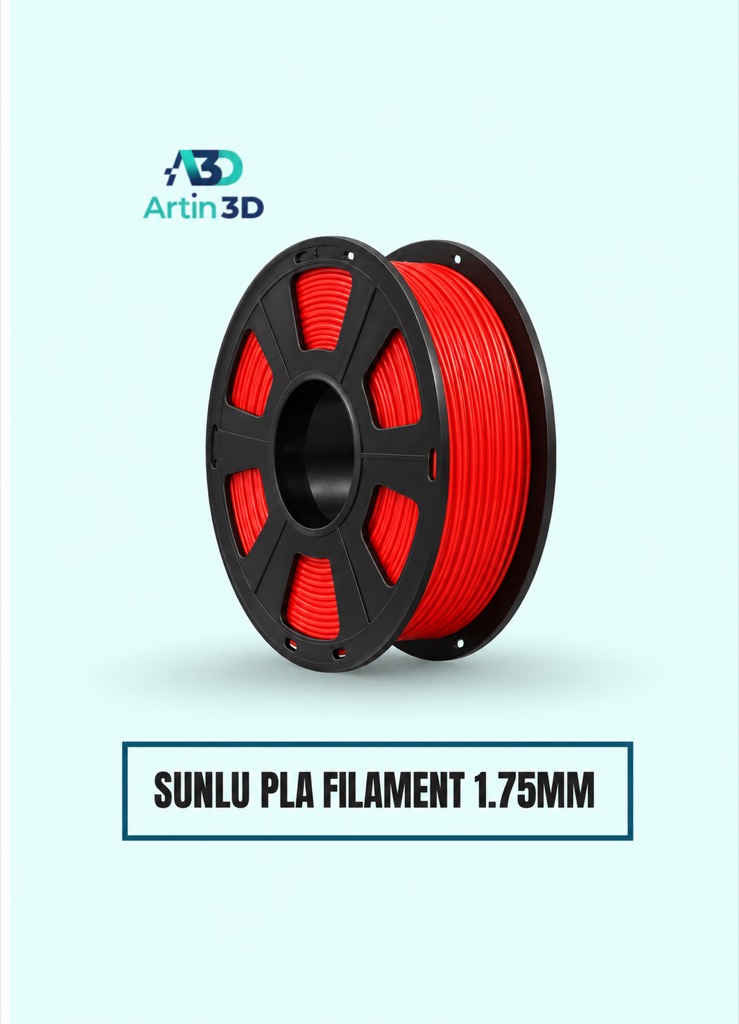
SUNLU PLA offers colour options to evaluate for the base and lettering. Confirm current colours and compatible grade guidance on the product page.
SUNLU PLA Matte Filament 1.75mm
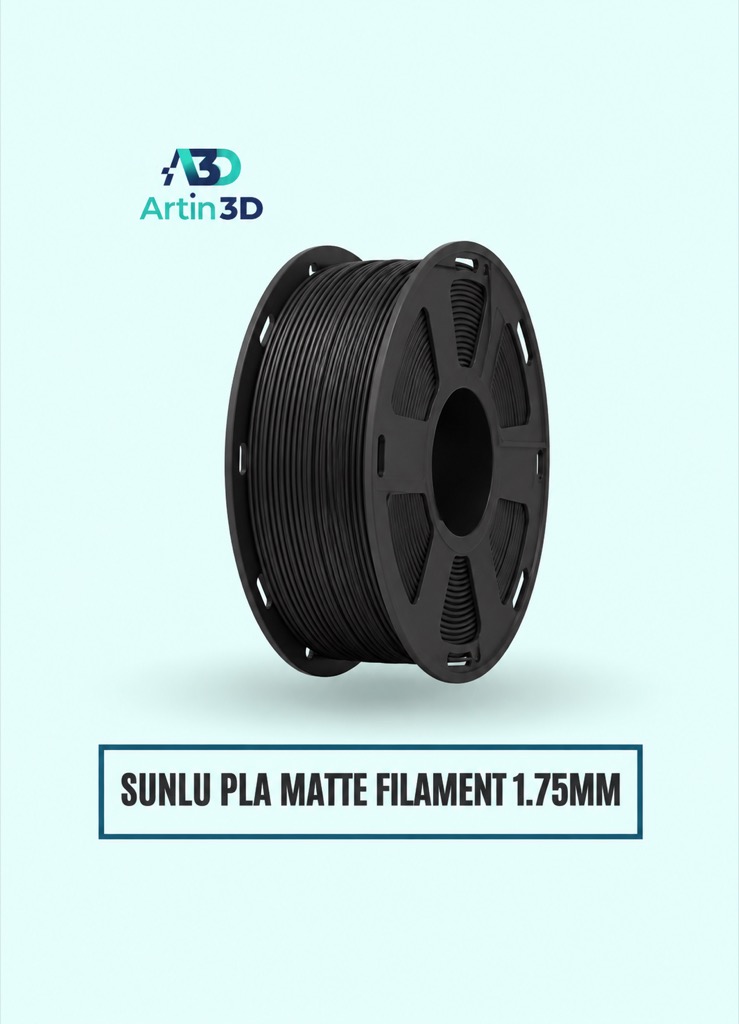
SUNLU PLA Matte can be considered when a matte badge is intended. Validate the selected material pair and resume behaviour before committing to a batch.
Quick questions
Can I paste an M600 command into any printer file?
Use only the procedure documented for the exact printer and firmware. Confirm compatibility through a small supervised test.
Will every letter change colour at once?
A layer change affects the geometry printed at and above that stage. Inspect the lettering and all other features at that height.
Confirm the exact product variant, printer compatibility, current price and availability on the linked product page before ordering.
Need help preparing a representative sample? Explore Artin3D’s 3D design service or upload your STL file for a 3D printing quote. Include the mating dimensions, intended material and acceptance requirements.



Comment (1)