

Display tile এর top finish এর জন্য monotonic ও concentric pattern তুলনা করুন। একই material ও আলো রেখে appearance এবং edge quality দেখুন।
A flat display tile makes it easy to compare the appearance of different top fill paths. The internal fill and the visible final surface serve different purposes, so it helps to identify exactly which setting is changing. This small sample exercise compares top surface patterns while keeping the rest of the print consistent. Choose the result for its real viewing conditions and required finish.
Choose a tile that includes the important outline
Use a small version of the intended outline with a broad flat face and any relevant corner or opening. Keep the top surface free from raised text during the initial comparison. Record the thickness and inspection angle. Use a single identified spool because colour and finish influence the reflected light. The aim is to compare path appearance on the same geometry.
Compare a further finishing step with Run a Timed Ironing Test on a Flat Nameplate Sample; if the baseline top surface is inconsistent, review Keep OrcaSlicer Flow Ratio Test Formulas With the Correct Method first.
Locate the top fill setting in your slicer
PrusaSlicer distinguishes the visible top fill pattern from internal infill and the solid layers below. Find the corresponding control in your version. Save the baseline and create a second project changing only that pattern. Keep the number of top layers, flow settings, speed and ironing state unchanged. Naming the project after the selected pattern makes the saved samples easier to identify.
Inspect monotonic and concentric paths
Prusa describes monotonic fill as an ordered line strategy, while concentric fill follows the model outline. Inspect how your chosen patterns approach corners and openings in Preview. Look for changes in path direction or small regions near the perimeter. Save screenshots of the same layer for both versions. The generated paths show what will be attempted, while the physical sample establishes the appearance on your setup.
Photograph each sample with controlled lighting
Print the samples with the same plate face and supported material profile. After cooling, photograph the top face with the light and camera held in the same position. Also rotate both tiles together to see how reflections change. Record ridges, small gaps and edge appearance separately from your preference for the pattern. Include the time estimate and completed print time if available.
Select the finish for the actual display
Check the tiles at the normal viewing distance and under the lighting expected for the finished piece. A pattern that appears uniform from one angle may look more directional from another. Keep the accepted sample with its project and material record. If lettering or an opening is added later, reslice and inspect those new regions before transferring the pattern to a production order.
Keep a labelled physical finish set
Store the accepted tiles together with their material and pattern names written on the hidden face or attached record. A physical set lets a customer compare reflections directly. Repeat a small sample when the requested colour differs from the saved reference.
Relevant products from Artin3D
SUNLU PLA Matte Filament 1.75mm
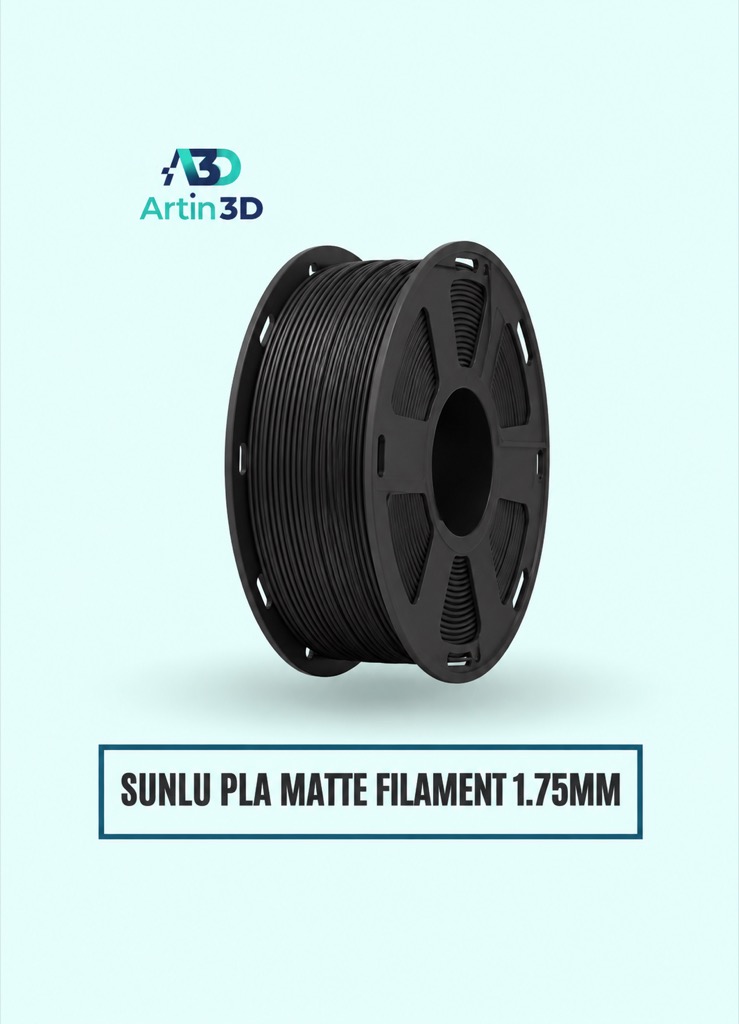
SUNLU PLA Matte is a relevant option for a low gloss display tile. Compare patterns on the same colour and grade.
SUNLU PLA Filament 1.75mm
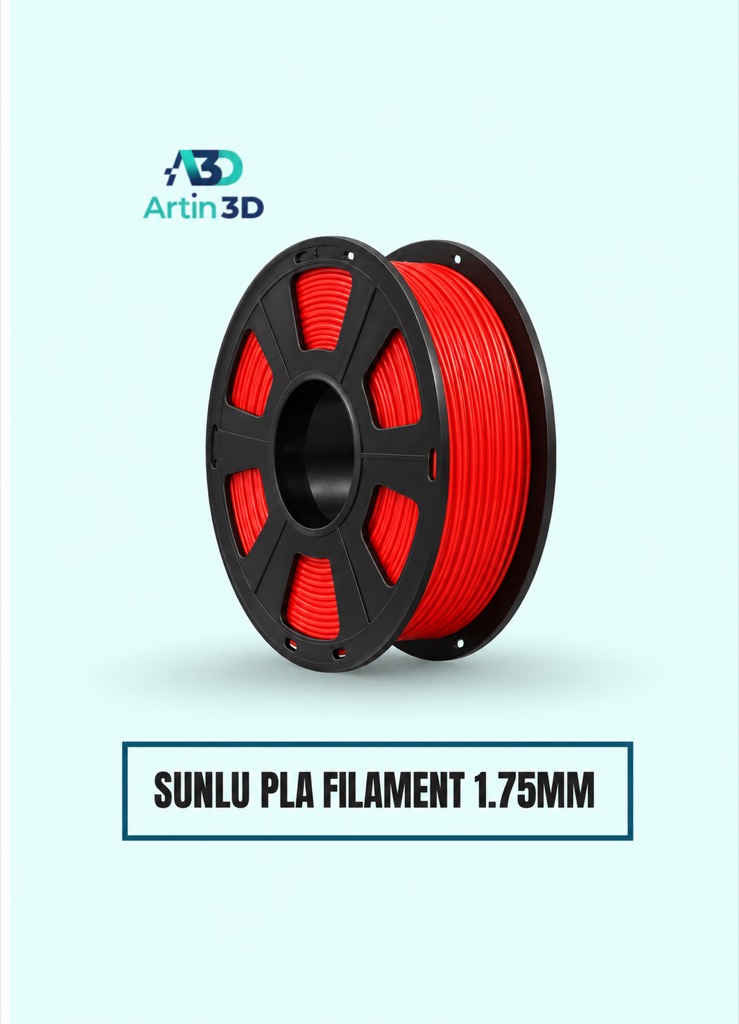
SUNLU PLA can provide a separate standard PLA finish trial. Keep that material comparison distinct from the initial top pattern experiment.
Quick questions
Does this change the whole internal infill?
Use the top fill pattern control and inspect Preview. Internal fill and the visible top surface have separate settings in PrusaSlicer.
Can I combine this trial with ironing?
Keep ironing unchanged initially. Evaluate it as a separate comparison after choosing a baseline pattern.
Confirm the exact product variant, printer compatibility, current price and availability on the linked product page before ordering.
Need help preparing a representative sample? Explore Artin3D’s 3D design service or upload your STL file for a 3D printing quote. Include the mating dimensions, intended material and acceptance requirements.


