
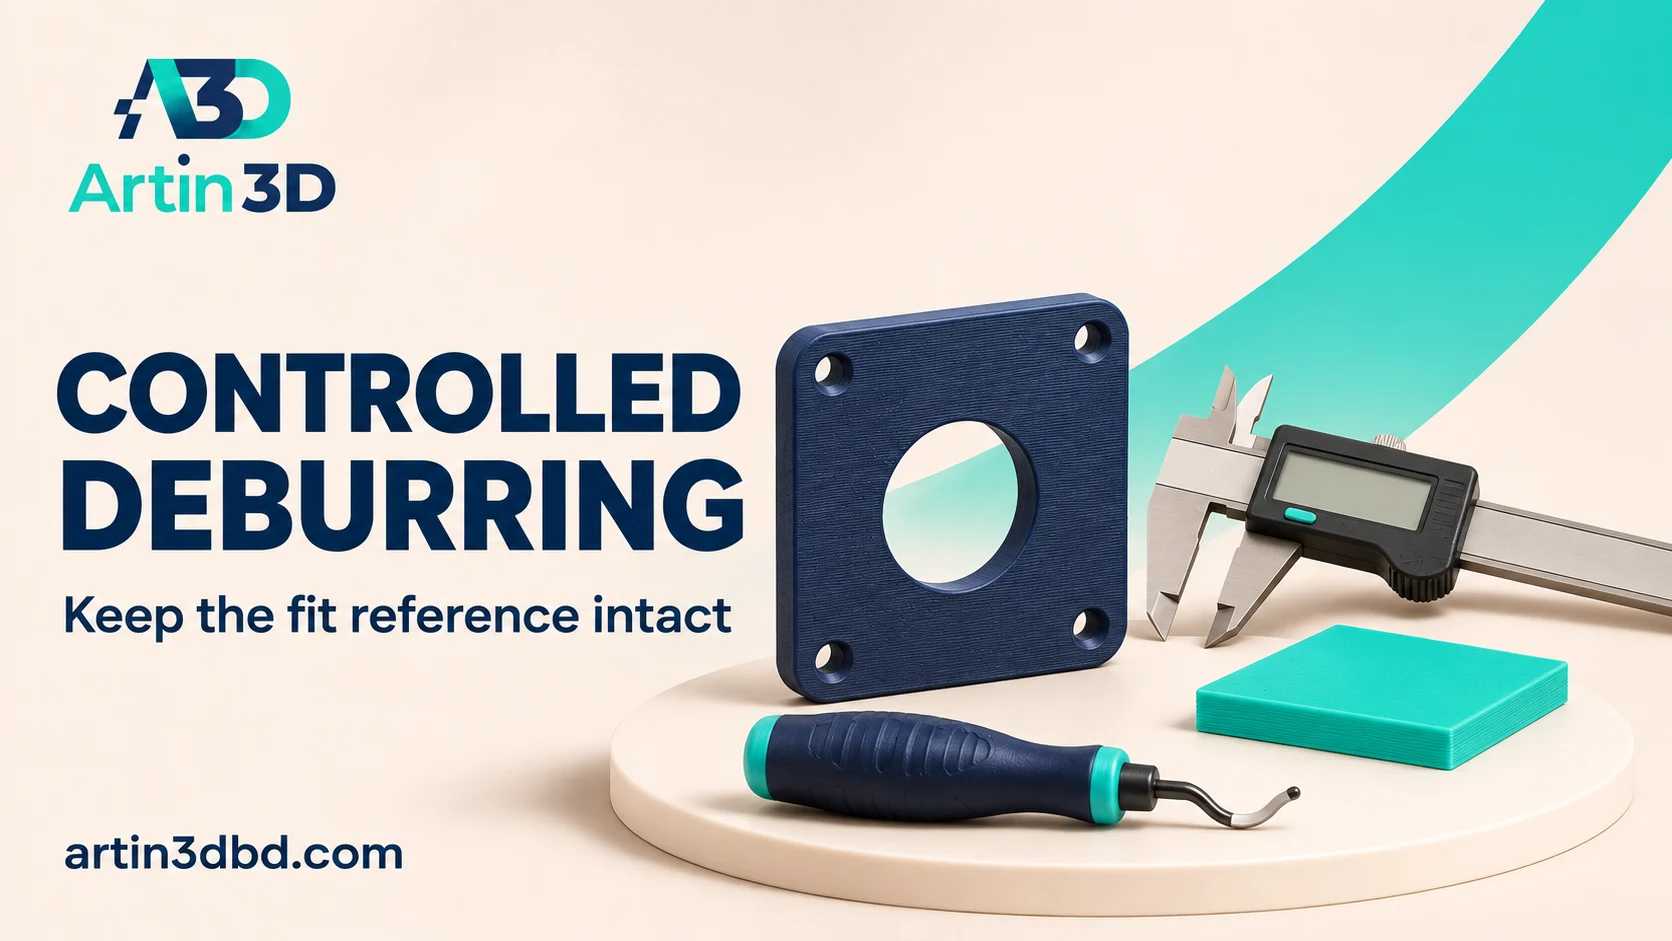
Hole এর burr পরিষ্কার করার আগে মাপ ও fit লিখে রাখুন। হালকা pass দিয়ে শুধু প্রয়োজনীয় edge পরিষ্কার করুন, পুরো bore বড় করে ফেলবেন না।
A small rough edge can obstruct assembly, but removing material without a baseline makes the result difficult to repeat. Controlled deburring begins with an inspection and a clear distinction between an unwanted burr and the intended locating surface. Use a scrap coupon first and follow the tool’s instructions. This guide records the fit before and after a limited cleanup step.
Inspect the unmodified opening first
Let the printed sample cool and photograph both sides of the opening before trimming. Identify where the rough material sits and whether the same defect appears on several copies. Record an accessible dimension using a suitable method, then try the actual mating part gently. Note where it stops. An opening that is undersized through its full length needs a different investigation from an isolated burr at one edge.
If the obstruction is at the entry, compare Test a Lead In Chamfer on a Printed Plug and Socket.
Mark the surface that must remain a reference
Identify the face or bore section that locates the component. Define which edge may be cleaned and which geometry should be preserved. Keep the intended allowance and assembly direction in your notes. This prevents a cleanup operation from becoming an undocumented design change. If the component requires a precision finish, choose an appropriate manufacturing and measurement process instead of relying on hand trimming alone.
Check the tool and test on scrap
The Artin3D deburring tool listing describes a swivel blade for printed edges, holes and profiles. Confirm the actual supplied blade and its instructions. Secure a scrap sample and practice light controlled passes with hands clear of the blade path. Keep the blade directed away from fingers and cosmetic surfaces. Use a method suited to the printed plastic and stop if the tool catches or tears layers.
Remove only the identified edge residue
Work on the coupon in small stages, checking the edge after each limited pass. Avoid driving the blade deep into the bore merely because the mating part still feels tight. Keep the original reference photograph visible. If the problem extends beyond a local edge, pause the cleanup and inspect the print or design dimensions. Consistent limited removal is easier to reproduce than a heavily reworked single sample.
Repeat the same measurement and fit check
Clean away loose debris using a suitable method, then inspect the opening again. Measure from the same reference locations and try the same mating part through the intended route. Record whether the obstruction has gone and whether unwanted play appeared. Keep before and after observations separately. A fit improvement is only useful when the component still meets the intended locating and assembly requirements.
Decide whether the design needs a revision
If every sample requires substantial material removal, consider a controlled geometry or printing change and compare a fresh coupon. If light edge cleanup is an accepted production step, document the tool approach and a reference image of the finished edge. Keep the original dimensions and cleanup record so another operator can distinguish normal finishing from a part that should be rejected or reprinted.
Keep a consistent measurement reference using Check a Bracket Angle and Hole Spacing Before Slicing.
Relevant products from Artin3D
3D Print Deburring Tool
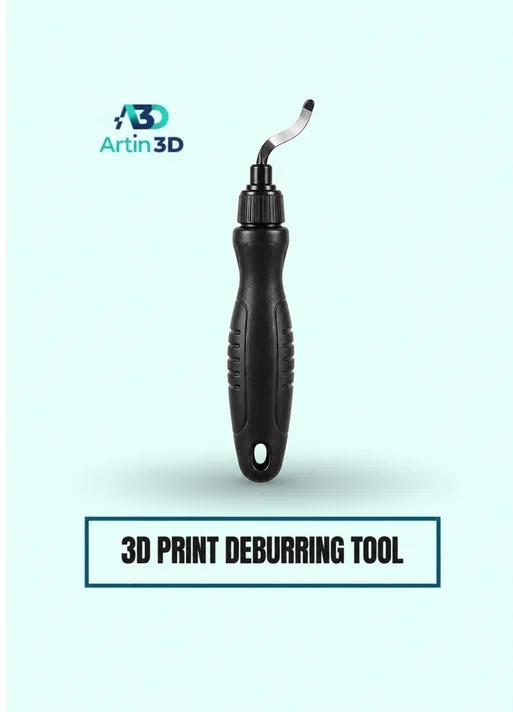
The 3D Print Deburring Tool is intended for suitable printed plastic edges and residue. Confirm the blade, test on scrap and use light controlled passes.
Digital Vernier Caliper
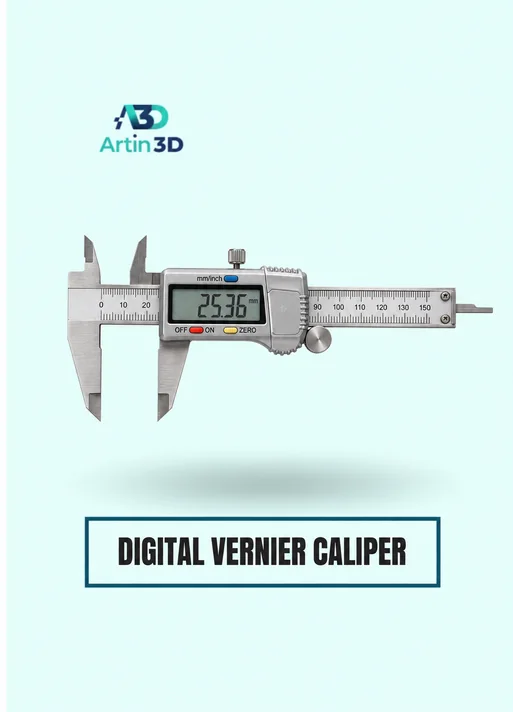
The Digital Vernier Caliper supports repeatable accessible measurements before and after cleanup. Confirm its specification and use the same reference positions.
Quick questions
Should I keep cutting until the component fits?
Locate the interference first. A dimensional problem through the whole bore is different from a small edge burr.
Does deburring replace a fit allowance?
Design and printing allowances still need validation. Record any accepted finishing step separately.
Confirm the exact product variant, printer compatibility, current price and availability on the linked product page before ordering.
Need help preparing a representative sample? Explore Artin3D’s 3D design service or upload your STL file for a 3D printing quote. Include the mating part dimensions, intended material and assembly requirements.


