

ইনলে পকেটে ঢুকলেও ওপরের মুখ উঁচু থাকতে পারে। প্রস্থ, গভীরতা এবং আঠার জায়গা আলাদা করে দেখলে কোন মাপ বদলাতে হবে বোঝা যায়।
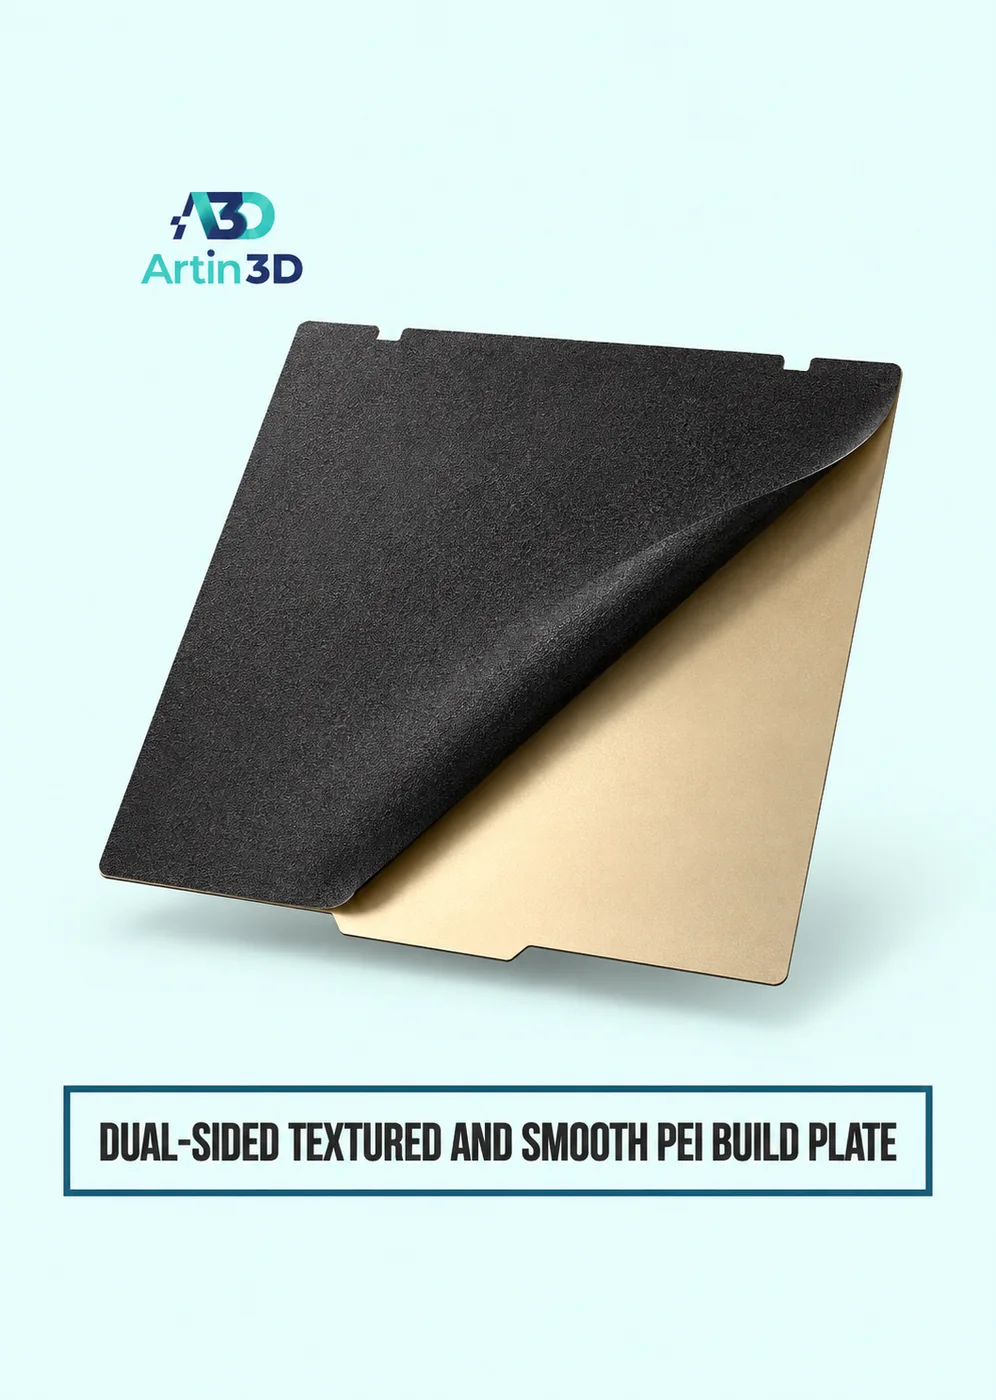
A coloured logo insert can slip neatly into its outline and still sit above the surrounding panel. Width and depth are separate fit questions. When the insert and panel come from different build plates, verify both before printing a whole set. A dual sided PEI plate can give the two exposed pieces different surface finishes where the material and printer support them. The finished joint also depends on the surfaces hidden underneath.
View Product · Dual Sided PEI Plate
Draw a section through the assembled logo
Start with a side view that shows the panel face, pocket floor, insert and any intended adhesive. Mark which surfaces establish the final height. If the insert rests on a tapered edge instead of the pocket floor, the top may sit high even if both measured thicknesses look correct. A section taken through the narrowest corner often reveals a contact that is hard to see in a top view.
Do the height calculation on paper
Suppose an insert is 2.0 mm thick and the pocket is 2.0 mm deep. With clean, flat contact and no intermediate layer, their top faces are nominally level. An adhesive layer of 0.15 mm beneath the insert would make it stand proud by that amount if nothing else changes. Treat this as an illustration, not a prediction of cured glue thickness. The actual assembly process needs a physical test.
Print a coupon with the difficult corner
Keep the tightest curve, one straight edge and enough surrounding panel to place a small straight reference across it. Print the insert separately at final scale. Use the intended face orientation and identify which side of the compatible sheet produced each surface. Preserve the profile and material approvals for both sides. A large square sample can fit perfectly while a sharp logo tip catches in its pocket.
Test without adhesive first
Lower the insert into position without forcing it. Check whether it reaches the floor, whether it can rock and whether a reference placed across the surrounding panel bridges over the insert. If the insert fits when rotated incorrectly but catches in its proper position, inspect the specific corner geometry. A global increase in clearance around the whole logo may make the straight edges untidy while fixing a single tip.
Examine the finished face under side light
Move the sample through the light angle expected in use. A change in texture can create an apparent edge even when the faces are physically level. Check the actual height independently before deepening the pocket. If finish or paint will be applied before assembly, prepare a spare sample in that order. Coating both sidewalls can reduce lateral clearance as well as change the final appearance.
Keep the approved pieces together
Record the panel revision, insert revision, chosen plate sides and intended assembly process. Keep a dry pair for fit inspection and, if applicable, a bonded example showing the final face. On a repeat order, compare a fresh insert in the reference pocket and a reference insert in the fresh pocket. These two comparisons help identify which component changed without sacrificing a full display panel.
আরও পড়ুন একটি প্রজেক্টের দৃশ্যমান ও লুকানো অংশ আলাদা প্লেটে সাজানো
Artin3D | Where Ideas Take Shape.
WhatsApp or Call +880 1845 348757
www.artin3dbd.com
South Banasree Dhaka 1219



Comment (1)