
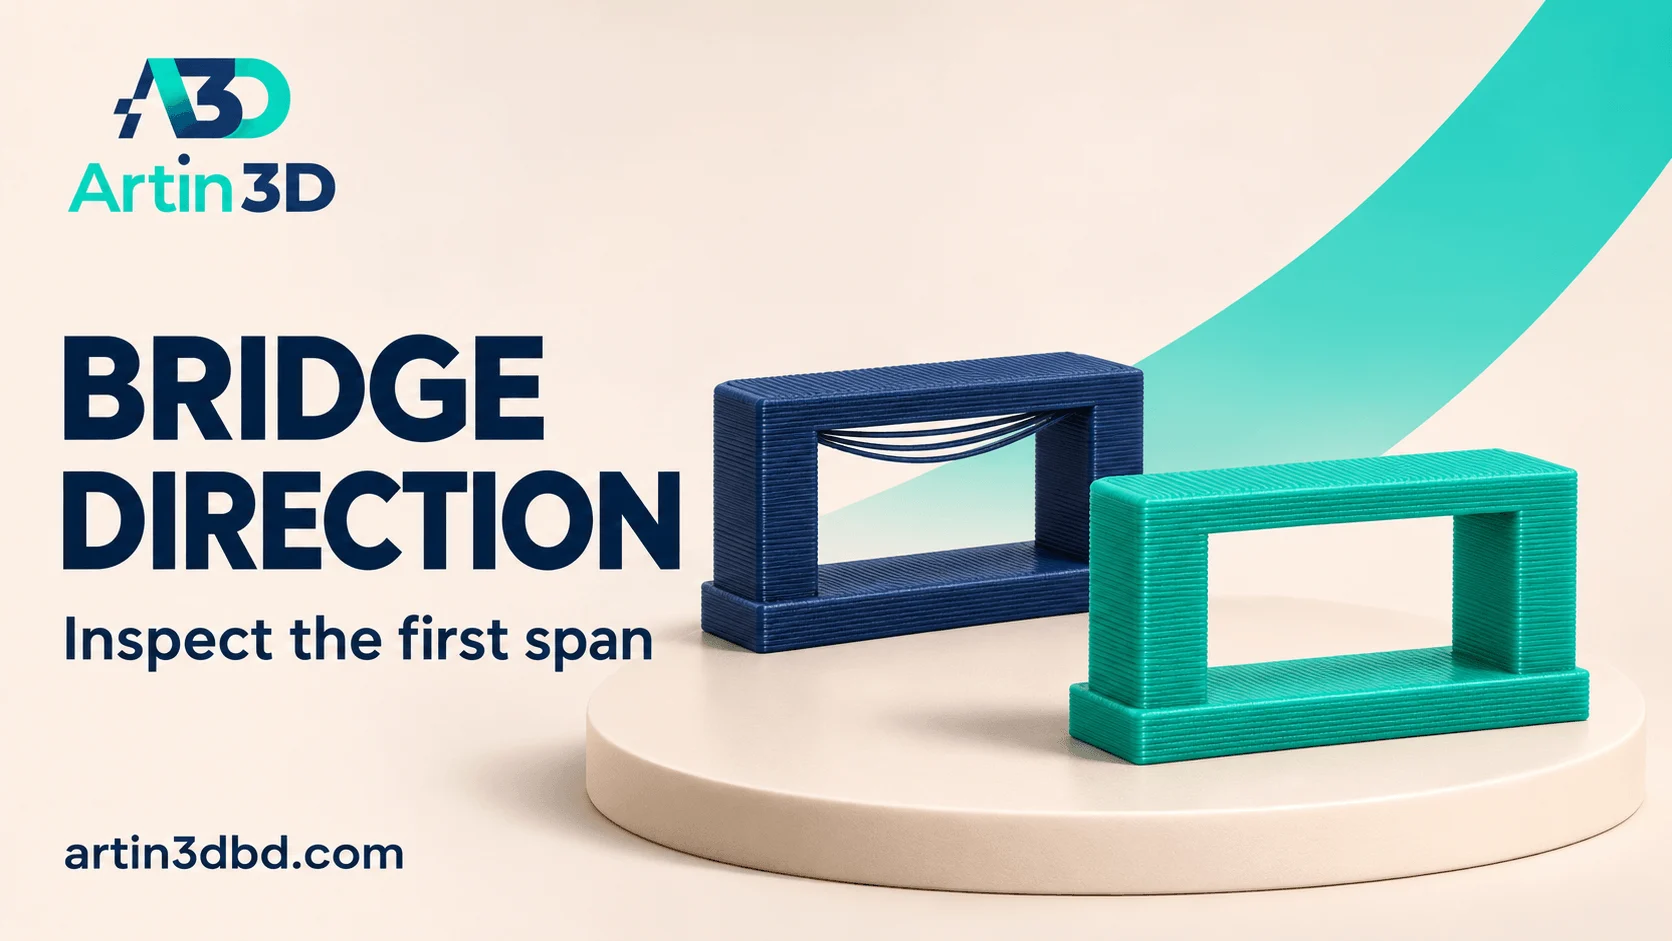
Rectangular opening এর ওপর প্রথম bridge layer কীভাবে যাচ্ছে, Preview তে দেখে test করুন। একই gap এবং material রেখে span direction ও underside তুলনা করুন।
The first layer across a rectangular opening can decide how much cleanup the underside will need. A small gap test lets you compare the proposed toolpath and the printed result before committing to a larger housing. Use a representative opening from the project and document the first bridging layer. The following experiment focuses on what is actually sliced across the gap.
Copy the opening and its surrounding support surfaces
Prepare a short sample containing the rectangular opening and enough of the surrounding walls to reproduce its boundaries. Keep the opening dimensions and print orientation from the real part. Label the sample in your project notes. If the opening forms a visible underside, define the level of appearance required and how you will inspect it after printing.
If the unsupported feature is curved or forms a horizontal opening, compare Compare Round and Teardrop Horizontal Openings on a Small Coupon and Compare Overhang Slowdown on a Small Curved Lip Sample.
Find the first bridge layer in Preview
Move through the layer view until the opening is first covered. Inspect where the lines start and where they reach support on the other side. Record the line direction and the span being crossed. The automatic result can depend on geometry, so check the actual paths after every change. Save screenshots of both the overall sample and the first span for each proposed version.
Prepare one controlled alternative
If your slicer supports a bridge direction override, use it to create a clearly documented comparison. Otherwise, compare a relevant orientation change and inspect the paths again. Keep material, nozzle, layer height and the baseline bridge settings fixed. Name each project with its orientation or direction choice. A rotated model should be judged from its resliced paths, since the slicer may choose a similar spanning strategy.
Compare the underside using the same inspection method
Print the samples and allow them to cool before handling. Photograph the underside under the same lighting. Look for the shape of the suspended strands, their attachment at the ends and the surface above them. If the application requires clearance through the opening, use the same reference piece or measurement method for both samples and record the result.
Choose the next step from the observed limitation
Prusa’s bridge guide discusses bridge flow, speed, orientation and local support as variables that can affect the result. Select one appropriate variable for a follow up test if the direction comparison is insufficient. Keep the successful sample and its settings with the project. Before printing the full part, inspect the opening again in Preview and confirm that the accepted strategy is still present.
Relevant products from Artin3D
SUNLU PLA Filament 1.75mm
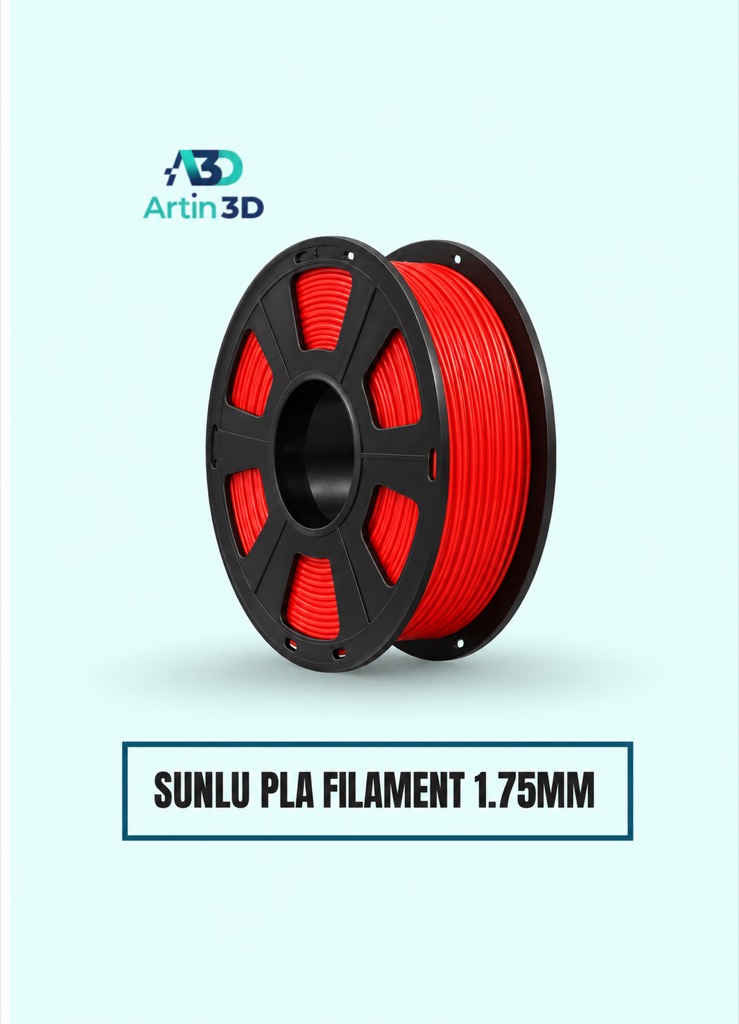
SUNLU PLA can be used for a consistent PLA bridge trial on a compatible printer. Use the exact grade’s supported profile and identify the spool used.
n
Digital Vernier Caliper
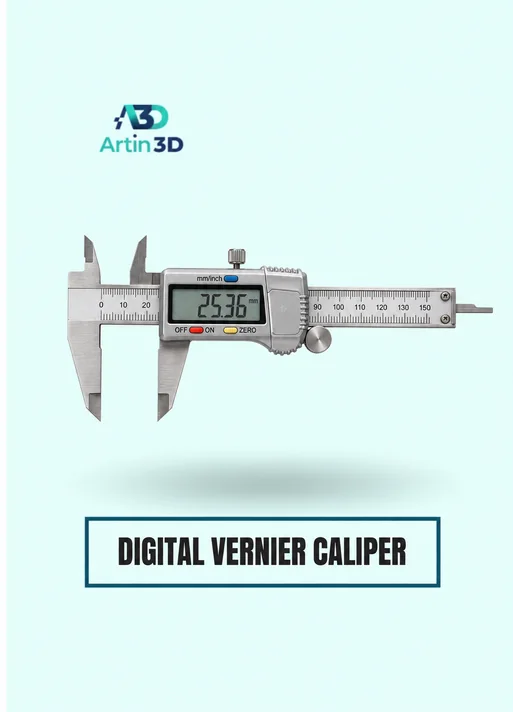
A Digital Vernier Caliper helps check the opening dimensions and any clearance requirement. Confirm its specification and measure the same reference surfaces on each cool sample.
n
Quick questions
Does rotating a model always change bridge direction?
The slicer chooses paths from the geometry. Reslice and inspect the first spanning layer after rotation.
Can the best looking bridge still fail a fit requirement?
Check both the underside appearance and the clearance required by the application.
Keep a useful test record
Save the sample identifier, model revision, printer and nozzle, material, changed setting and inspection result with the project. When enquiring about a suggested product, send Artin3D the exact printer model and required size or material grade, then confirm current price and availability on the linked product page.
Need help preparing a representative sample? Explore Artin3D’s 3D design service or upload your STL file for a 3D printing quote. Include the mating dimensions, intended material and acceptance requirements.



Comments (2)