
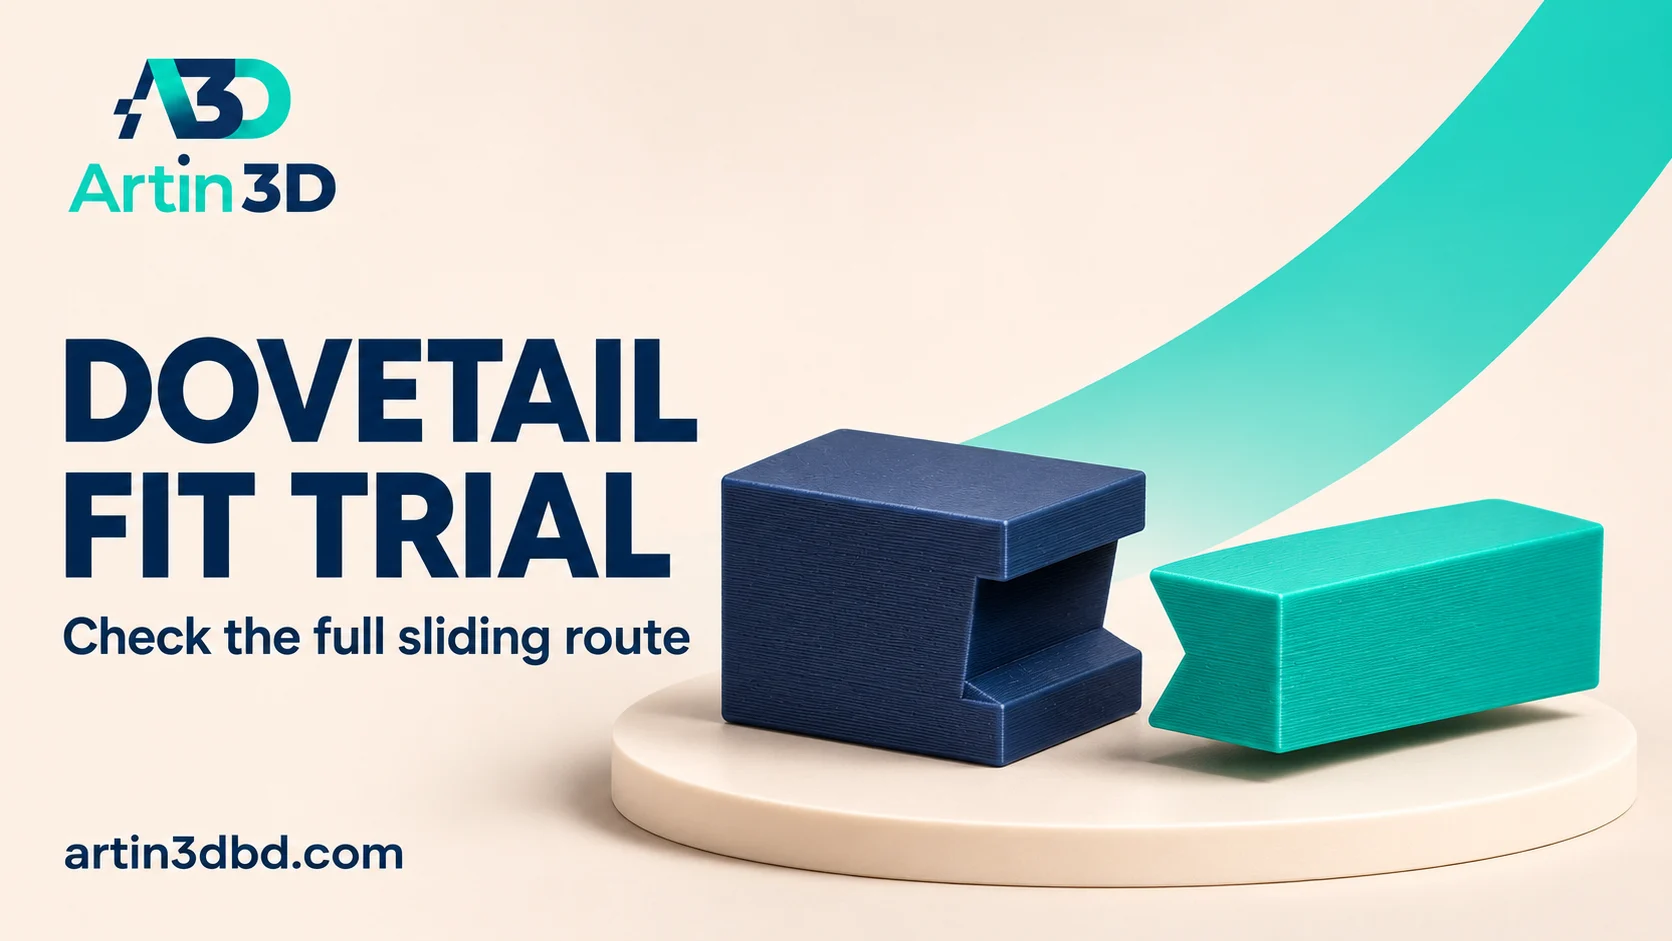
বড় display model ভাগ করার আগে short dovetail pair বানান। Slide শুরু হচ্ছে কি না, মাঝপথে আটকে যাচ্ছে কি না এবং end stop মিলছে কি না দেখুন।
A dovetail joint can help align two sections of a display model, but the complete sliding route needs to remain accessible. A short mating pair reveals fit and assembly problems before the large pieces are printed. This guide focuses on a display prototype and the repeatability of its assembly. Keep the intended joining direction and any later fixing method defined separately.
Plan where the joint can slide into place
Identify the cut plane and the direction in which one part must move to engage the other. Check the surrounding artwork for an obstruction along that route. Record the available entry space and where the joint should stop. A dovetail may look aligned in a static assembly view while requiring motion that the complete model cannot physically accommodate.
If the joint binds near its first layer, compare Test Elephant Foot Compensation With a Sliding Fit Coupon.
Create a controlled short pair
PrusaSlicer’s cut tool includes a dovetail mode that forms a trapezoidal joint at the cut plane. Use the available controls in your version and preserve the intended cross section in a short sample. Record dimensions and the selected fit allowances. Save the uncut original and the trial project separately. If creating the joint in CAD, retain the same parameter record for both mating parts.
Inspect both orientations before printing
Place the samples in the orientations planned for the final sections and slice them with the correct profiles. Inspect the joint entry, angled sides and any first layer edges that lie in the sliding route. Record supports that could leave residue on mating surfaces. Keep the real orientation for the fit trial, because a pair printed in a more convenient position may not represent the final joint.
Check the whole travel on cooled samples
After cooling, inspect and document the unmodified surfaces. Align the pair and slide it gently through the intended distance. Record resistance near the entry, through the middle and at the stop. Check accessible dimensions at consistent points. Avoid sanding immediately, since it can conceal which printed feature caused interference. If finishing is part of the planned process, document it as a separate controlled stage.
Revise the cause of interference
Identify whether the problem is a local edge, joint taper, an allowance or an unwanted surface mark. Change one relevant feature and repeat the short pair. Keep the material, nozzle and orientations identified. A loose joint may align visually but still move too much for the display requirements, so record lateral play and final surface alignment as well as the ease of sliding.
Transfer the accepted joint with its assembly route
Save the approved sample and photographs of the fully seated joint. When applying it to the large model, inspect entry clearance and the relationship between the visible surfaces again. Record any adhesive, fastener or removable assembly plan separately. A successful short fit check establishes that comparison’s result and does not by itself certify the full joint’s mechanical performance.
For a controlled entry into a mating feature, see Test a Lead In Chamfer on a Printed Plug and Socket.
Relevant products from Artin3D
SUNLU PLA Filament 1.75mm
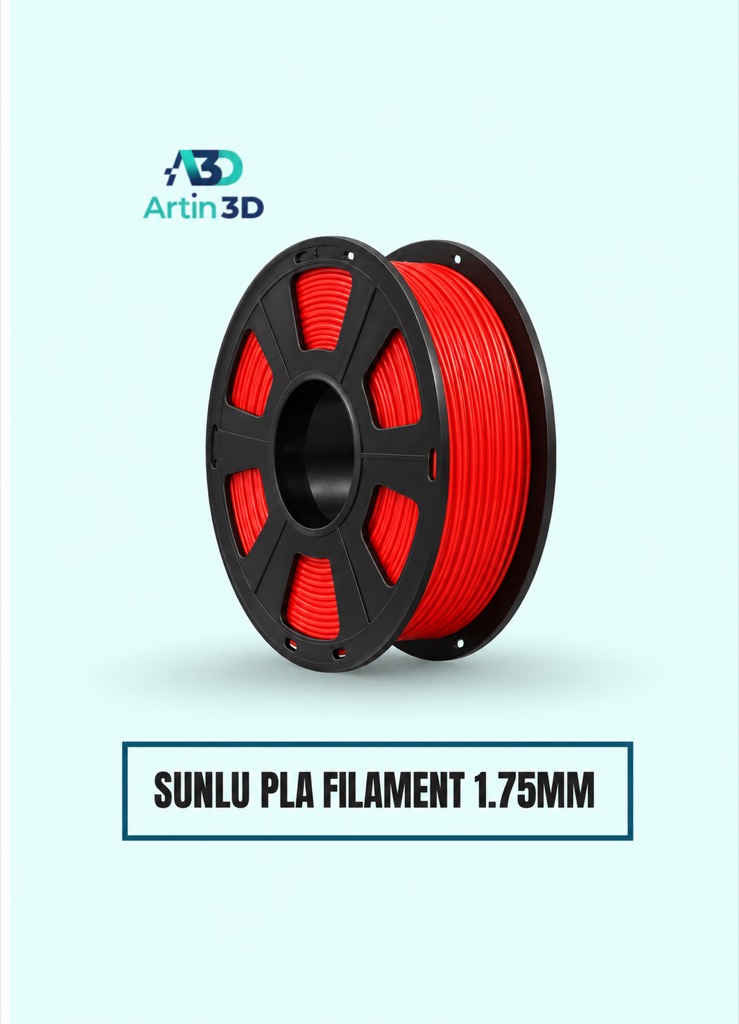
SUNLU PLA is relevant for a PLA display joint sample on a compatible printer. Keep the grade and spool constant through the comparison.
Digital Vernier Caliper
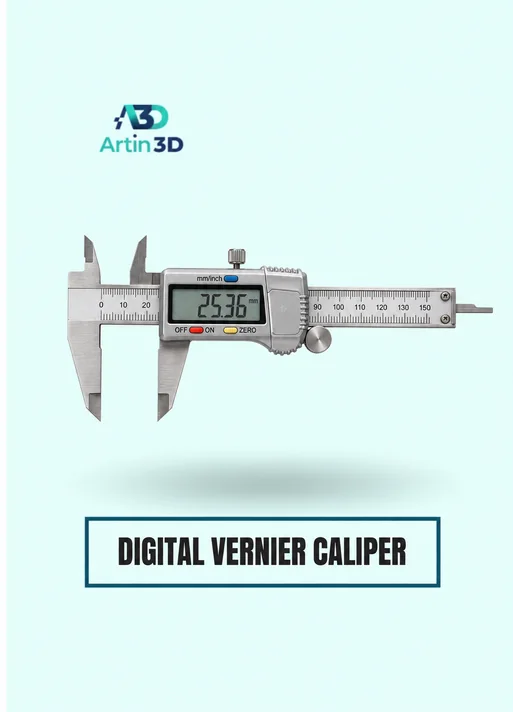
The Digital Vernier Caliper helps compare accessible joint dimensions. Use consistent reference locations and confirm its specification.
Quick questions
Can the joint be checked only in the final assembled view?
Check the full motion needed to slide it together and the available entry space.
Should I sand until the first pair fits?
Record the original fit first. Treat any planned finishing as a documented stage rather than hiding the source of interference.
Confirm the exact product variant, printer compatibility, current price and availability on the linked product page before ordering.
Need help preparing a representative sample? Explore Artin3D’s 3D design service or upload your STL file for a 3D printing quote. Include the mating part dimensions, intended material and assembly requirements.


