

ছোট pin বা miniature tip বিকৃত হলে একই model এর একটি ও চারটি কপি দিয়ে controlled cooling test করুন। Layer time, surface এবং মাপ একসঙ্গে তুলনা করে পরের পরিবর্তন ঠিক করুন।
A tiny printed post can look clean at the base and become soft or uneven near its tip. A useful workshop experiment is to compare one copy with several copies printed together. The procedure below is a proposed diagnostic test, with the outcome determined by your printer, material and profile. It gives you a practical record to use when adjusting cooling for small FDM details.
Prepare a small, repeatable test piece
Choose a simple model that reproduces the narrow feature causing difficulty. Keep a broad enough base for reliable placement and add a small identification mark away from the inspection area. Save the original dimensions and the intended orientation. Use the same spool and the same nozzle for both jobs. The first test should be easy to identify and quick to repeat when you review another setting.
If a small feature still loses definition, compare Check Small Perimeter Speed on a Row of Tiny Posts and Apply a Height Range Speed Change Around a Thin Model Neck before changing several speed controls together.
Inspect layer time before printing
PrusaSlicer can slow printing when estimated layer time falls below a configured threshold. Its minimum print speed also affects the slowdown it can achieve. Open the cooling settings in your current slicer and compare them with the official documentation. In Preview, look at the upper section of the test model and record the available layer time estimate or speed changes. Keep a screenshot with your project.
Print one copy and then four copies by layer
Run one copy with your supported material profile. Prepare a second job containing four copies with comfortable spacing, using the same settings. Select the normal by layer sequence so the printer moves among the objects during each layer. Record their positions and the total print time. This comparison explores how a different layer workload affects the same narrow feature, so preserve the rest of the setup.
Compare the tip, sides and dimensions
Photograph each sample with the same lighting and viewing angle. Check the tip outline, any softened detail and the dimensions that matter for the project. Use light, repeatable caliper contact on a cool sample and measure a little below the extreme tip if that gives a more consistent reference. Record both the best and worst copy from the four object job to capture differences across the plate.
Use the result to choose one next adjustment
If the samples differ, keep the clearer example and change one cooling related setting in a separate test. Use the printer and filament guidance as the starting range. If they look similar, inspect the sliced feature and your material profile before changing several settings together. Save the accepted project, the comparison photographs and a short note explaining which sample met your visual and dimensional requirements.
Relevant products from Artin3D
SUNLU PLA Filament 1.75mm
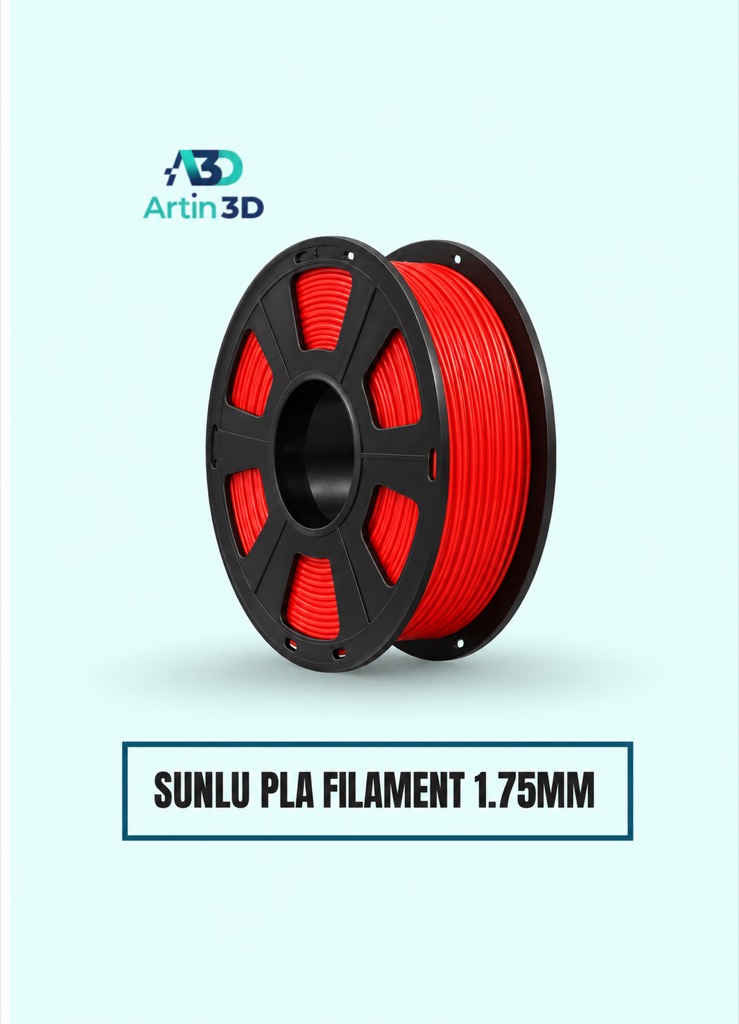
SUNLU PLA can serve as a consistent material for repeated PLA trials. Confirm the exact grade and colour and use its recommended profile. Keep that spool identified throughout the experiment.
n
Digital Vernier Caliper
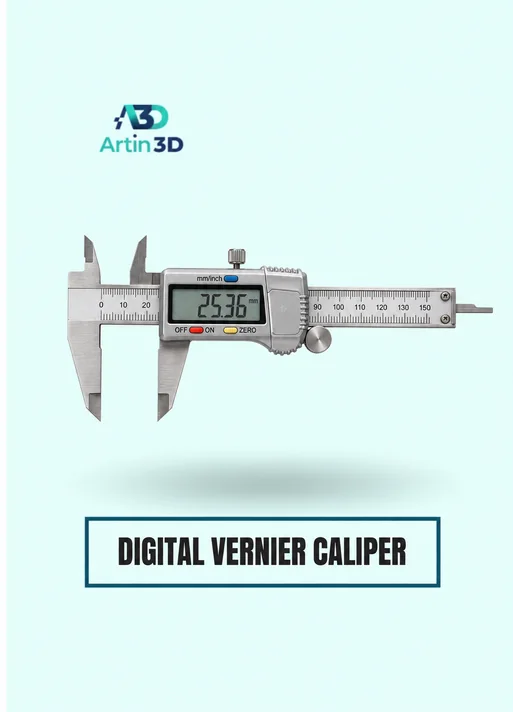
A Digital Vernier Caliper helps compare the accepted feature dimensions. Check the offered model’s measurement range and accuracy, then use the same measurement position for every sample.
n
Quick questions
Will four copies always improve a small print?
The result depends on the actual layer timing, cooling and geometry. Use the two jobs as a comparison and evaluate the samples.
Should I copy another printer’s fan settings?
Start with the supported profile for your printer and material, then record the effect of one controlled change.
Keep a useful test record
Save the sample identifier, model revision, printer and nozzle, material, changed setting and inspection result with the project. When enquiring about a suggested product, send Artin3D the exact printer model and required size or material grade, then confirm current price and availability on the linked product page.
Need help preparing a representative sample? Explore Artin3D’s 3D design service or upload your STL file for a 3D printing quote. Include the mating dimensions, intended material and acceptance requirements.



Comments (2)