
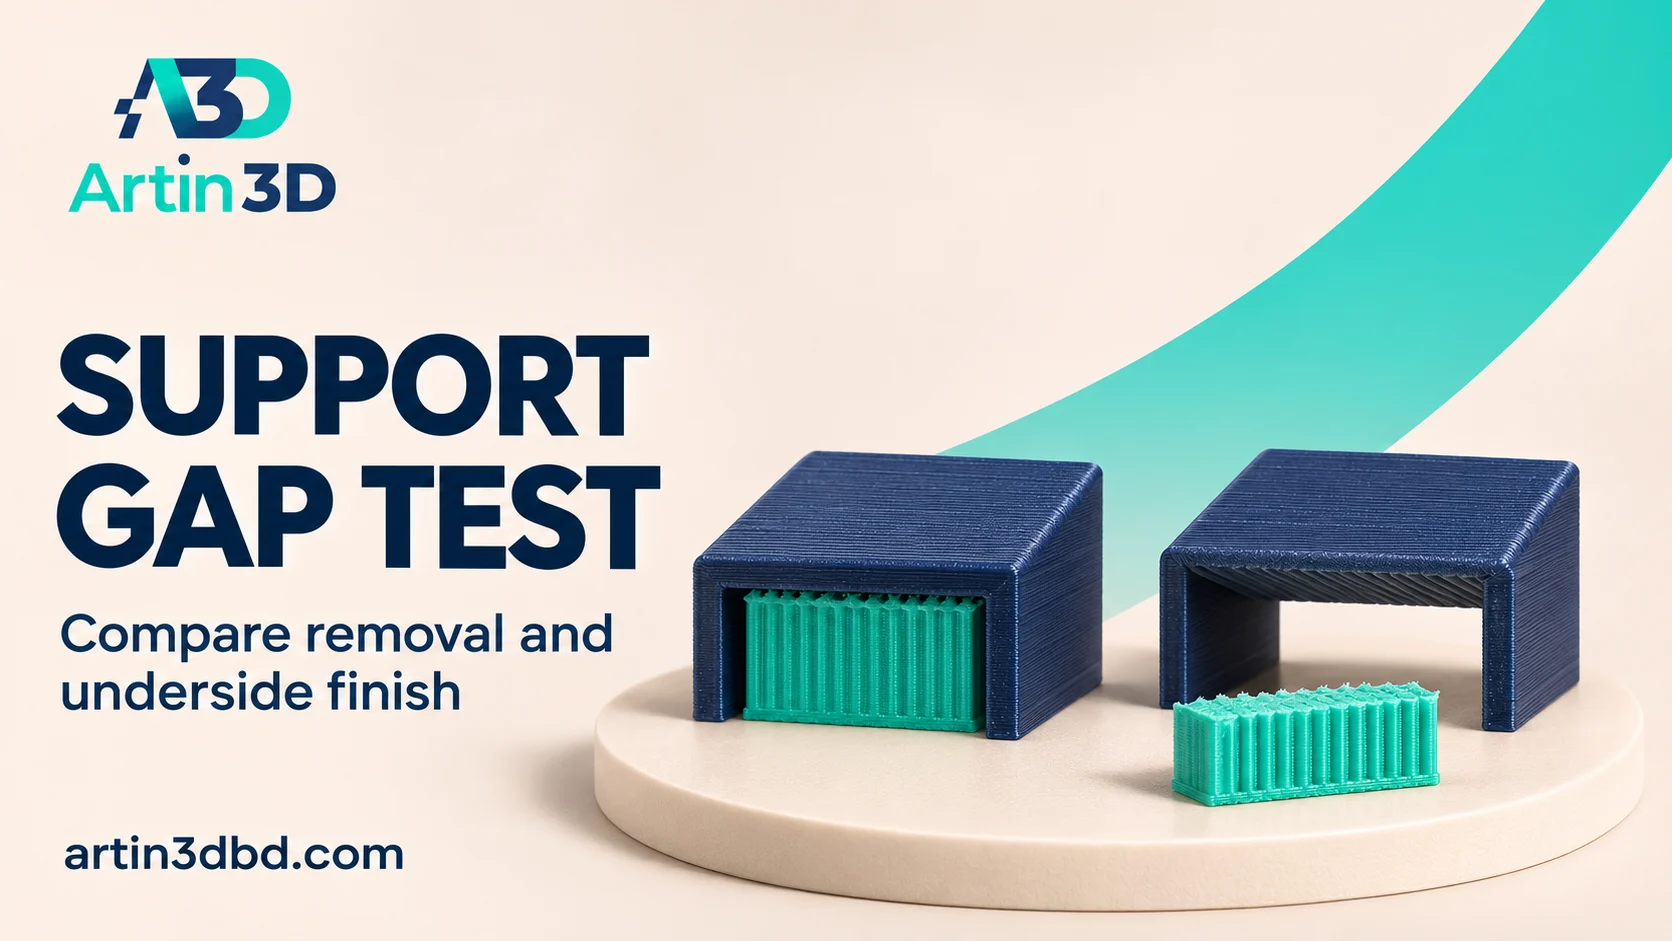
Support সহজে খোলে কি না এবং underside কেমন থাকে—দুইটি ফল একসঙ্গে দেখুন। ছোট coupon এ contact gap বদলে comparison করুন।
A supported underside can look acceptable yet take too much effort to clean. Another sample may release easily but leave a rougher surface. A small contact gap comparison helps document that tradeoff for a specific material and geometry. The test below uses the same material for the object and its removable support, with the supported printer profile as the starting point.
Preserve the real underside in a small sample
Choose a compact ledge or roof section containing the intended surface angle, thickness and support access. Keep its print orientation unchanged. Include nearby walls if they affect removal. Save a baseline before editing support settings, and mark the presentation face in your notes. A sample that omits a surrounding wall can make support cleanup appear easier than it will be on the complete model.
For the support placement and removal route, also review Paint Supports Under a Small Ledge Before Printing a Full Model and Check Organic Support Removal Access on a Small Display Arch.
Identify the actual contact distance control
Prusa describes top contact Z distance as the vertical separation between an object and its support interface. Other slicers may use different names and related controls. Locate the relevant setting in your installed version and record the current value. Use the documented profile as the baseline. Do not transfer a zero gap soluble support setup directly to ordinary same material supports and expect the same separation behaviour.
Change the gap while preserving the interface plan
Prepare a second project with one supported gap adjustment. Keep the support style, interface layers, spacing, object layer height and material unchanged initially. Slice both projects and inspect the first object layer above the interface. Record the displayed relationship and generated paths. A requested number alone does not show the final layer arrangement, particularly when support and object layers follow different schedules.
Record release and surface condition separately
Print both coupons with the same spool and prepared plate. Let the samples cool, then follow the relevant tool and machine instructions for removal. Photograph the underside immediately after support removal. Record access, effort and any damaged edges separately from the appearance of the supported face. Avoid sanding before this comparison, since it would mix support behaviour with a later finishing process.
Choose a setting for the actual acceptance criteria
Compare the cleanable underside with the required appearance and dimensions. A hidden internal surface may have different requirements from a visible display face. Keep the accepted coupon and its project. If neither version is satisfactory, evaluate another orientation or interface strategy in a separate test. Reinspect the complete model’s supports before transferring the chosen gap to a longer job.
Include cleanup in your time record
Write down completed print time and approximate cleanup time for each sample. Note any coupon rejected because removal damaged it. These observations provide a practical comparison even when two slicer estimates are similar. Keep the record tied to the specific material and orientation.
Relevant products from Artin3D
SUNLU PLA Filament 1.75mm
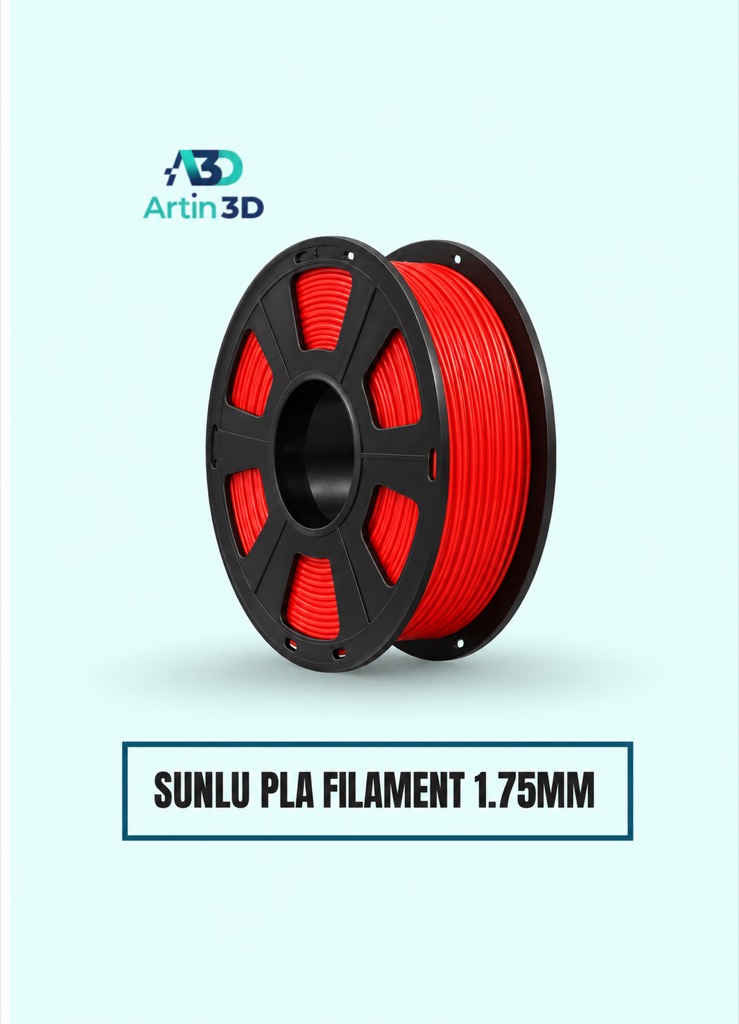
SUNLU PLA can be used for a consistent PLA coupon trial on a compatible machine. Confirm the grade and supported profile before comparing support settings.
Digital Vernier Caliper
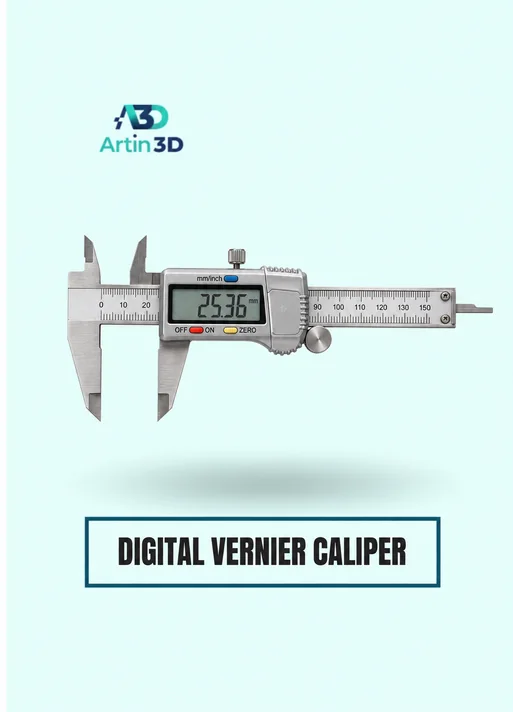
The Digital Vernier Caliper helps check accessible dimensions after cleanup. Use light contact on delicate supported features and confirm the offered instrument specification.
Quick questions
Is zero gap best for a smooth underside?
A zero gap can strongly change bonding and print behaviour. Use the support strategy documented for your specific material combination.
Can I reuse the result for another material?
Run a new representative comparison because interface bonding and removal behaviour can change.
Confirm the exact product variant, printer compatibility, current price and availability on the linked product page before ordering.
Need help preparing a representative sample? Explore Artin3D’s 3D design service or upload your STL file for a 3D printing quote. Include the mating dimensions, intended material and acceptance requirements.


