
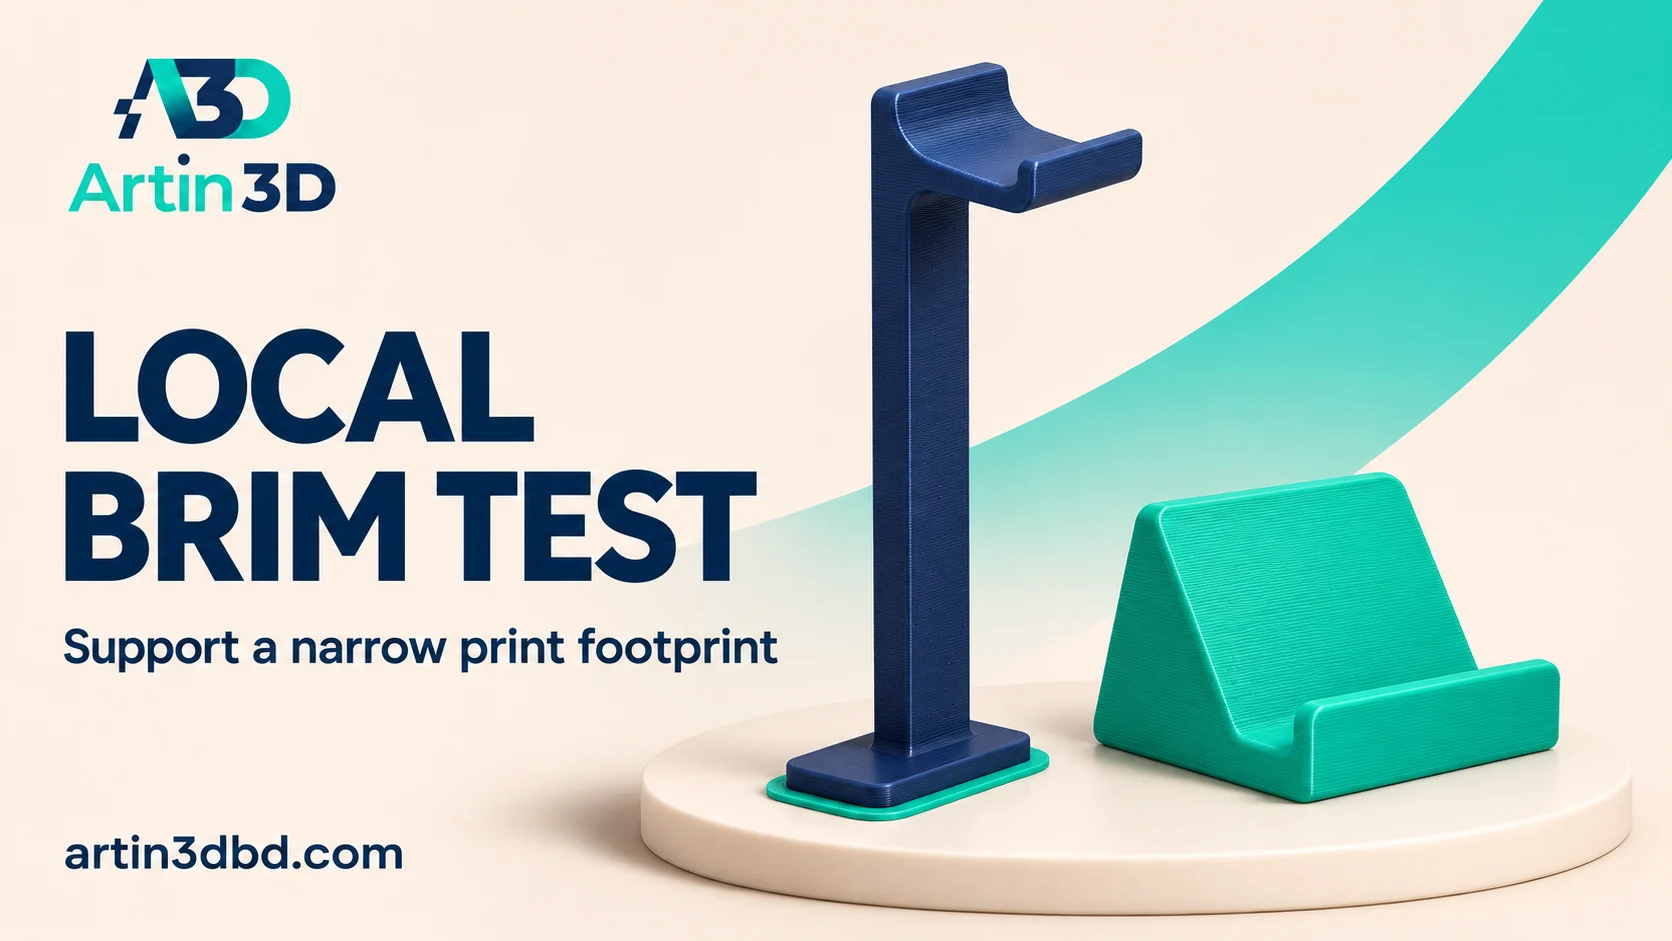
একই plate এর সব model এ brim না দিয়ে narrow base থাকা display stand এ আলাদা brim পরীক্ষা করুন। Removal এর পর base edge ও fit দেখুন।
A small display stand with a narrow footprint may need a different adhesion plan from a broad object printed beside it. Object specific brim controls can help test that requirement. This workflow examines first layer contact, print stability and cleanup on a representative stand. Begin with the correct plate and material preparation, then compare the effect of the selected brim on your own setup.
Inspect the stand’s footprint and clearance
Record the height, base width and any nearby printed objects. Inspect how the stand contacts the build surface in the intended orientation. Keep enough space for the proposed brim without entering another object’s footprint or machine clearance area. Use a small representative stand for the first trial. Preserve the intended base thickness so the removal test reflects the real finished edge.
Check the finished bottom edge with Test Elephant Foot Compensation With a Sliding Fit Coupon, and compare an orientation change using Use a Flat Cut to Stabilise a Display Figurine Test Print.
Prepare the plate for the selected material
Follow the printer and plate maker’s preparation instructions, including any required release layer. Confirm the correct plate face and material profile. Record the surface used so both trials have the same baseline. A brim changes the first layer area, but it does not remove the need to address an unsuitable surface condition or a printer setup problem that prevents a reliable first layer.
Set the brim for the selected object
PrusaSlicer provides individual object brim settings in its advanced controls. Select the narrow stand and apply the intended brim type, width and separation gap using your version’s interface. Leave the broad comparison object unchanged if it does not need the same treatment. Record each value and slice the plate. This makes it clear which object should receive the extra first layer paths.
Inspect the first layer and run the small trial
Use Preview to check the brim around the stand and confirm that paths do not overlap another object. Inspect narrow gaps and any inner region that would be difficult to clean. Start the short print using the normal machine procedure and evaluate the first layer. After completion, allow the part and plate to cool as instructed before removal. Photograph the stand before trimming the brim.
Judge cleanup and the finished base edge
Remove the brim with appropriate tools and inspect the edge that touches the display surface. Record any remaining ridge, damage or change to a fitting feature. Compare the stability and cleanup effort with the baseline sample. Save the accepted object settings with the stand project. Recheck the brim layout when adding more copies or rearranging the plate because the available clearance will change.
Preserve the cleanup reference
Keep one photograph of the untrimmed brim and another of the finished edge. These make it easier to judge whether a later run has changed. If the base mates with a slot or a second part, include that fit check in the acceptance record.
Relevant products from Artin3D
Dual-Sided Textured and Smooth PEI Build Plate
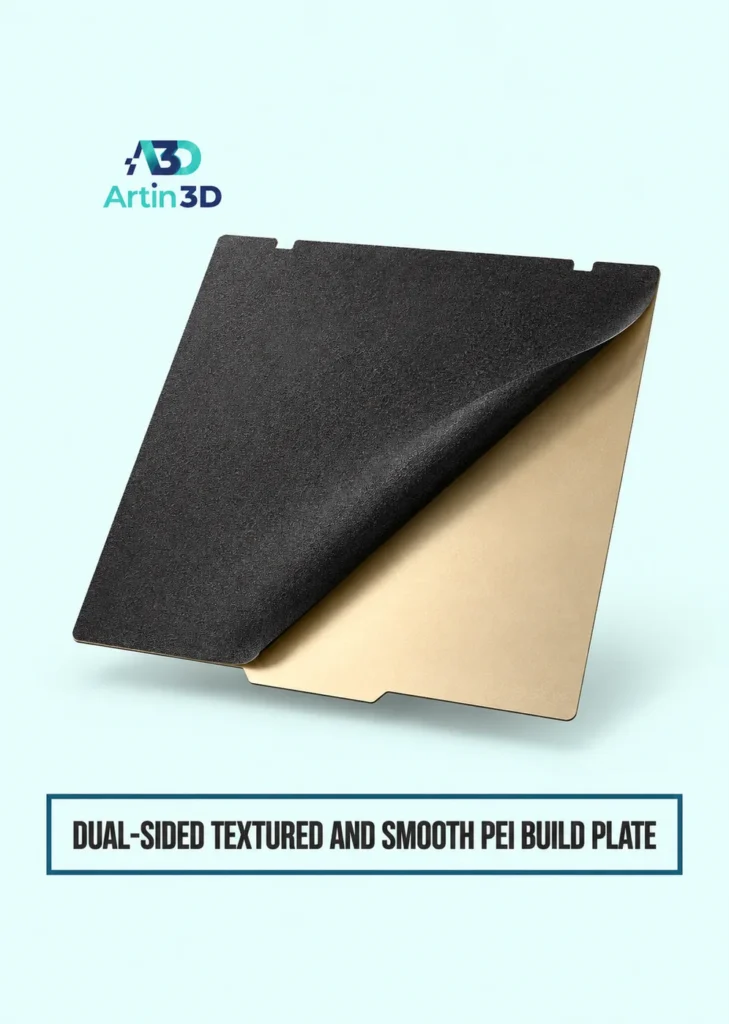
The Dual Sided Textured and Smooth PEI Build Plate offers two surfaces for compatible printers. Confirm dimensions, plate outline, magnetic base and material preparation instructions.
SUNLU PLA Filament 1.75mm
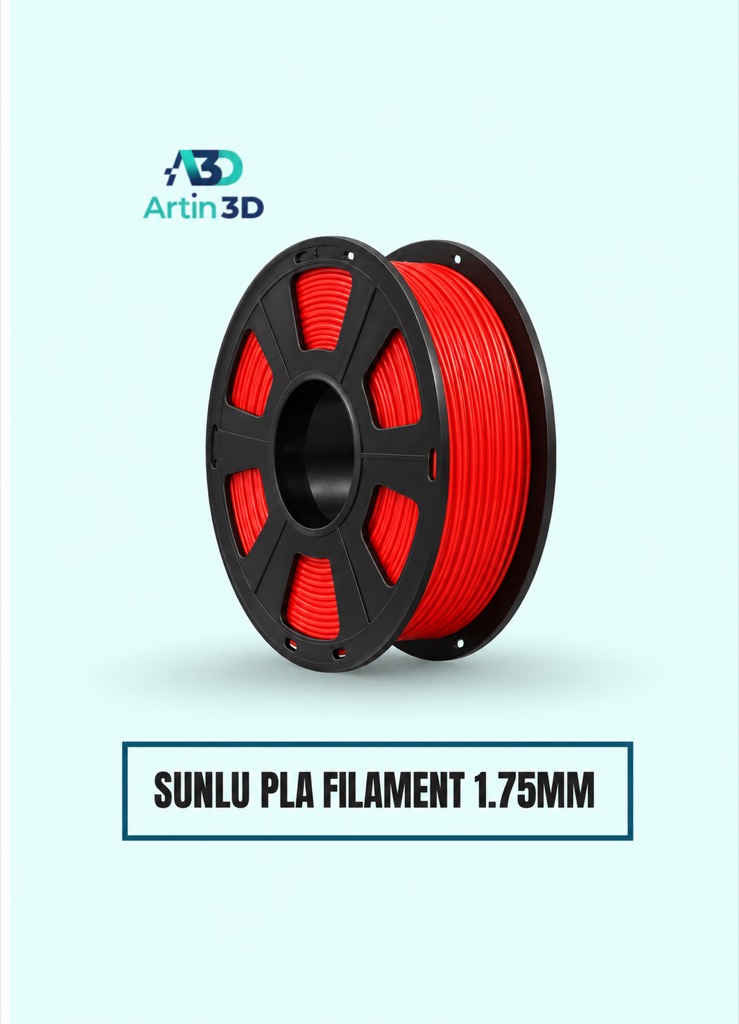
SUNLU PLA can be evaluated for a PLA stand sample. Confirm the selected grade and printer profile and keep the material constant across comparisons.
Quick questions
Do all objects on the plate need the same brim?
PrusaSlicer supports object specific brim settings in advanced modes. Inspect the actual first layer for each object.
Can a brim hide an incorrect first layer setup?
Prepare the machine and plate correctly first, then use a small trial to evaluate the brim’s effect.
Confirm the exact product variant, printer compatibility, current price and availability on the linked product page before ordering.
Need help preparing a representative sample? Explore Artin3D’s 3D design service or upload your STL file for a 3D printing quote. Include the mating dimensions, intended material and acceptance requirements.


