
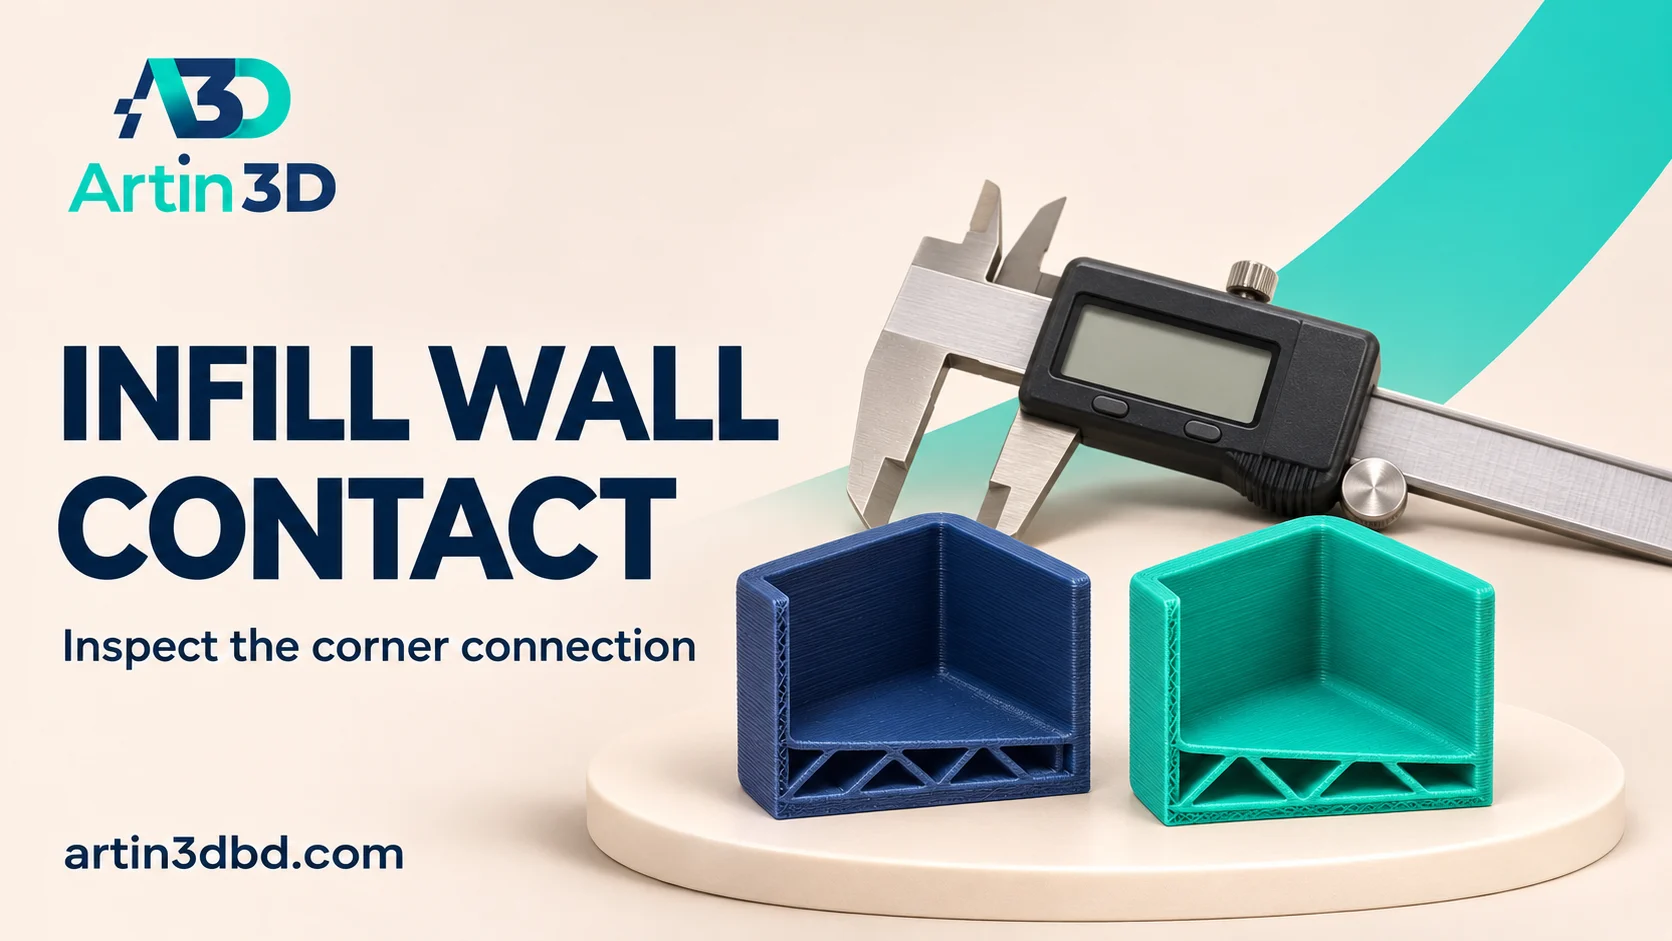
Box corner এ infill ও wall এর সংযোগ দেখুন। Overlap পরিবর্তনের পরে gap, surface bulge ও বাইরের মাপ একসঙ্গে তুলনা করুন।
An infill and wall connection can be difficult to inspect inside a finished closed box. A corner coupon with a representative internal region makes the relationship easier to compare. This article describes a controlled overlap trial that records both internal contact and outside appearance. It does not assign a strength rating to the sample or recommend one setting for every material.
Build a coupon representing the actual corner
Keep the box wall thickness, corner shape and intended print orientation in a small sample. Include enough internal fill to meet the wall in the inspection area. Prepare a separate cutaway or open sample if the connection would otherwise remain hidden. Record the model revision and baseline profile. A sample with no infill in that region cannot show the overlap relationship you want to evaluate.
Evaluate the surrounding wall paths with Compare Wall Printing Order on a Small Ring and Box Sample, and keep extrusion calibration separate using Keep OrcaSlicer Flow Ratio Test Formulas With the Correct Method.
Locate the infill wall overlap setting
OrcaSlicer documents overlap as an enlargement of the infill area into the wall region. The percentage reference depends on the wall generation context, so use the current instructions rather than treating the number as a simple whole part scale change. Record the existing value and generator. Keep material flow, wall count, density and pattern unchanged during the first comparison.
Compare the same layer before printing
Slice the baseline and a candidate with one supported adjustment. Inspect the infill endpoints where they meet the inner wall and save the same layer view in both projects. Look for the intended change in contact without assuming the requested value guarantees good bonding. Check adjacent small regions too. Keep the outside outline and dimensions in the comparison because internal changes can also affect visible wall appearance.
Print and inspect internal and external results
Use the same material and printer setup for both short samples. After cooling, photograph the exposed contact region and the outer corner. Record visible gaps, local material buildup and any bulging or surface change. Measure accessible outside dimensions consistently. A visually tidy connection is useful evidence, but it is not a substitute for application-specific mechanical evaluation when the finished object carries meaningful loads.
Choose a balanced accepted sample
Compare the connection with the outer finish and required fit. If increasing overlap improves one area but creates excess material elsewhere, preserve that observation and investigate a different candidate as a new trial. If extrusion is inconsistent throughout the sample, revisit the material calibration separately. Save the accepted project with its generator, material grade and inspection photographs so its scope remains clear.
Retest when wall generation changes
A switch between wall generators or a revised internal pattern can change how contact paths are built. Keep one accepted physical coupon as a reference and inspect a new short sample after those changes. Avoid transferring the overlap number alone without the rest of the relevant configuration.
Relevant products from Artin3D
SUNLU PETG Filament 1.75mm
SUNLU PETG is relevant to a compatible PETG box trial. Confirm the exact grade and material profile and keep the spool consistent.
Digital Vernier Caliper
The Digital Vernier Caliper helps compare outside dimensions and accessible wall features. Confirm its accuracy and use the same reference positions on both samples.
Quick questions
Does more overlap always improve the print?
Inspect the contact and outside surface together. Excess material can create a different defect.
Can I use this sample as a strength certificate?
No. It records a controlled print comparison. The actual application needs suitable design and performance validation.
Confirm the exact product variant, printer compatibility, current price and availability on the linked product page before ordering.
Need help preparing a representative sample? Explore Artin3D’s 3D design service or upload your STL file for a 3D printing quote. Include the mating dimensions, intended material and acceptance requirements.



Comment (1)