

Hex nut pocket এ nut ঢোকানো, বসানো ও screw ধরার জায়গা আগে ছোট sample এ পরীক্ষা করুন। Actual hardware এর মাপ ধরে fit যাচাই করুন।
A hexagonal pocket can look correct in CAD yet leave too little room to insert the actual nut or reach the screw. A small open pocket sample makes those problems visible before the full enclosure is printed. This guide covers a low risk assembly prototype with hardware inserted after printing. Keep the real nut, screw and intended assembly route together throughout the trial.
Measure the actual hardware and reference faces
Record the nut width across flats, thickness and the screw specification using a suitable measurement method. Identify which face of the enclosure locates the nut and where the screw enters. Include the screwdriver or hex key access needed during assembly. Do not rely only on a nominal fastener name to describe all pocket dimensions, since the delivered hardware and assembly geometry are what the sample must accommodate.
For the surrounding enclosure, also check Use a Local Modifier Around an Enclosure Screw Boss.
Create an accessible representative pocket
Keep the real pocket depth, surrounding wall and print orientation in a short coupon. Provide the same insertion opening planned for the enclosure. Save the source model with its fit allowance recorded separately from the hardware size. Prusa’s design guidance emphasizes that mating features need allowances suited to geometry, orientation and material. Treat the first pocket as a starting sample instead of selecting one universal gap.
Inspect the opening and pocket roof in Preview
Slice the coupon with the intended printer and material profile. Examine the flat sides, screw passage and any upper region over the nut. Check whether support or a first layer edge changes the insertion route. Save a view of the narrowest area. The rendered hexagon is only the design surface, so confirm that the generated paths preserve the intended access and surrounding wall.
Assemble gently with the real components
Let the coupon cool and inspect it before inserting hardware. Try the nut through the intended opening without hammering or forcing it into a brittle feature. Start the screw by hand where appropriate and confirm that the nut stays aligned. Use the correct driver size and the application specific fastening guidance. Record whether the nut binds, rotates in the pocket or prevents the enclosure face from seating.
Revise one fit feature at a time
If insertion is poor, identify whether the obstruction comes from the opening, pocket flats, depth or printed residue. Change one relevant design allowance and print another short coupon. Keep the hardware, material and orientation the same. A pocket that accepts the nut is not automatically suitable for every tightening load, so evaluate the actual fastening requirement separately when it matters to the finished product.
Preserve the accepted assembly record
Save the accepted pocket dimensions and a photograph showing the hardware seated and the driver approach. Keep the model revision, screw and nut specification with the slicer project. Before printing the full enclosure, confirm that its surrounding walls still allow the same assembly route. Another component added nearby can make a previously useful pocket impossible to reach.
To keep the hardware measurements consistent, use Check a Bracket Angle and Hole Spacing Before Slicing.
Relevant products from Artin3D
Digital Vernier Caliper
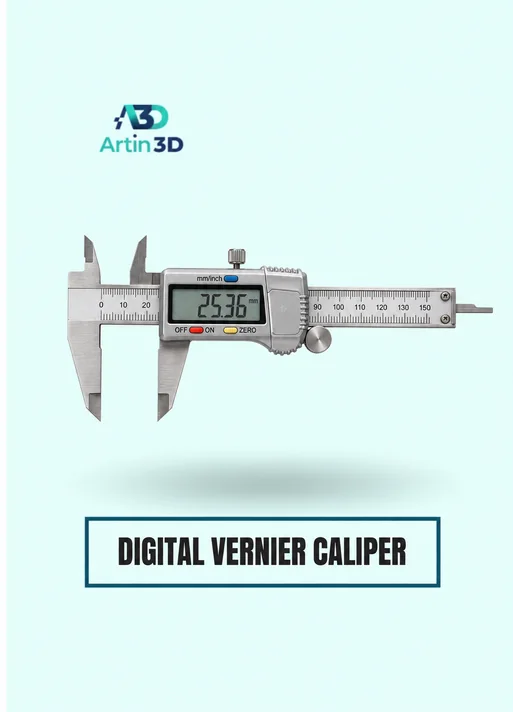
The Digital Vernier Caliper helps measure accessible nut and pocket dimensions. Confirm its specification and keep the same reference faces in each reading.
3D Printer Hex Key Tool Set
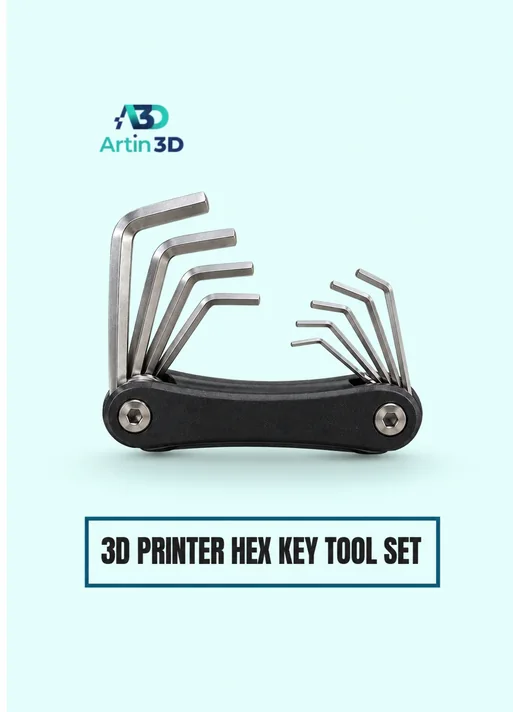
The 3D Printer Hex Key Tool Set is relevant when the selected screw uses a compatible metric socket. Choose the exact key size and follow the appropriate fastening guidance.
Quick questions
Can a nominal nut size define the whole pocket?
Measure the actual nut and include insertion depth, access and the intended fit allowance.
Should I force a tight nut into the print?
Use the sample to locate the obstruction and revise it. Forcing can damage the coupon and conceal the fit problem.
Confirm the exact product variant, printer compatibility, current price and availability on the linked product page before ordering.
Need help preparing a representative sample? Explore Artin3D’s 3D design service or upload your STL file for a 3D printing quote. Include the mating part dimensions, intended material and assembly requirements.


